

What are Tags?
Tags are named labels that point to a specific commit. Use them to mark the commits that matter - a release, a milestone, a build that passed QA - so you and your team can find them later. Unlike branches, tags don’t move. Once created, a tag always references the same commit. You can rename a tag or update its description, but it keeps pointing at the commit you tagged. In the desktop app’s commits list, a commit’s tags appear as chips under its message. You can manage tags from the desktop app, the CLI, or the API.Creating a Tag
-
Open your repository in the desktop app
- Go to the Commits view and find the commit you want to tag
-
Open the commit’s menu
- Click the menu icon (⋯) that appears on the commit row
- Select “Create tag…”
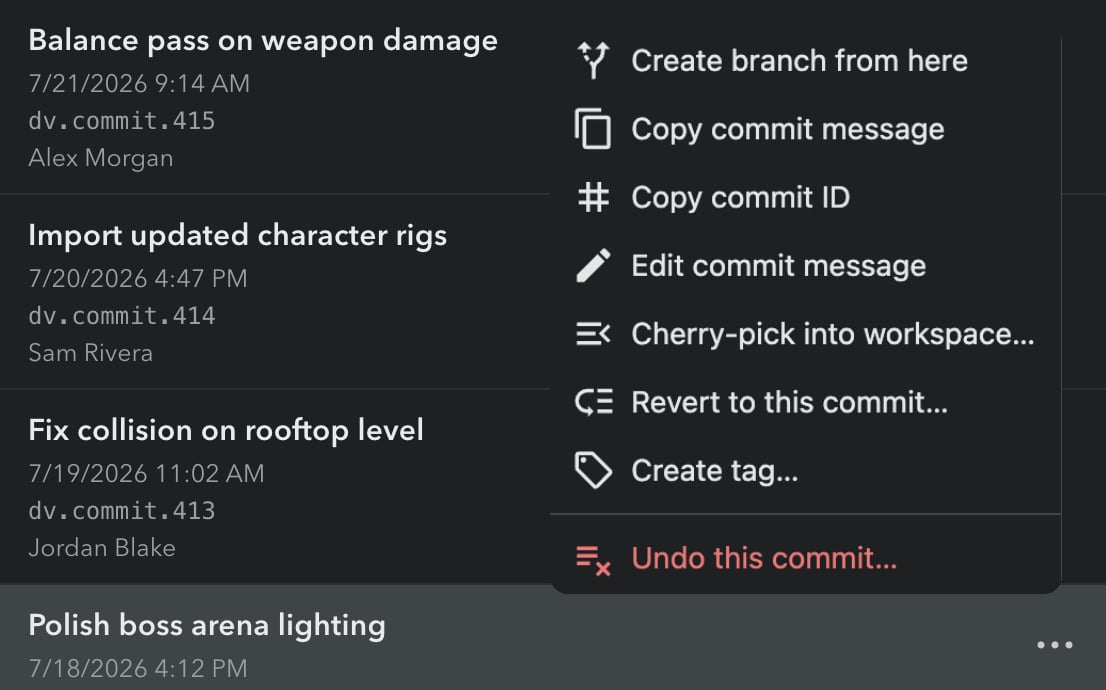
- Enter a tag name
- The name is validated as you type - see Tag name rules below
- Optionally add a description (up to 1024 characters)

- Click “Create tag”
- The new tag appears on the commit immediately
Copying a Tag ID
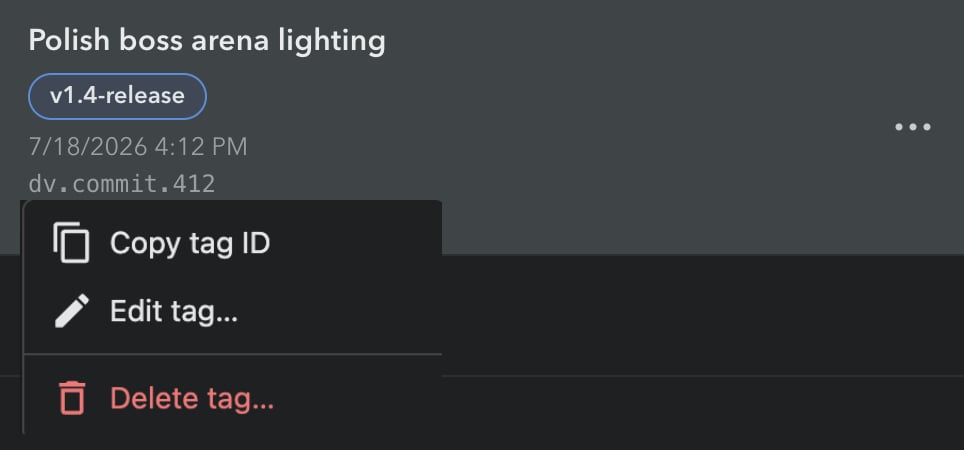
CLI and API tag operations take the tag ID, not the tag name. To grab it:- Click the tag’s chip in the commits list
- Select “Copy tag ID” - the ID is copied to your clipboard
Editing a Tag
- Click the tag’s chip and select “Edit tag…”
- Change the name or description - the dialog opens prefilled with the current values, and the same validation as create applies
- Click “Save”
Deleting a Tag
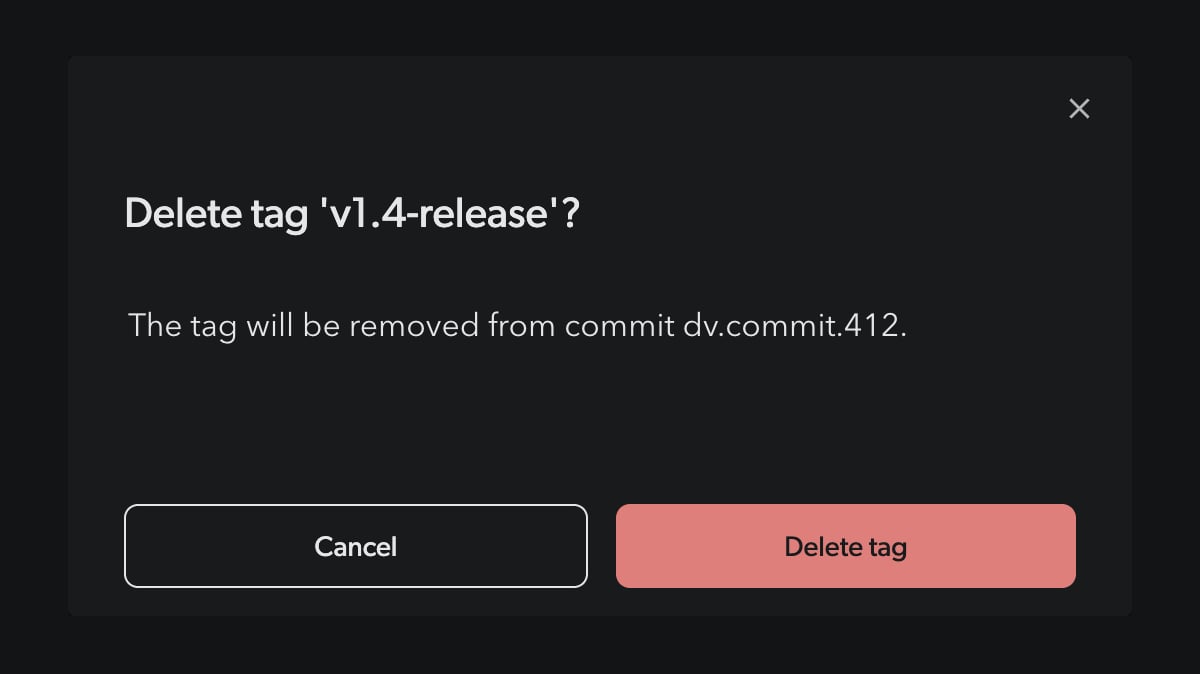
- Click the tag’s chip and select “Delete tag…”
- Confirm the deletion in the dialog
Tag Name Rules
- Names can contain letters, numbers, and the characters
.-_/(no spaces) - Names are limited to 128 characters; descriptions to 1024 characters
- Tag names must be unique within the repository
Using Tags from the CLI
dv tag reference for all options, or the Tags API for automation.