Undoing a commit
Committed something and wish you hadn’t? No worries, you can undo a previous commit with arevert. This will create changes that are the opposite of the commit you want to undo.
Go to your repo history
Open the workspace of the repo where your changes are. Make sure that you have no pending changes. In the left navigation rail, click Commits.
Select commit to revert
Click on the menu icon next to the commit you want to revert, and select “Undo this commit”. In the modal window, click “Undo changes”. It’s possible you’ll have to resolve a merge conflict, see below.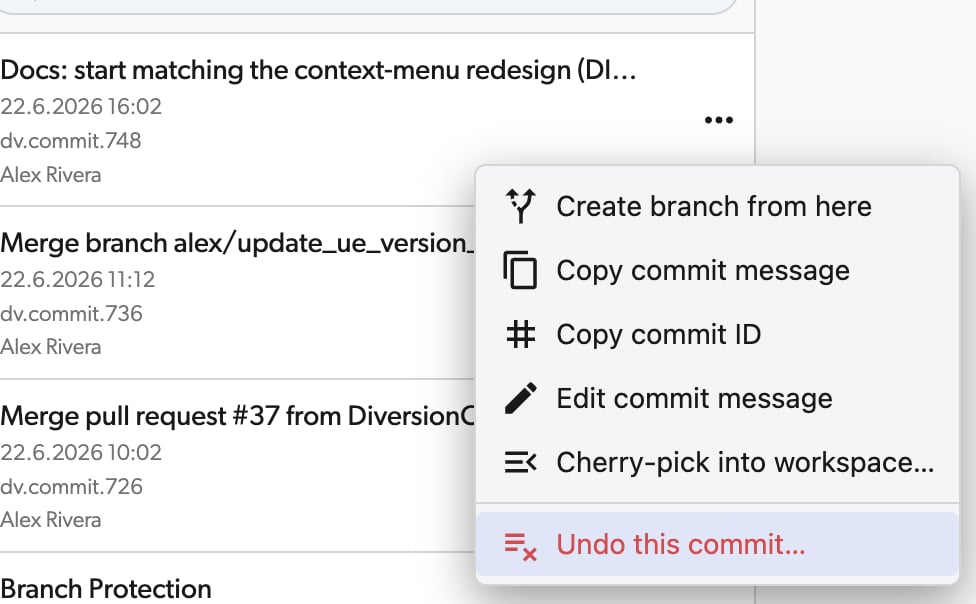
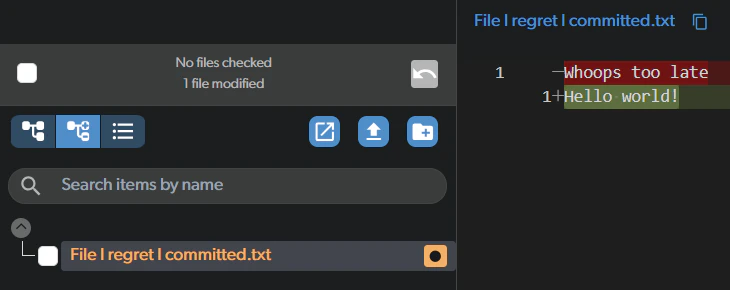
Admire your work
You’ll see new changes in your workspace that undo the changes for your commit.In this example, this is the commit I chose to undo:
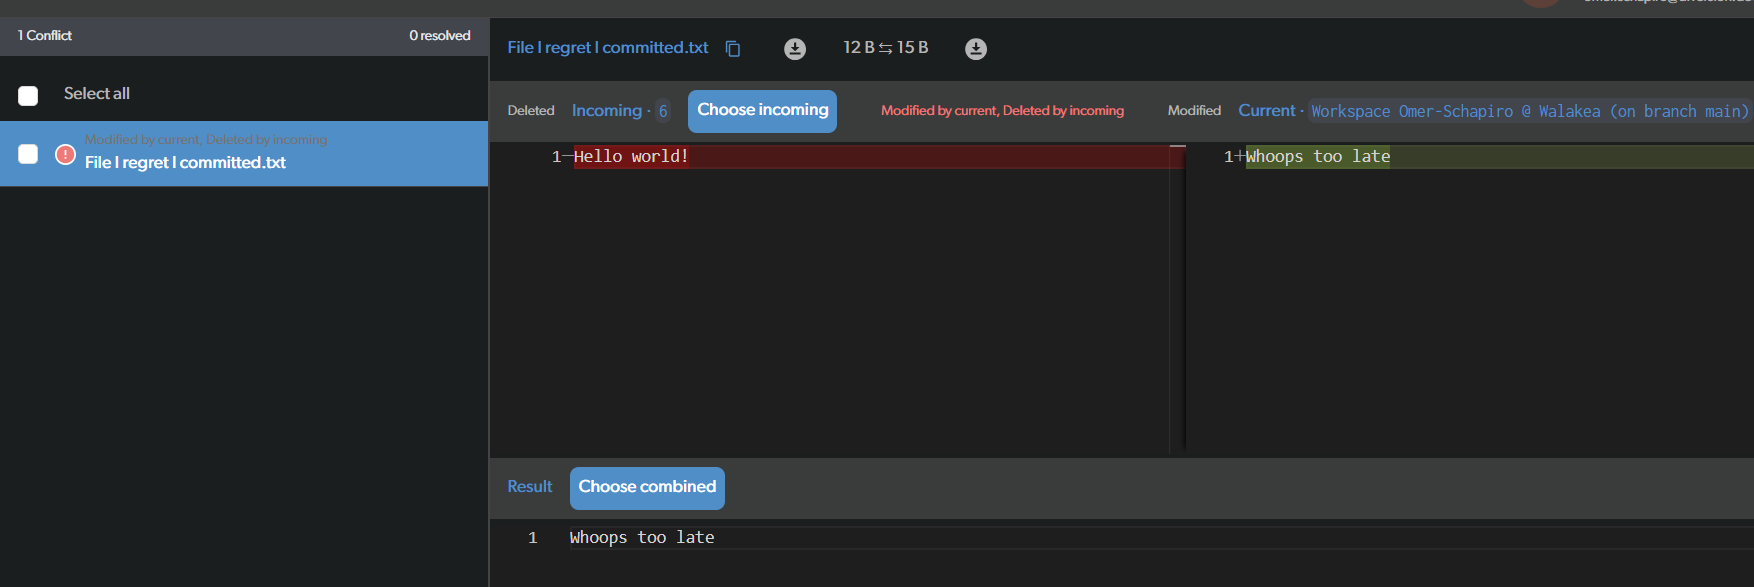
Resolve a merge conflict?
If you try to revert a commit that affects a file that was also affected by a later commit, it will result in a merge conflict. You’ll have to resolve the conflict before you can commit the changes.Earlier, I reverted a file that was edited. Now, instead, I’ll try to revert an earlier commit - the one where the file was created.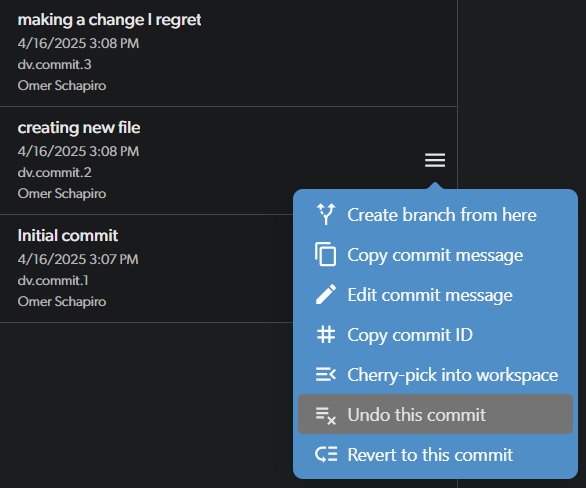
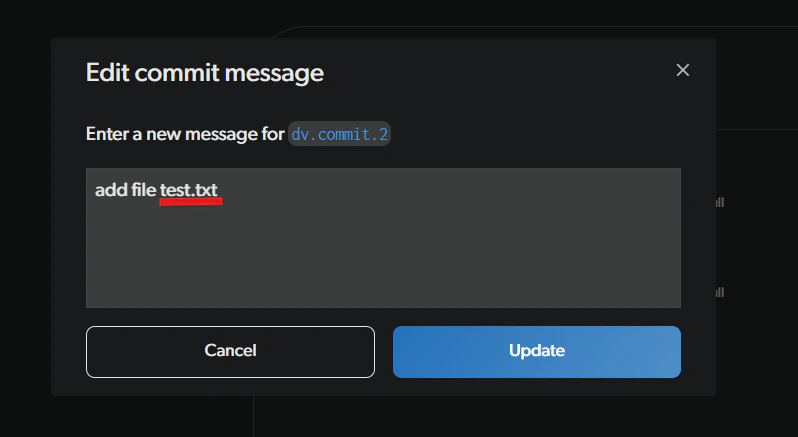
Editing a commit message
Made a typo in your commit message, or want to add more detail? You can edit the message of any commit you authored directly from the Commits view.Editing commit messages is only available for the commit author, and is not supported for repositories synced with Git.
Open the commit menu
In the Commits view, click on the menu icon next to the commit whose message you want to change, and select “Edit commit message”.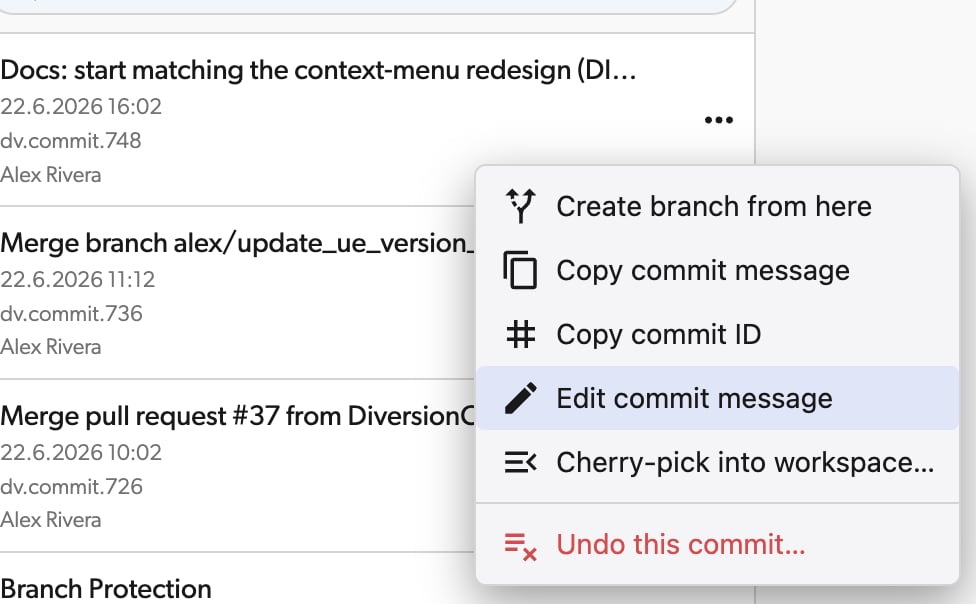
Cherry-picking a commit
Cherry-picking lets you take a specific commit from the history and re-apply its changes into your current workspace. This is useful when you want to bring in a particular change without merging an entire branch. Your workspace must have no uncommitted changes before cherry-picking. Cherry-picking is not available for the initial commit of a repository. In the Desktop App: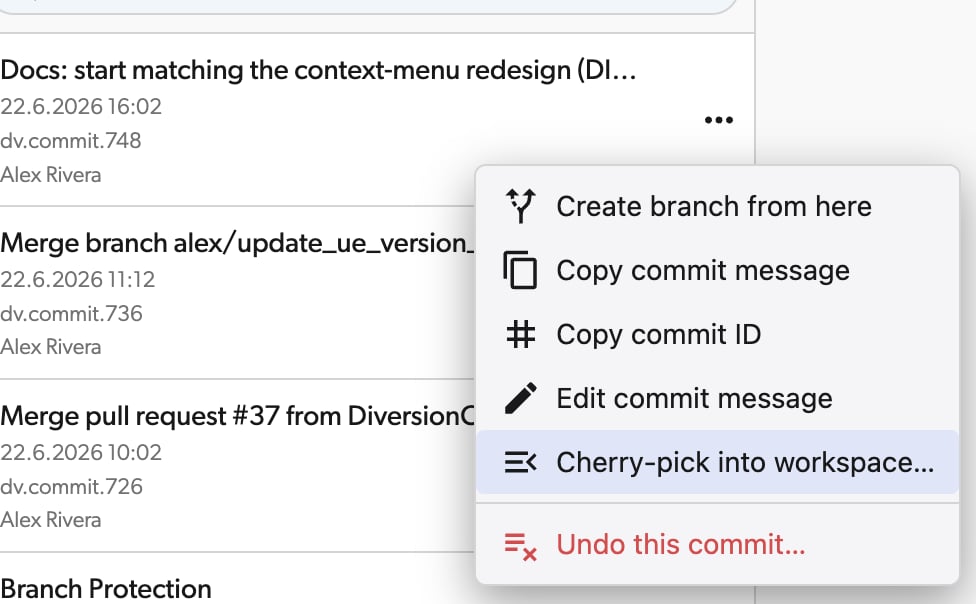
Resolve conflicts if needed
If the cherry-picked changes conflict with your current workspace, you’ll be taken to the merge conflict resolution view. See merge conflicts for details on resolving them.
Copying commit details
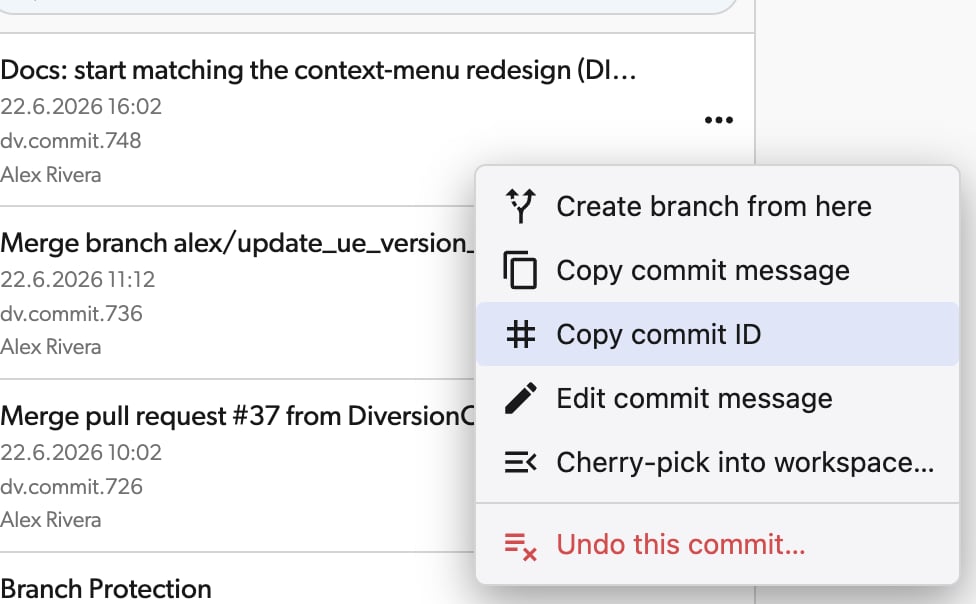
Need to reference a specific commit in a conversation or a script? You can quickly copy a commit’s ID or message straight from the Commits view.Copy commit ID
In the Commits view, click on the menu icon next to a commit and select “Copy commit ID”. The ID is copied to your clipboard right away — you’ll see a “Copied commit ID” notification confirming it.