

What is Selective Sync?
Selective Sync is a feature that allows you to choose which folders you want to sync locally. This will allow you to only have the files you need to work on, saving space on your computer.How to use Selective Sync
Open the … (more options) menu next to the workspace selector (the menu is titled “This workspace”) and choose Selective sync. You can also choose the folders before a clone starts, see Choose folders before cloning.1
Open your repo
From your local folder, run 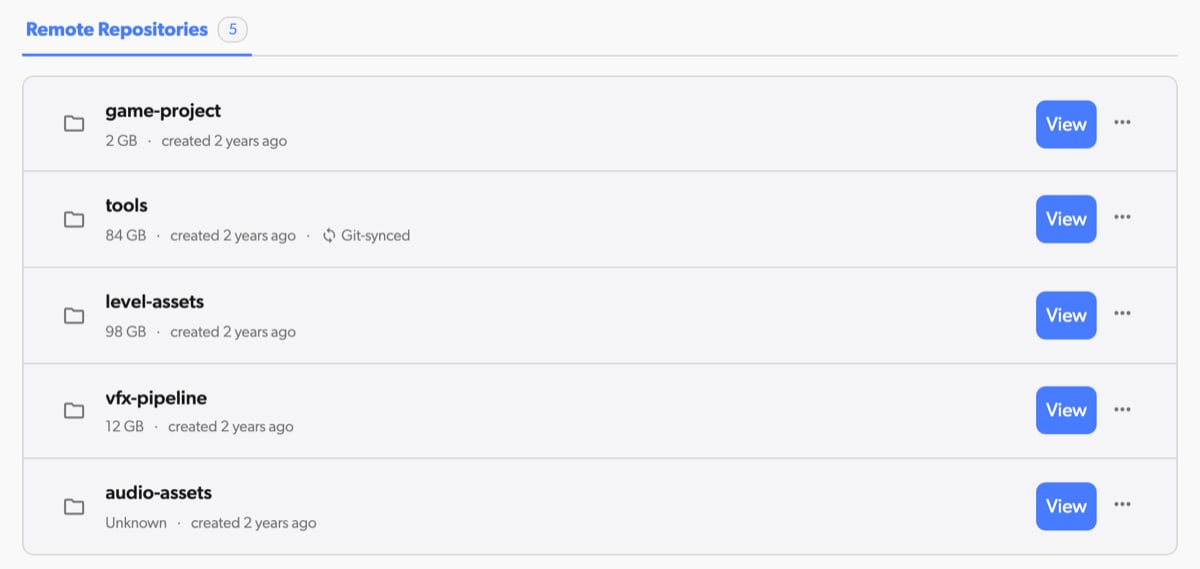
dv view, or click View on the repo in the dashboard.2
Open the workspace sync settings
Click the … (more options) button next to the workspace selector. A menu titled “This workspace” opens. Choose Selective sync (“Choose which folders sync to this workspace”).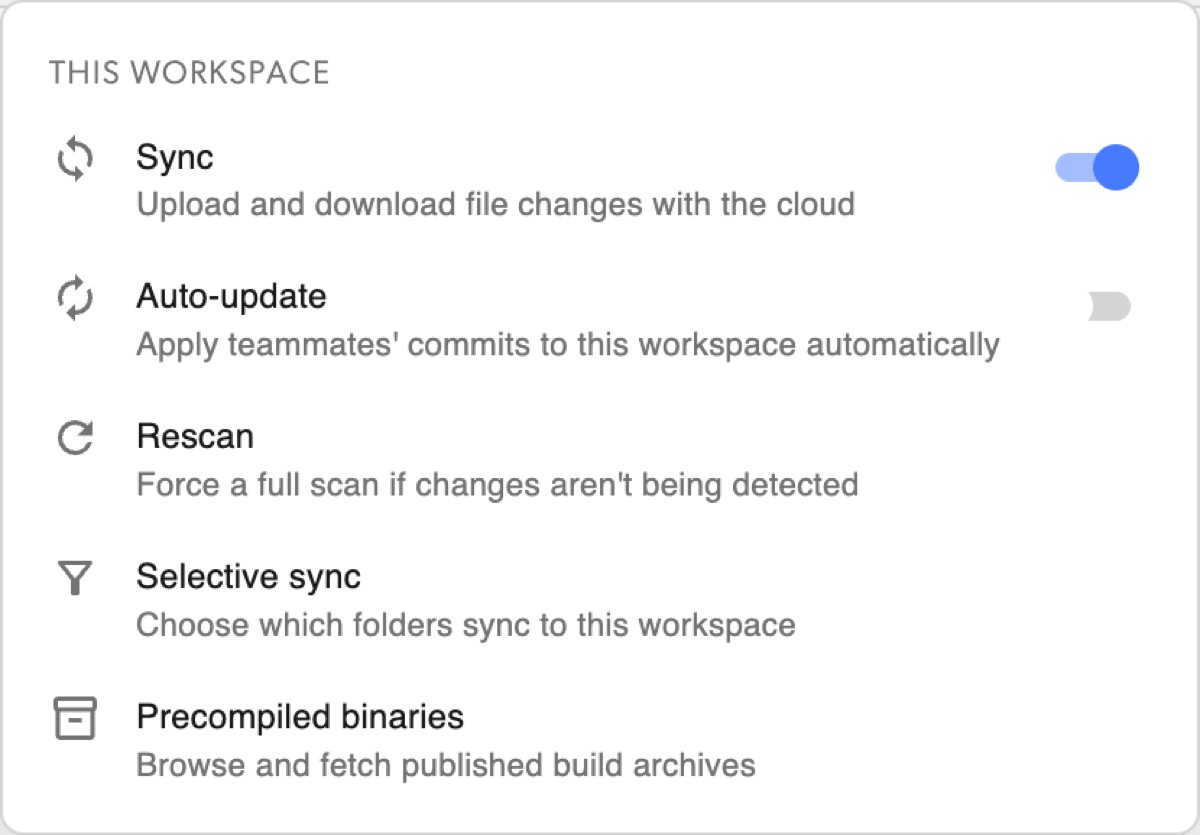
3
Choose the folders to sync
The Choose folders to sync dialog opens. Checked folders sync to this workspace, unchecked folders stay in the cloud. Use Select all to check or uncheck everything, and the search box to find a folder by name. Hover the info icon next to the title for the full rules.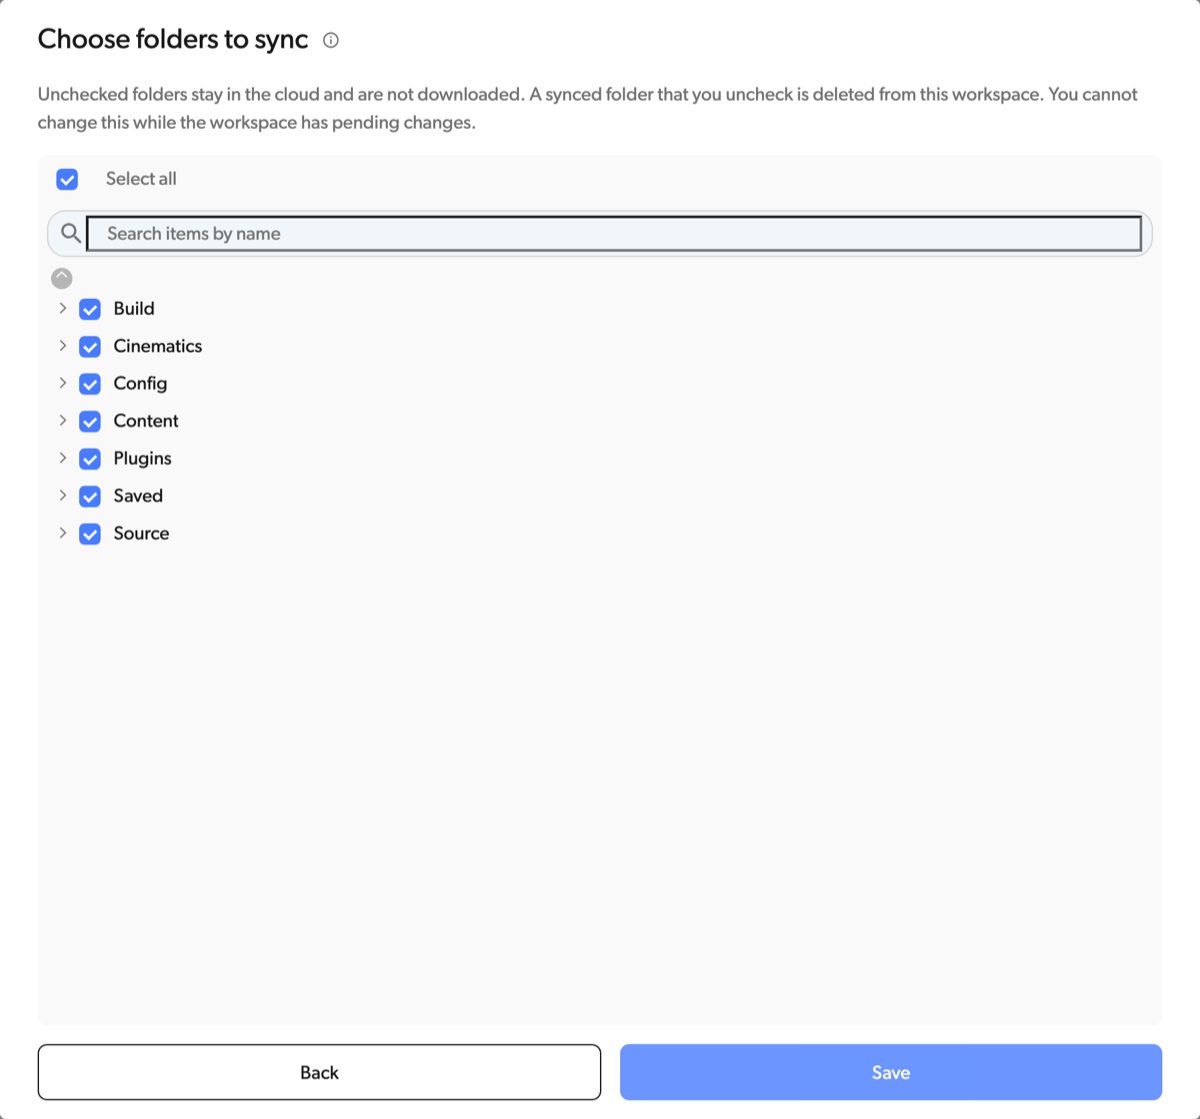
Unsyncing a folder
Let’s take a look atfolder 1.
In the UI:
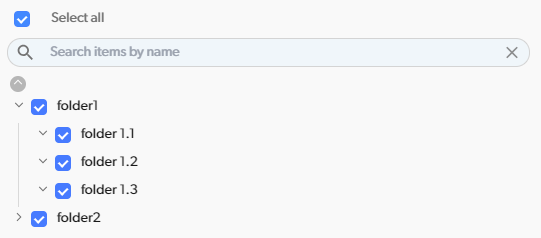
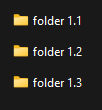
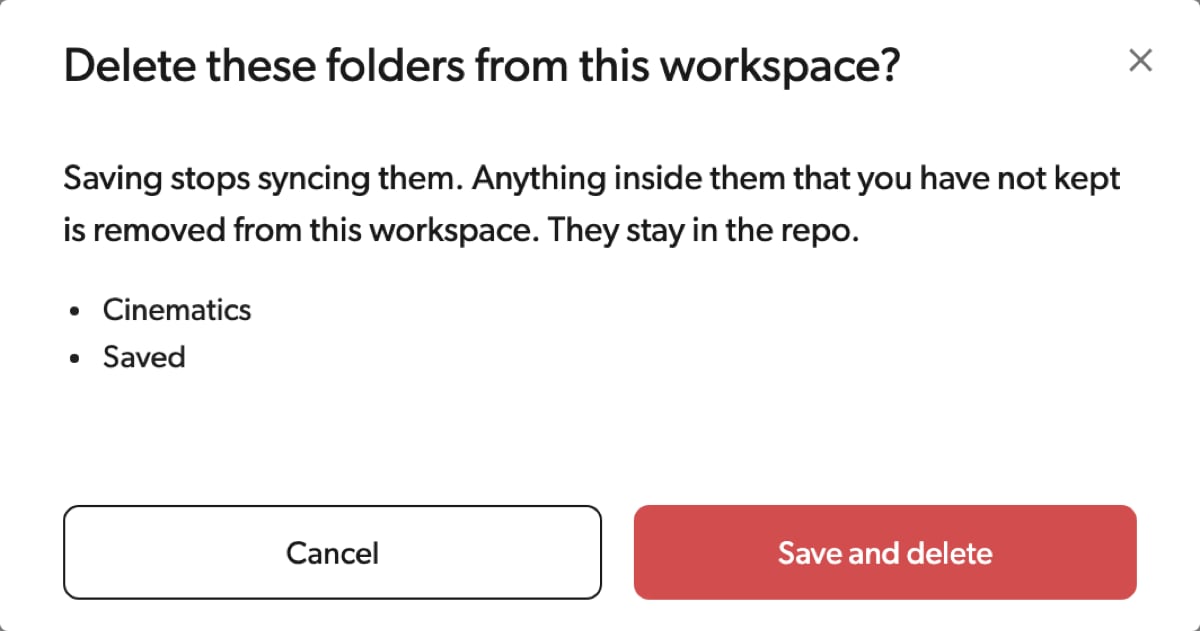
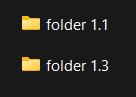
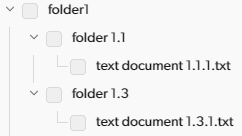
folder 1.2. Unselect the folder in the UI and hit Save. Because the folder is already on disk, Diversion asks you to confirm and lists the folders that stop syncing. Click Save and delete.
What about my uncommitted changes?
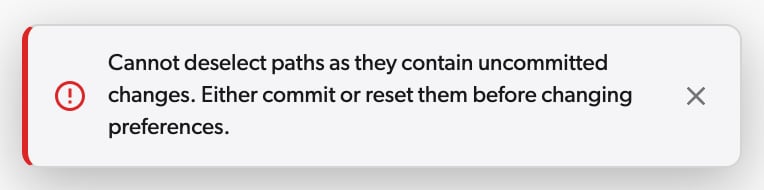
Have no fear! If you have any uncommitted changes, you won’t be able to change your selective sync settings. Let’s see what that looks like. Insidefolder 1.1, let’s make changes to text document 1.1.1.txt and save.
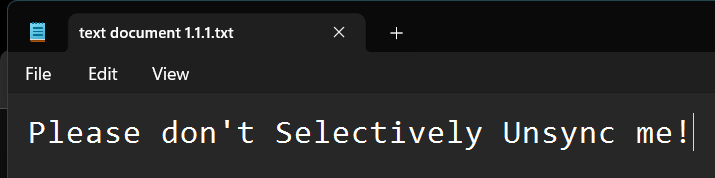
folder 1.1 and save.
We got an error message! We’ll have to commit or discard our changes before unsyncing the folder.
Choose folders before cloning
Cloning a repository through the desktop app downloads every folder by default. To download only the folders you need, choose them in the clone dialog before the clone starts. Nothing is downloaded for the folders you leave out.1
Open the clone dialog
On the dashboard, open the … (more options) menu of a repository and choose Clone repo. The dialog has a Folders to sync row, set to All folders.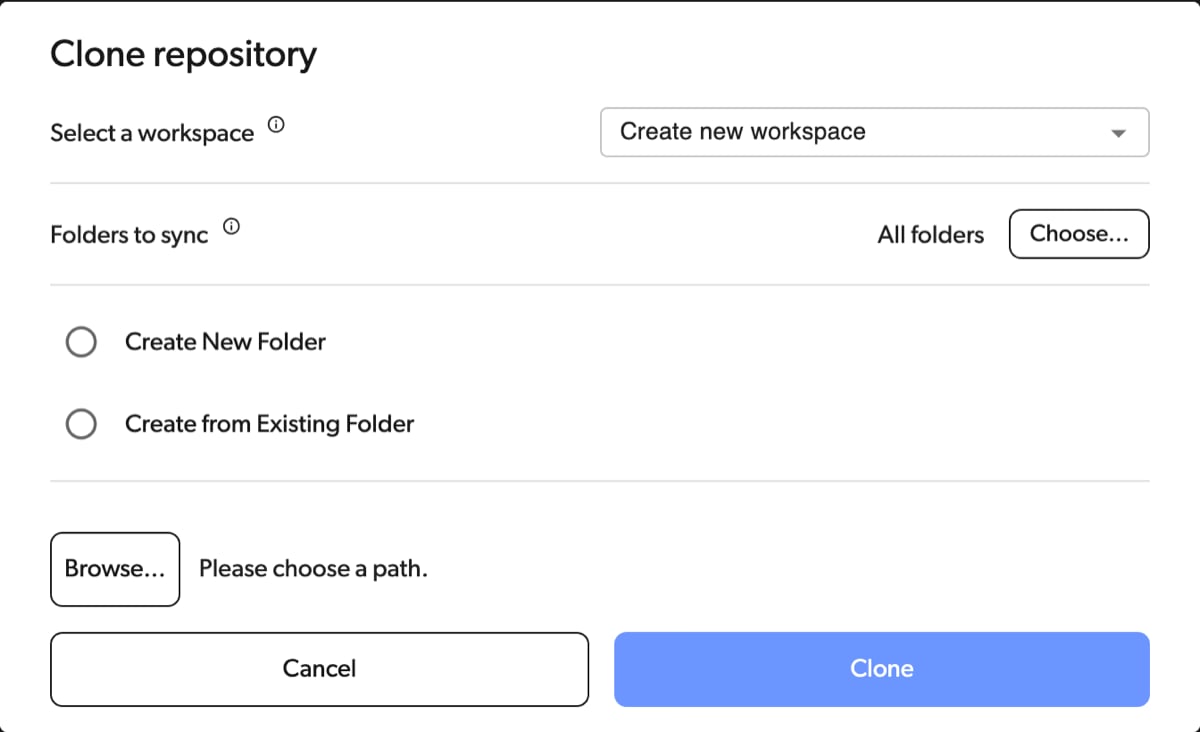
2
Choose the folders
Click Choose…. The same Choose folders to sync dialog opens, listing the folders of the repository’s default branch. Uncheck the folders you do not need and click Done.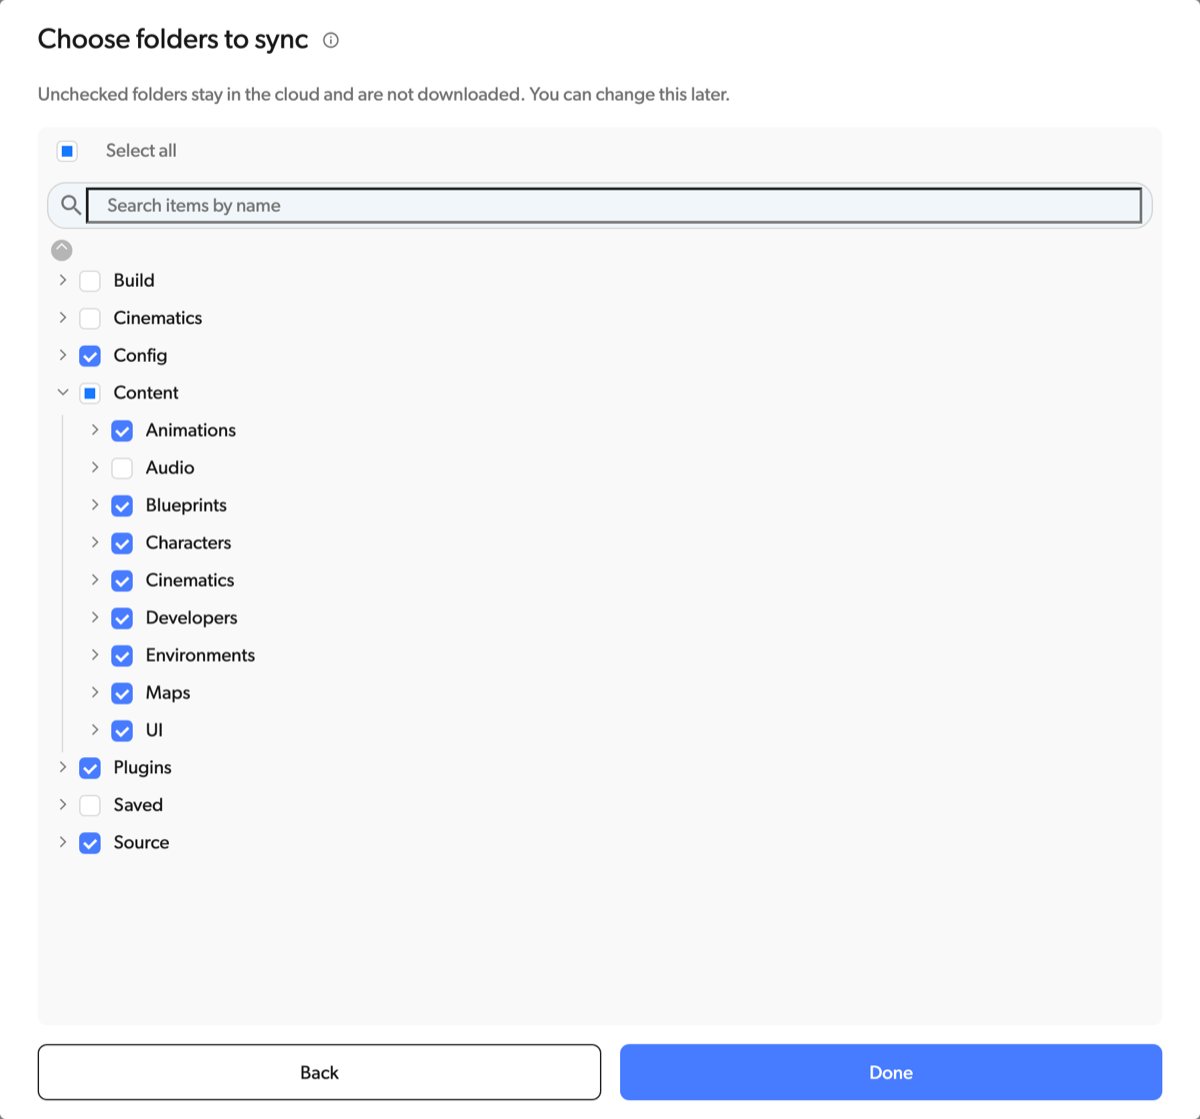
3
Clone
The row now shows how many folders you chose. Pick the local folder and click Clone. The workspace is created with your selection, so the folders you left out are never downloaded.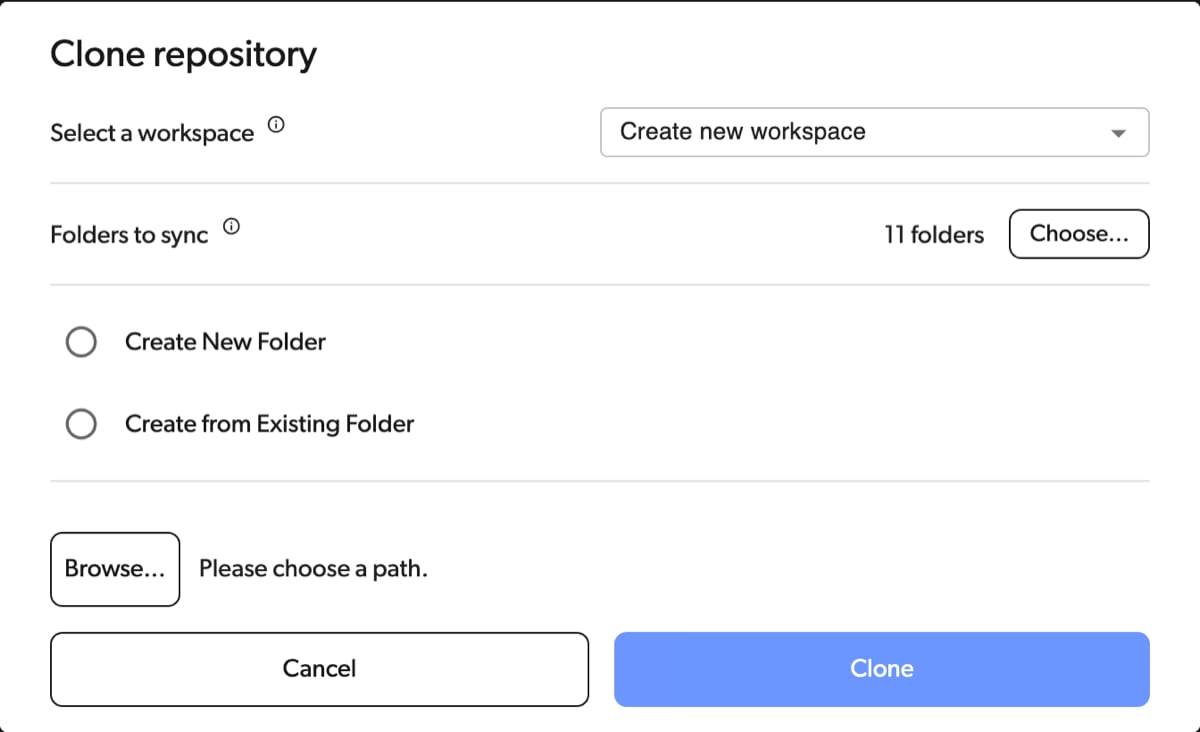
If you select an existing workspace in the clone dialog, the row shows that workspace’s current selection, and you can change it before the clone.
Loose files
Right now, we can only selectively sync folders. This means that files are handled differently, if they’re not in a folder. Let’s take a look atfolder 2.
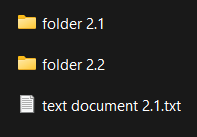
text document 2.1.txt. In this situation, unsyncing folder 2.1 will also unsync text document 2.1.txt! That’s despite the file being a sibling of the folder and not a child of it. This is because folder 2 will be marked as partially synced, so only explicitly synced folders (in this case, folder 2.2) will be kept.
This still supports the main use-case of this feature:
- Artists who don’t want to sync code locally can ignore the root
Sourcefolder, or equivalent. - Developers who don’t want to sync heavy assets can ignore the root
Contentfolder, or equivalent.