

When to Use Granular Permissions
Granular permissions are useful when you need to:- Protect sensitive paths: Prevent team members from modifying security-critical code, configuration files, or production assets
- Restrict by role: Allow designers to only modify assets while developers work on code
- Isolate components: Let teams work on specific parts of the repository without accessing others
Access Levels
Diversion uses four hierarchical access levels:
Access levels are hierarchical: Admin includes all privileges of Write, which includes Merge, which includes Read. See Access Levels for details on what each level can do.
Permission Types
Each rule uses one of four permission types that control how access is granted or denied:Path Patterns
Path patterns specify which files a rule applies to. Patterns always start with/ representing the repository root.
Here are some common patterns:
Rule Priority
Rules are evaluated from the bottom of the table to the top. When multiple rules match, the highest permission wins - unless a Deny rule stops evaluation.Rules lower in the table have higher priority. Deny rules can override Allow rules above them.
Example: Multiple Allow Rules
When Alice accesses
/src/secret/config.json:
- Both rules match
- The highest permission (Write) is granted
- Result: Alice can Write to files in
/src/secret/
Example: Using Deny to Restrict Access
When Alice tries to access
/src/secret/config.json:
- Rule 2 matches first (bottom, highest priority) - stops evaluation and denies all access
- Rule 1 is never evaluated
- Result: Alice has no access to files in
/src/secret/
Assigning Permissions
Permissions can be assigned to:- Individual users - Apply rules to specific team members
- Groups - Apply rules to all members of a group (requires an organization; see Groups). Prefer groups over individual users - it keeps permissions easier to maintain as your team grows.
Setting Up Granular Permissions
1
Open your organization settings
Click your profile avatar in the top navigation and select Organization settings.
2
Go to Permission rules
Select Repositories in the sidebar, then select Permission rules in the repository column.
3
Choose a Repository
Use the repository picker at the top of the repository column to select the repository you want to configure.
4
Edit the Table
Click “Edit Table” to enable editing mode.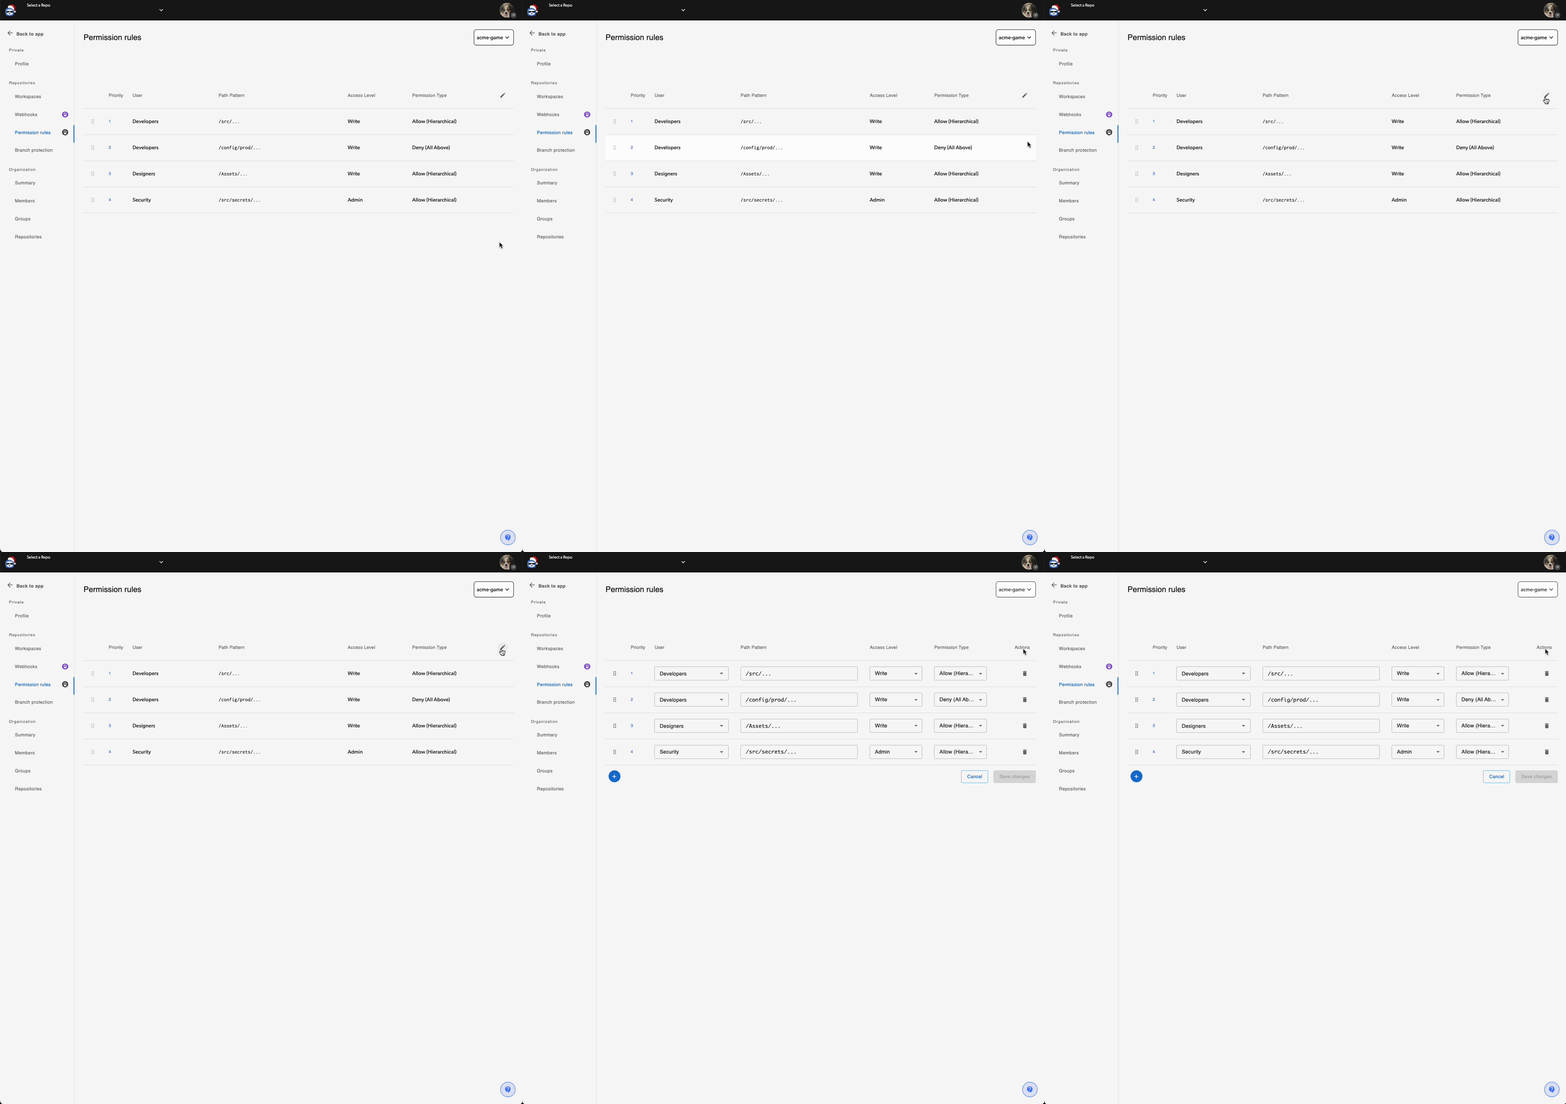
5
Add Rules
Click “Add Rule” and configure:
- User or Group: Who this rule applies to
- Path Pattern: Which files are affected
- Access Level: Admin, Write, Merge, or Read
- Permission Type: How to apply the access level
6
Edit Existing Rules
You can reorder rules by dragging them (rules at the bottom have higher priority), edit any field, or delete rules you no longer need.
7
Save Changes
Evaluation Logic
When a user tries to access a file:- Find all rules matching the file path for the user (including their groups)
- Evaluate rules from bottom to top (highest priority first)
- For each rule:
- If Deny (All Above) matches the requested level: Stop evaluating (previously granted permissions are kept)
- If Deny (Exact) matches exactly: Mark exact level as denied, continue evaluating
- If Allow (Hierarchical) or Allow (Exact) matches: Mark as granted, continue
- Final decision: The highest granted permission wins, unless a deny was recorded
Default behavior:
- If there are no granular permission rules in the repository, users get their repository-level permission.
- Once any rule exists for any user, users without matching rules are denied all access. Make sure to add rules for all users who need access.