merge warnings help avoid conflicts, but if you run into one anyway, this guide will help you resolve it using our Unreal Engine Plugin.
Step 1: Create a Merge Conflict
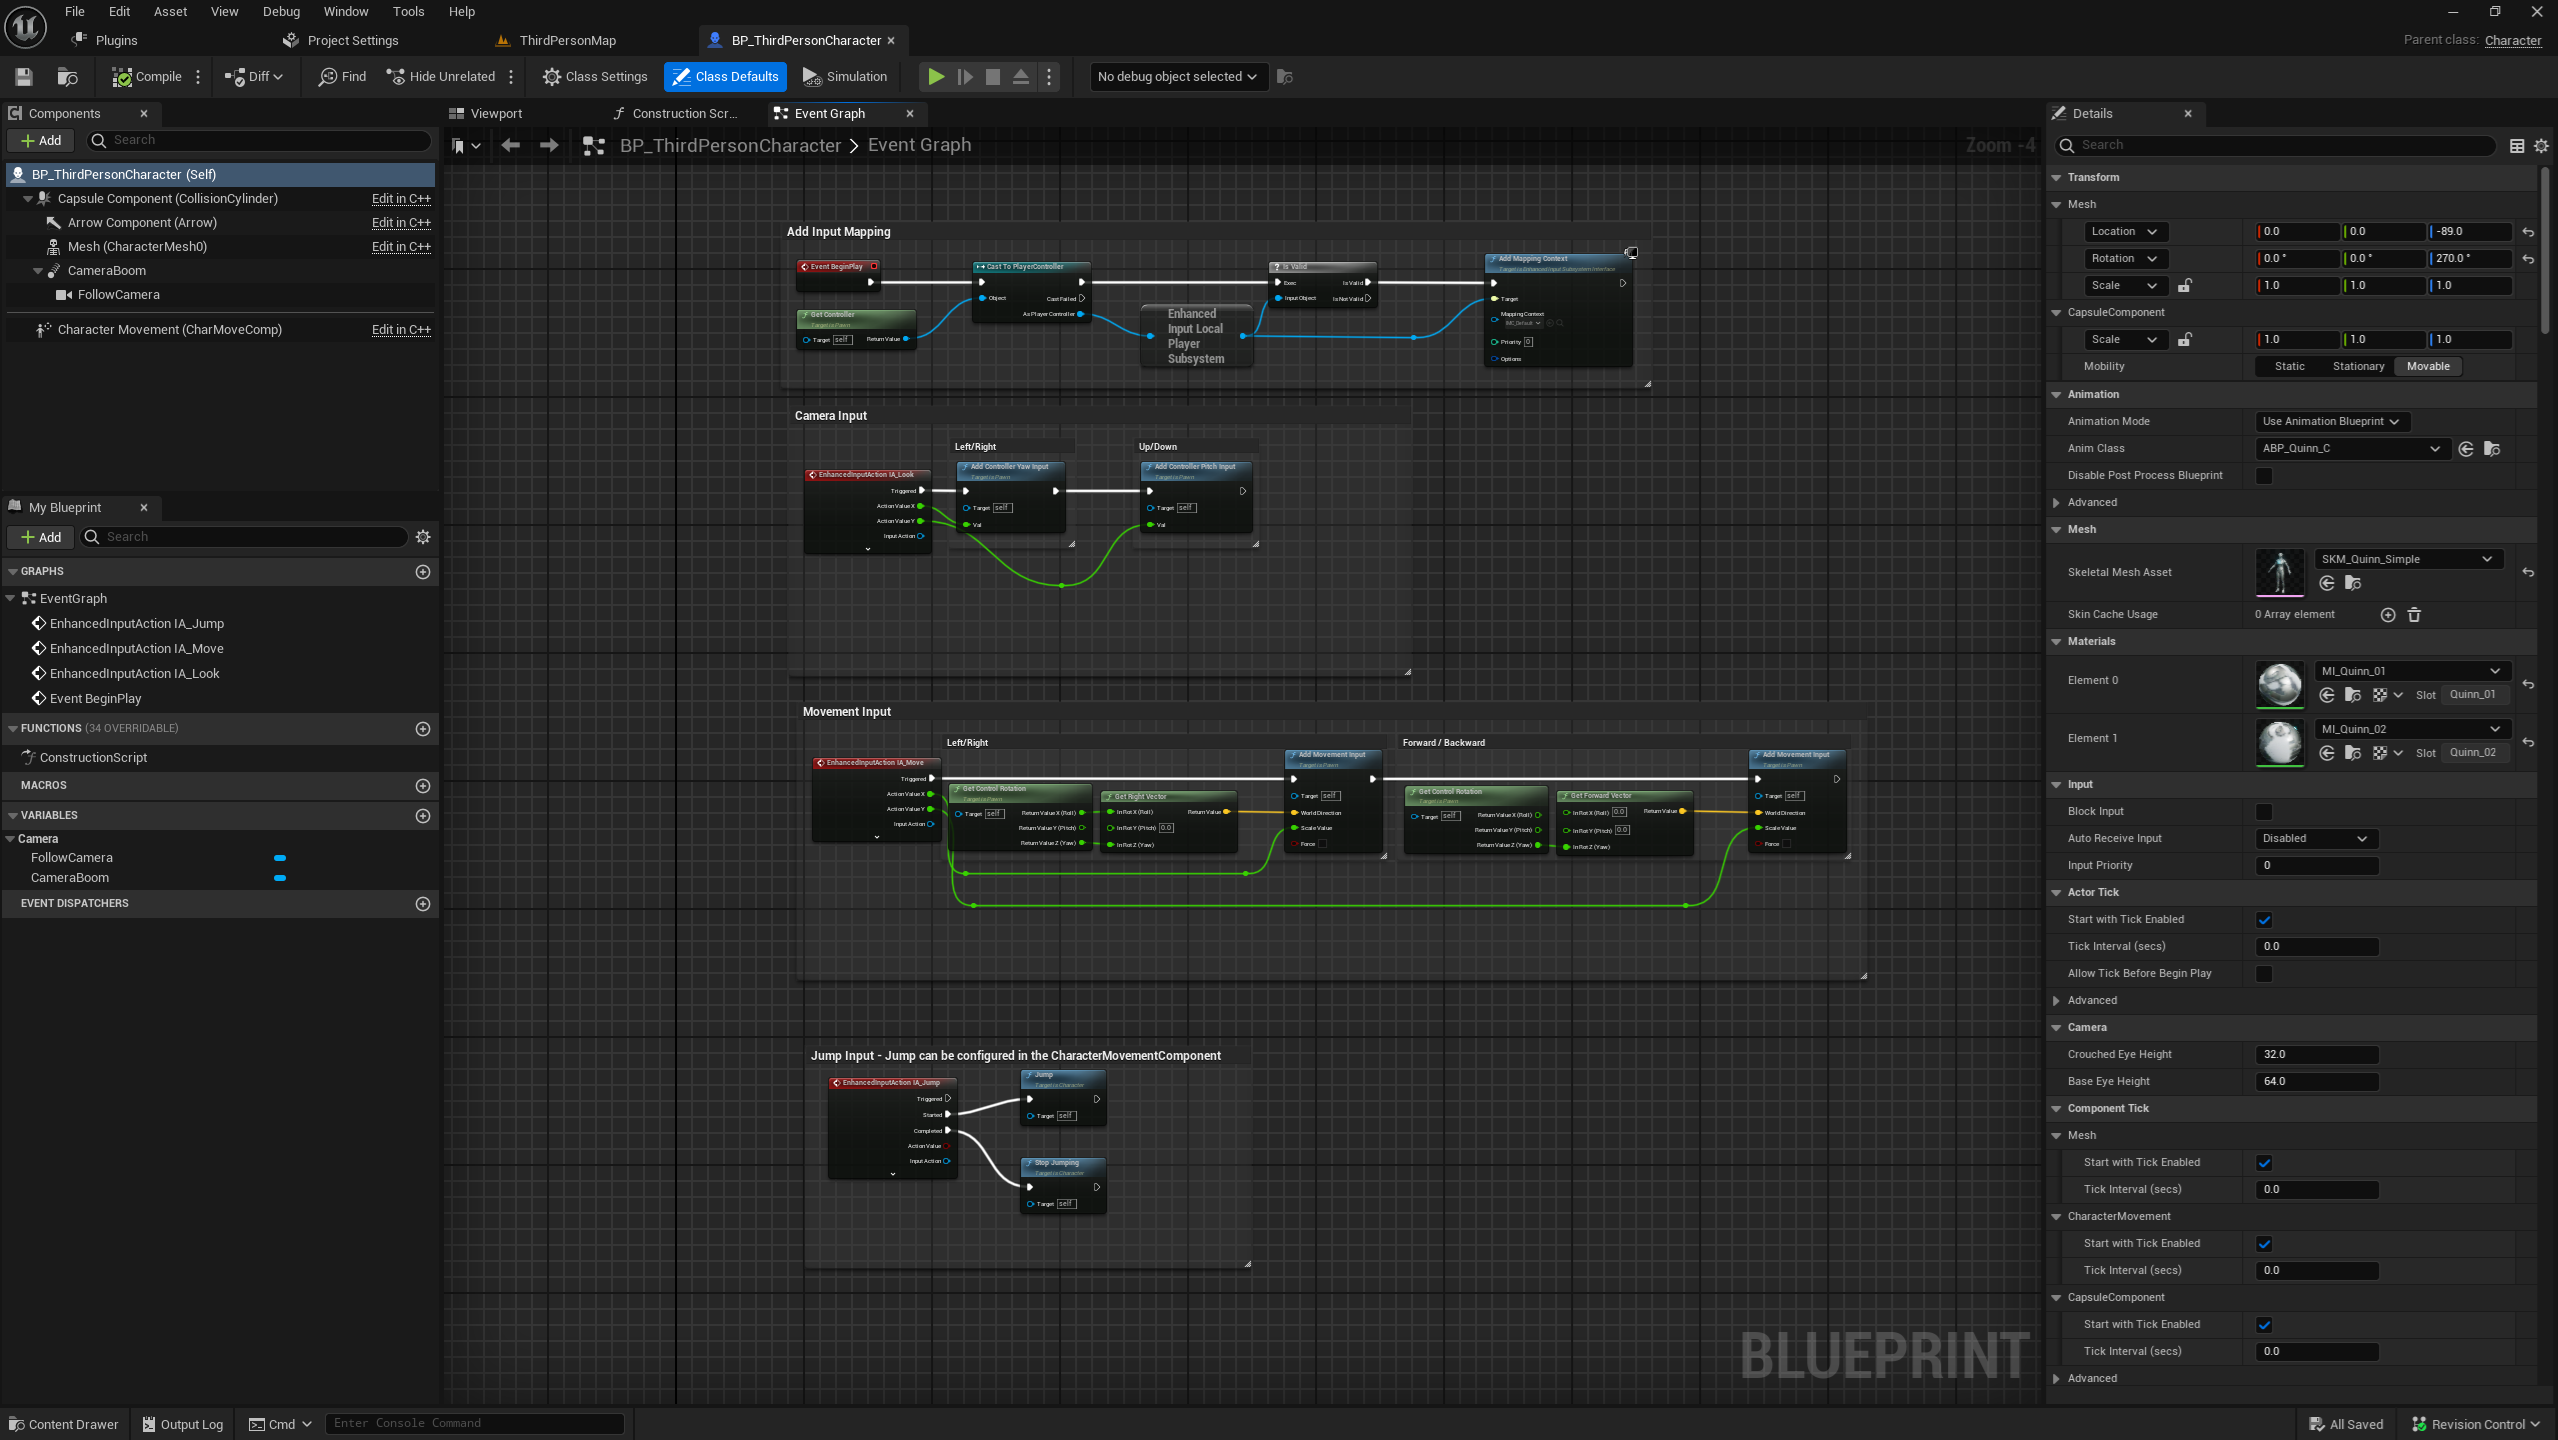
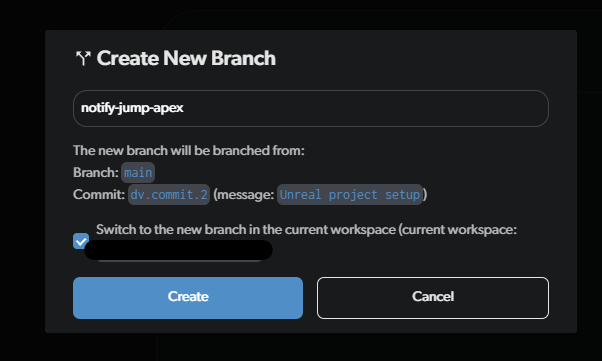
To create a merge conflict, you will need to make changes to the same file in two different branches. Here I haveBP_ThirdPersonCharacter from Unreal’s Third Person Template project, which I have initialized as a Diversion repository using the plugin.
notify-jump-apex.
BP_ThirdPersonCharacter blueprint like this:
(Yes, this is just a simplified example for the purpose of this guide.)
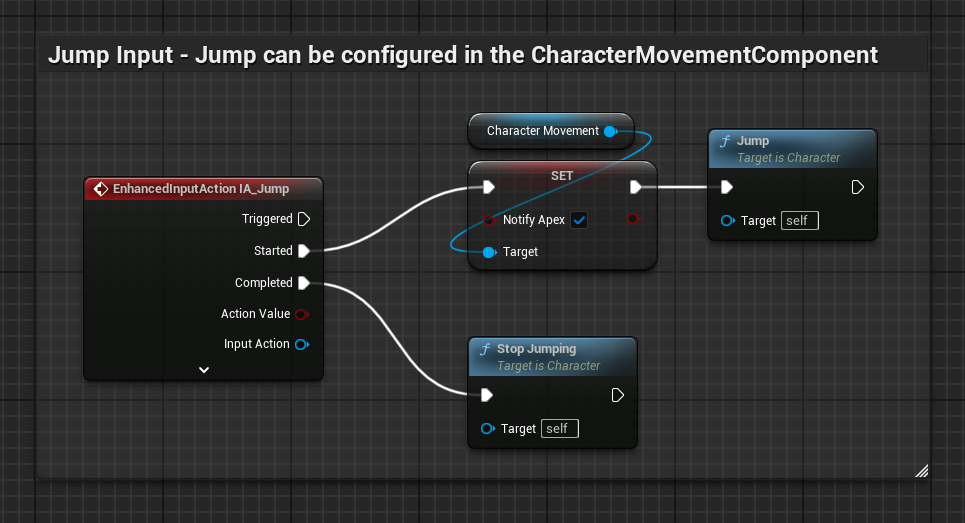
notify-jump-apex branch.
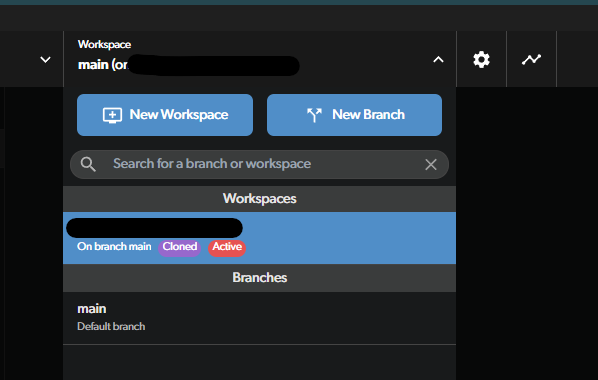
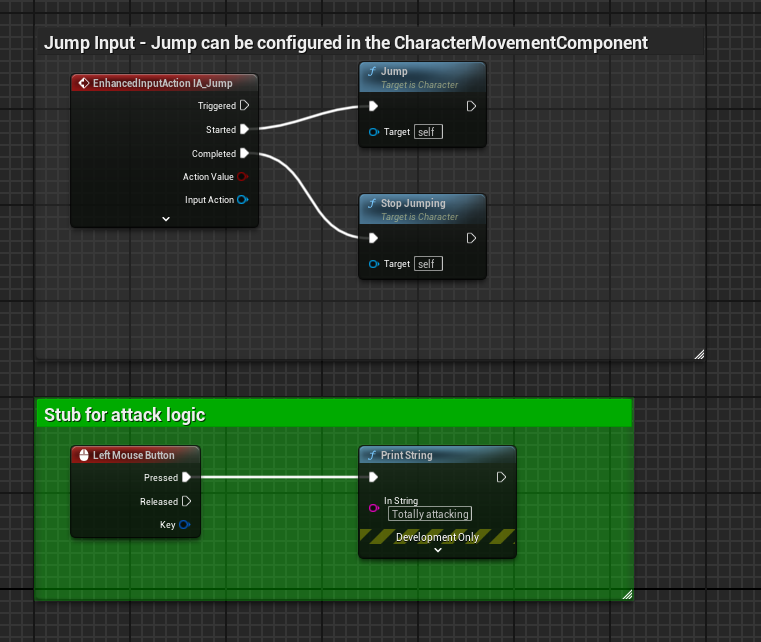
main branch, create a new branch called attack like before, and restart the editor to get the correct version of our blueprint.
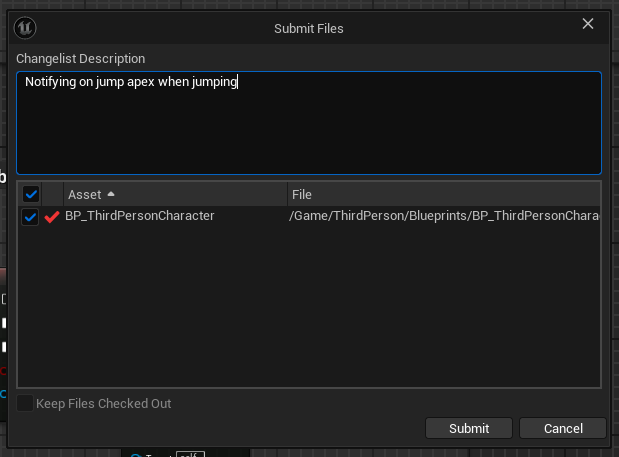
Let’s implement our attack logic, and commit it to the attack branch.
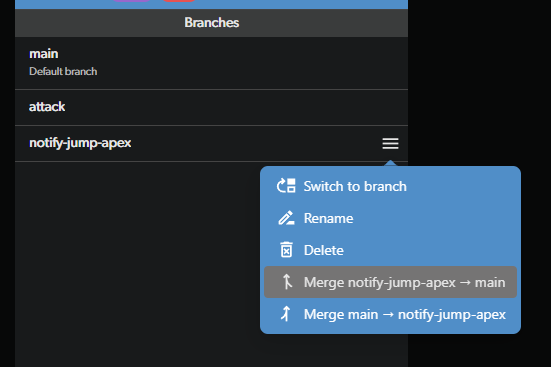
main branch, and merge the notify-jump-apex branch into it.
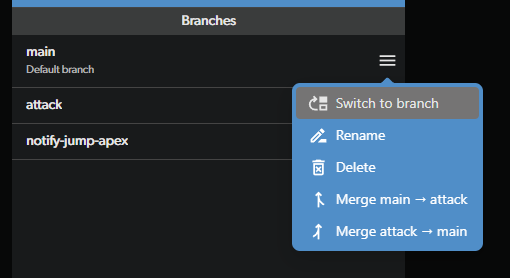
attack branch into the main branch:
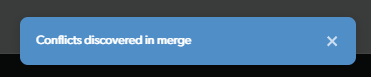
.uasset, it’s not human-readable and we can’t resolve it manually just like that, without any special tools. Luckily for us, Unreal has a special tool! Let’s use it.
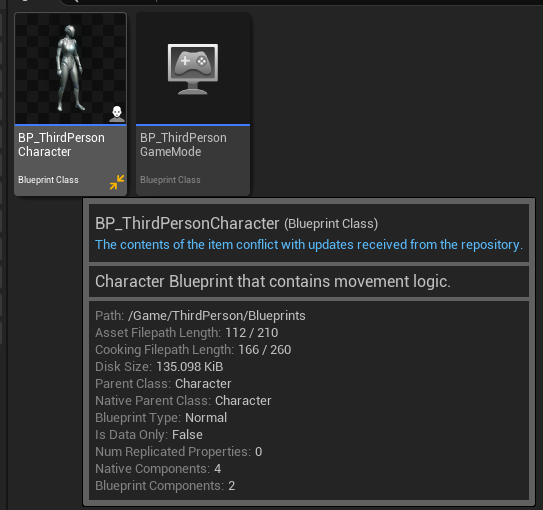
Step 2: Resolve the Merge Conflict
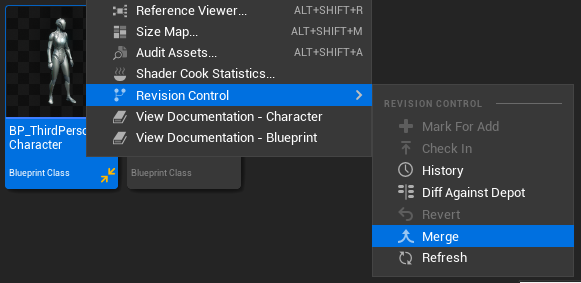
Open the Unreal editor and open ourBP_ThirdPersonCharacter blueprint. Notice the icon? It tells us there’s a conflict in the file.
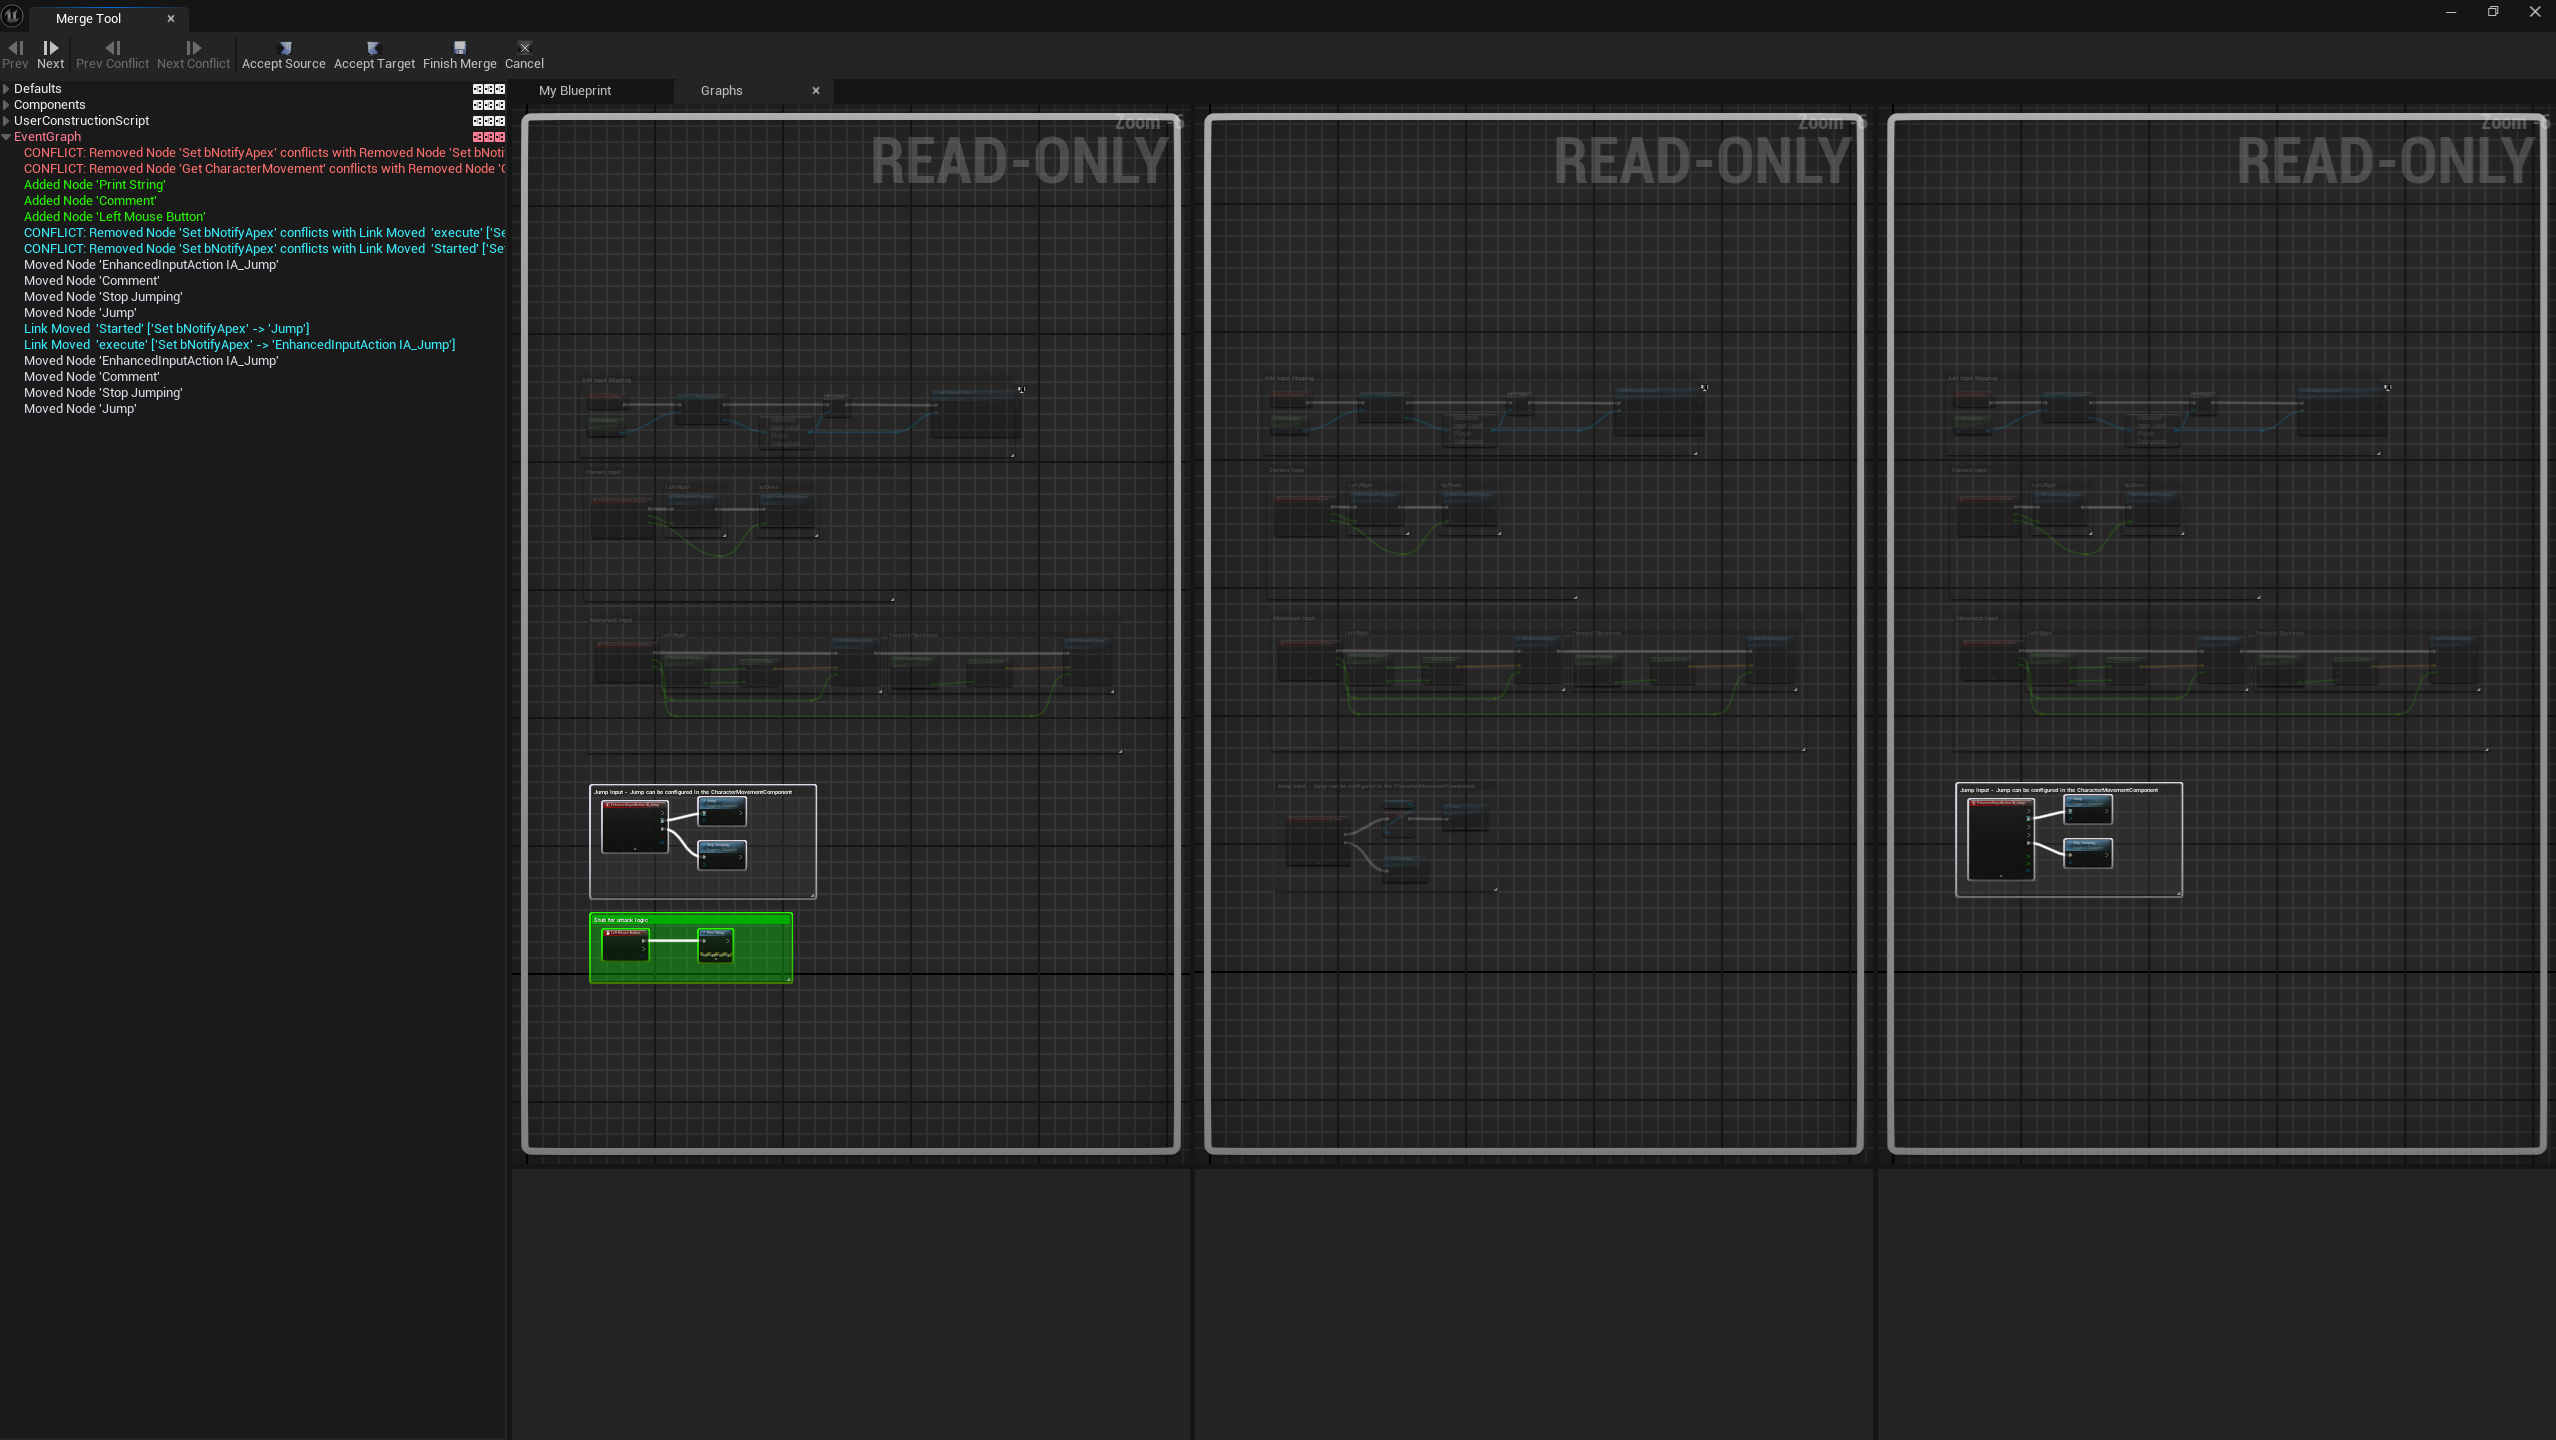
Revision Control -> Merge. This will open the merge resolution tool.
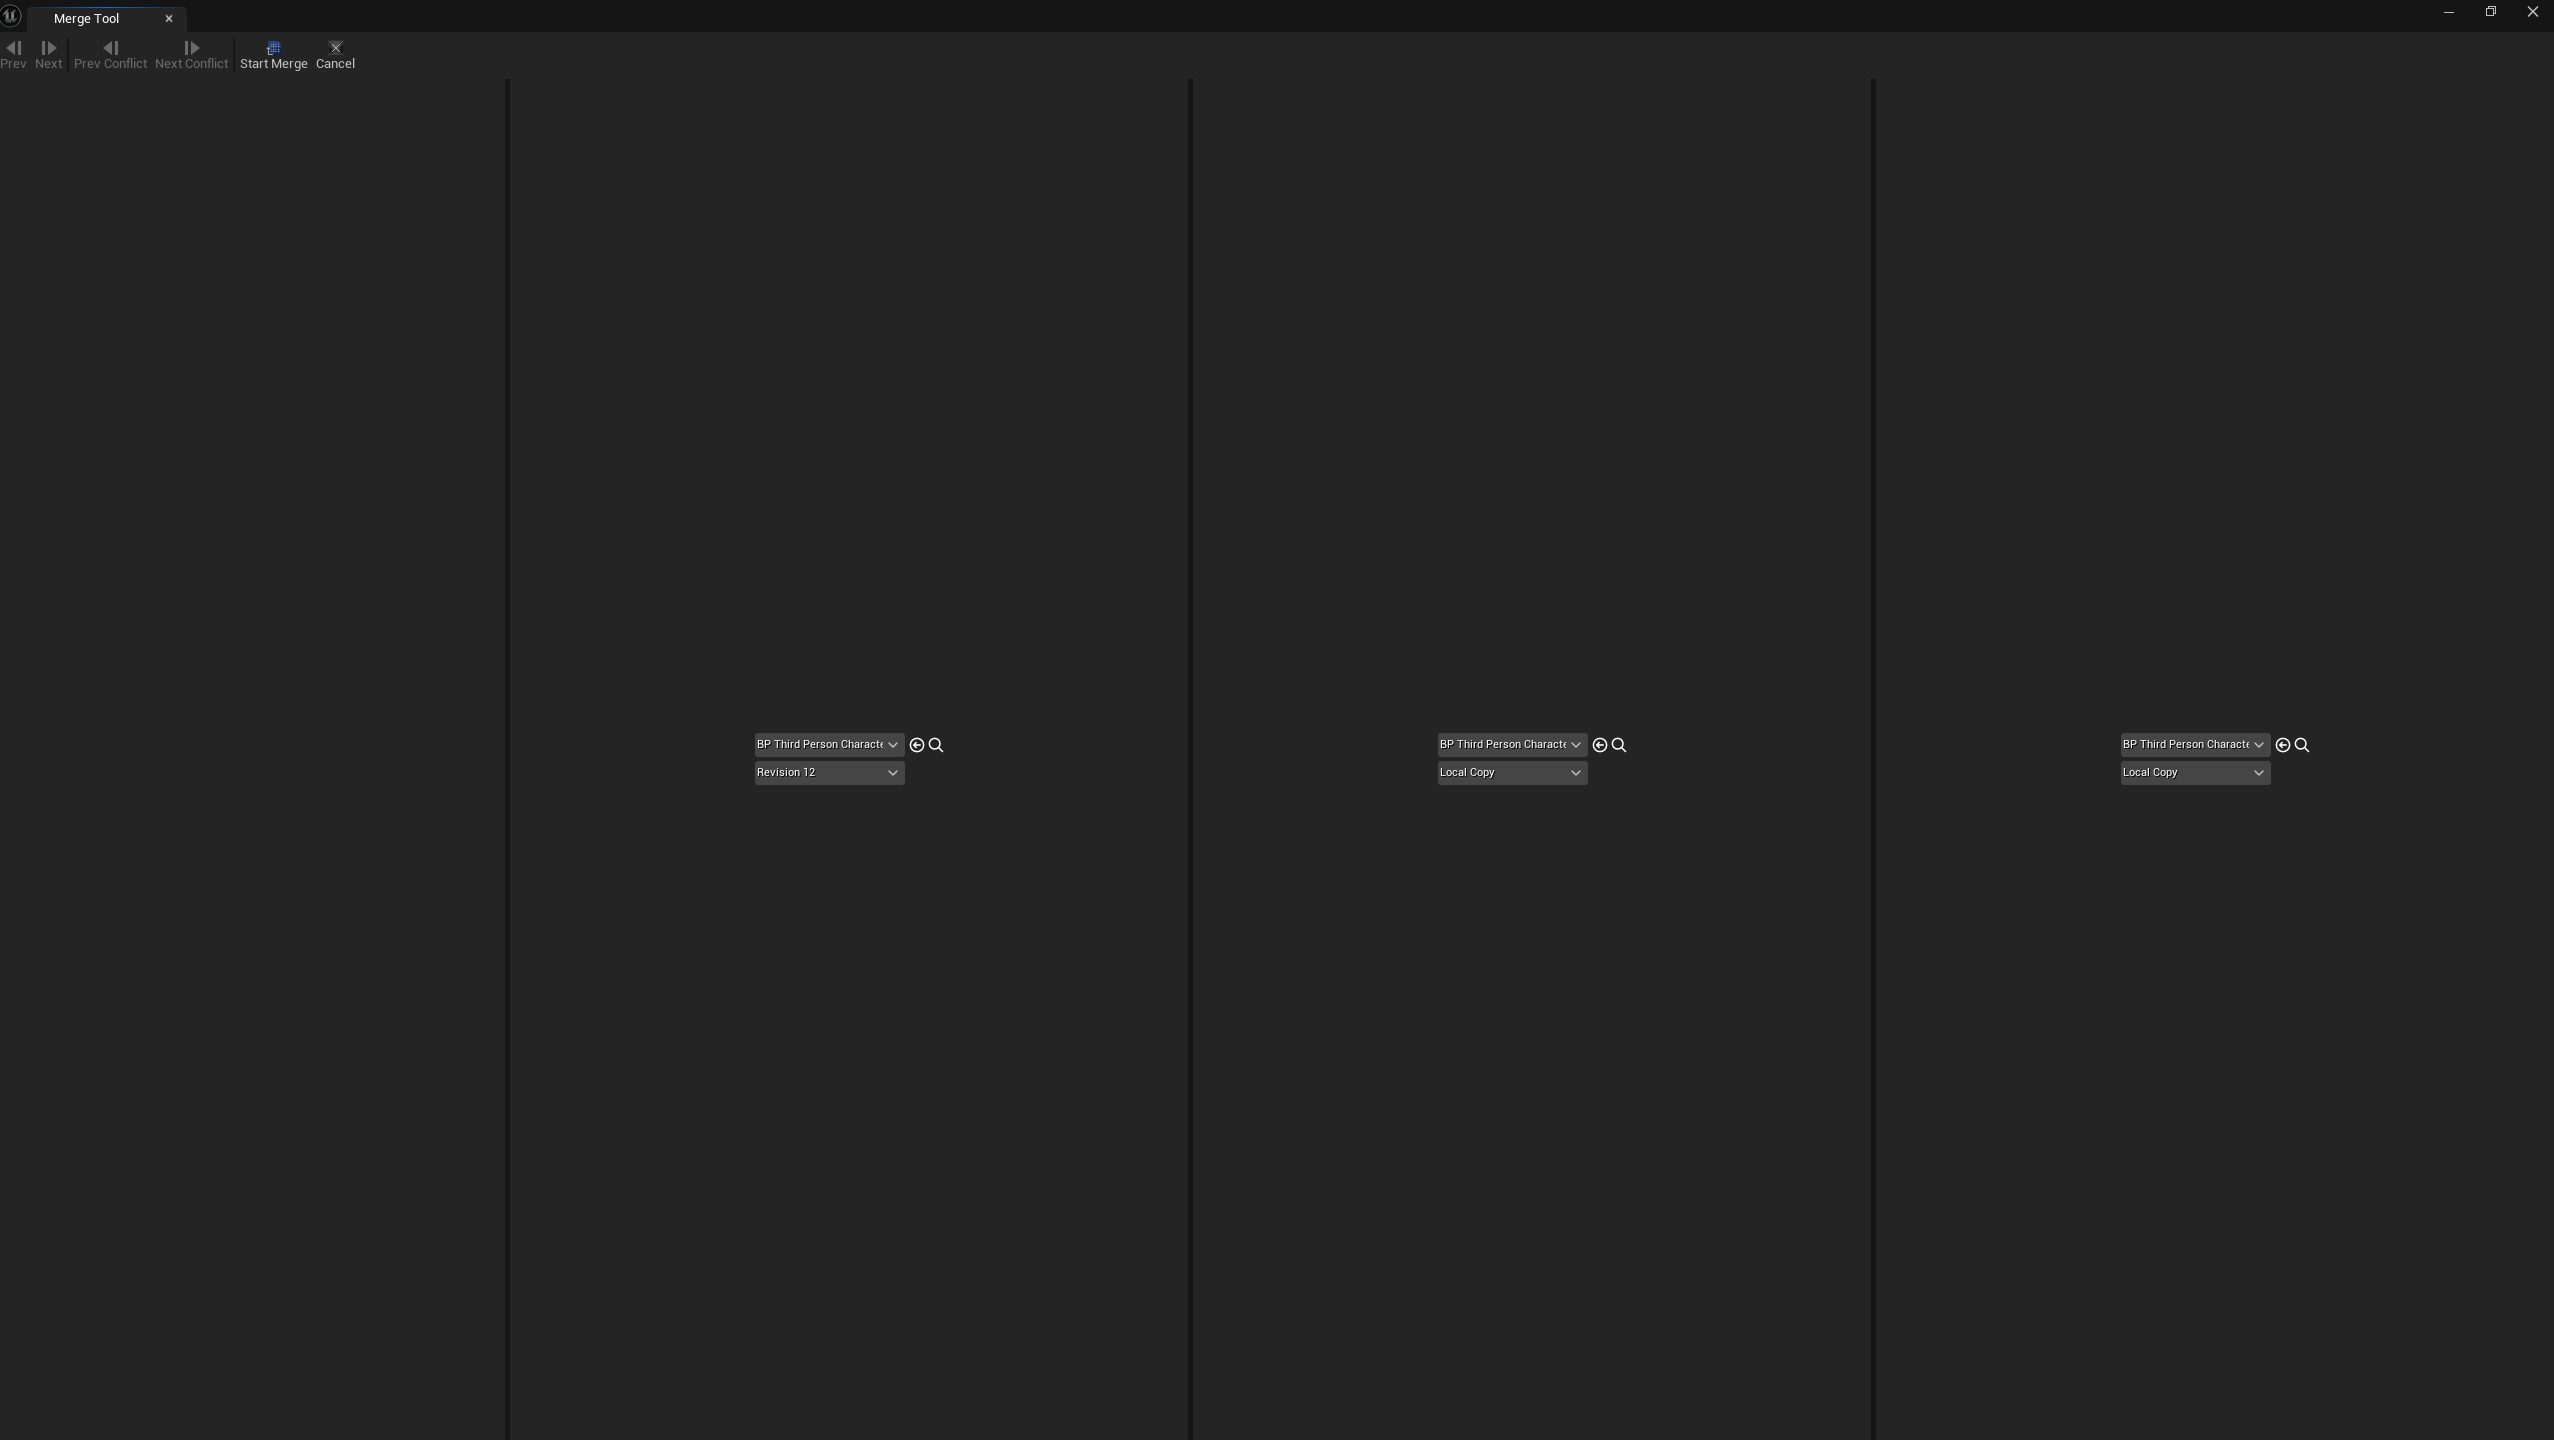
attack branch. Notice in the screenshot above the left column says Revision 12?
Your left column might have a different number, since I messed up when taking the screenshots for this guide and had to do it again. I think yours should say 4. Let us know in the Discord!
The middle column is the local version, which is what you have in your current branch. In our example this is the current state of the main branch and should include the changes from the notify-jump-apex branch.
It’s important to have the middle column show your local changes, as it will help us manage the merge conflict better. This seems to be an issue with Unreal’s merge tool.
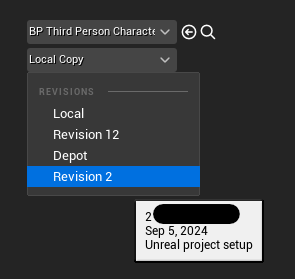
The right colum is the base version, which is the common ancestor of the two branches, and is optional. In our case, it’s the second commit from the main branch, with the original blueprint from the template.
To see the base version, open the drop down and select the correct commit to see in that column. If you mouse-over the commit, you’ll see the commit message so you can identify the correct one. You can also leave it as it is and the rest of the process should look the same.
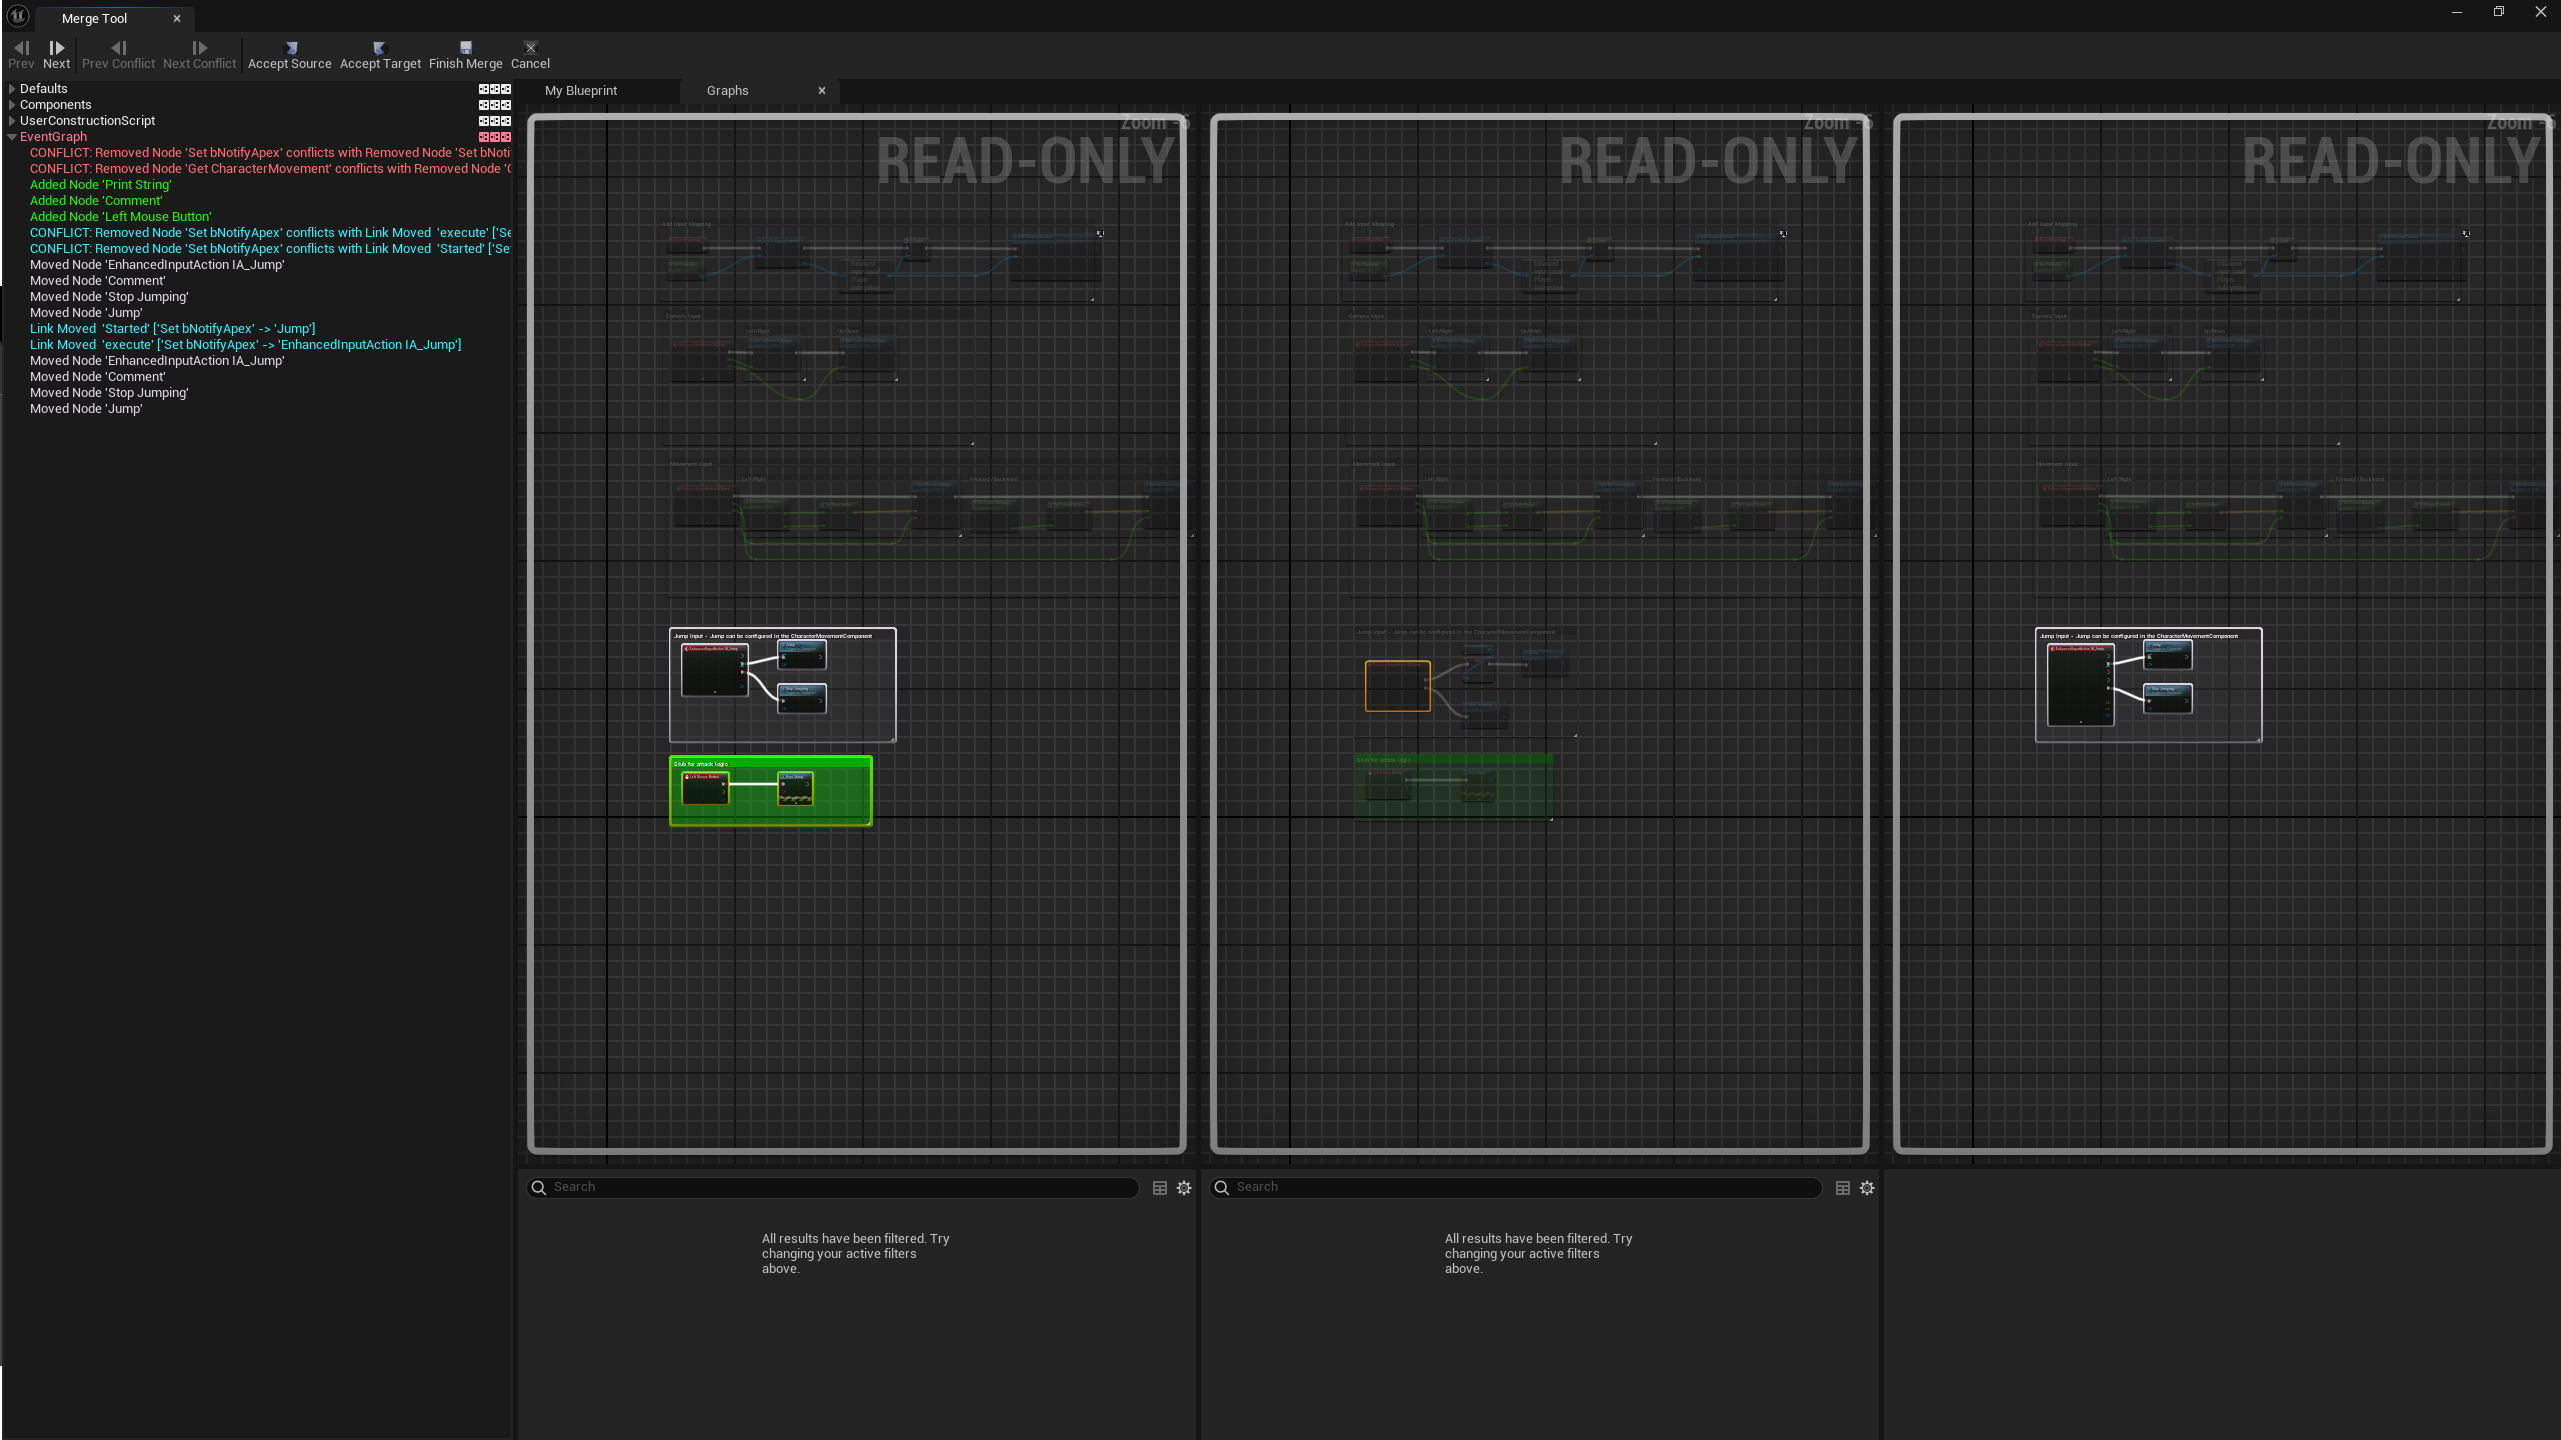
Start Merge and then on Event Graph. You can navigate your changes using the graphs as you normally would, or using the Next and Previous buttons.
Notice that our blueprint opened in the background, and any changes we make to it will be reflected in the middle column.
At the top, we have 3 important buttons: Accept Source, Accept Target, and Finish Merge. Accept Source will take the changes from the left column, Accept Target will take the changes from the middle column, and Finish Merge will save the changes and close the window.
In our case, neither is what we want! We want to combine the changes from both branches. To do that, we’ll have to manually copy the changes from the left column to our blueprint that’s open in the background.
So just copy-paste as you normally would, and when you’re done, click Finish Merge.
Before: