Generate an API Token
Navigate to the tokens page
Click on your avatar and select Integrations.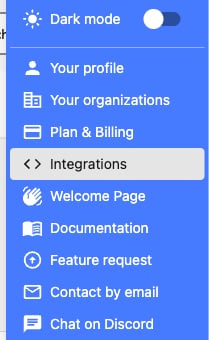
Generate a new token
A new window will open. Click the Generate a new API token button.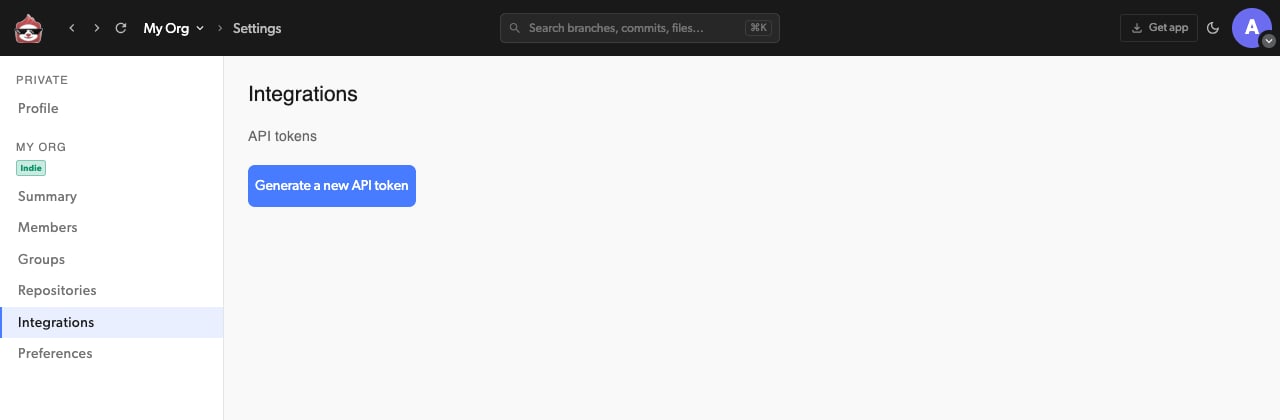 Provide your login credentials, if prompted.
You’ll be redirected to your new API Token.
Provide your login credentials, if prompted.
You’ll be redirected to your new API Token.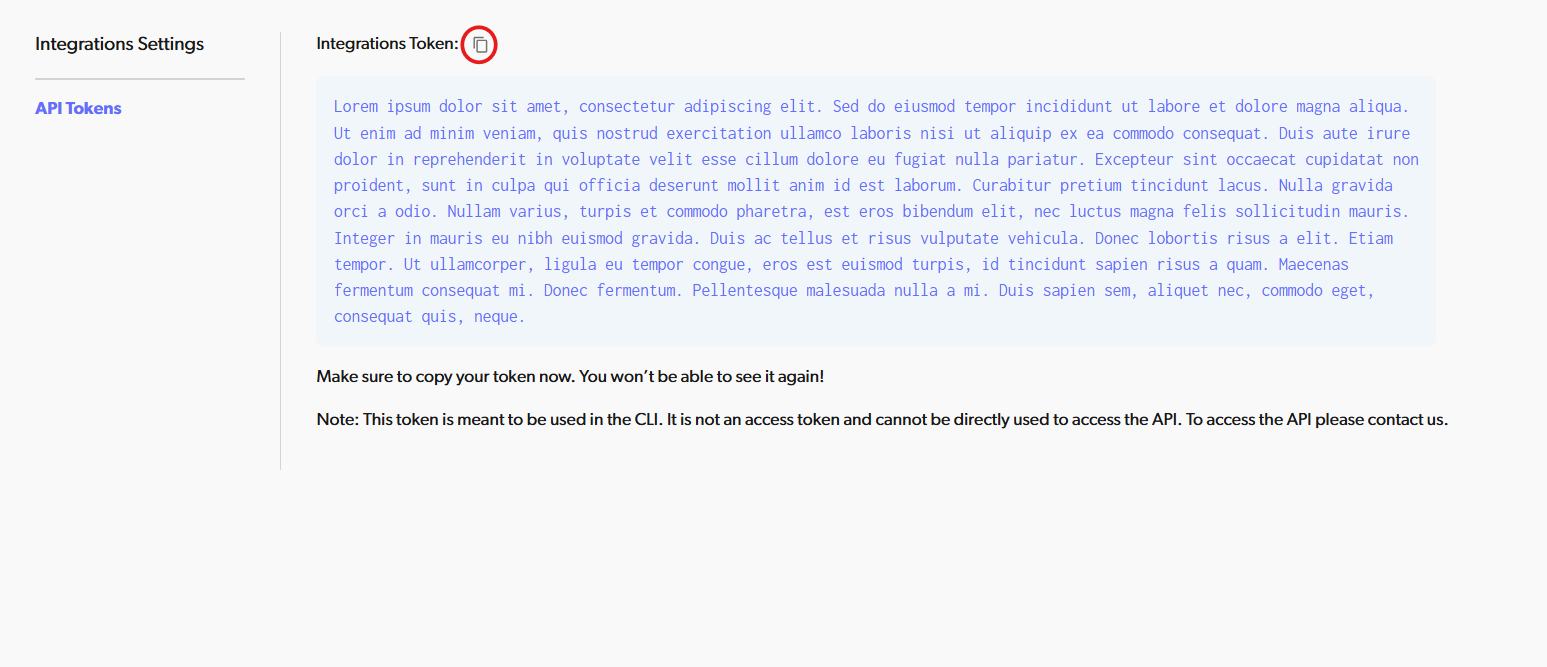 Use the Copy icon to copy the token and store it in a secure place.
This is the only time you’ll see the token here and there will be no way to retrieve it later.
If you lose it, you will have to revoke all your API tokens and regenerate new ones.
Store the Diversion client ID
Store it as an environment variable named USER_POOL_CLIENT_ID with the value j084768v4hd6j1pf8df4h4c47.
It will be read and used by the dv client in the workflow.Here are some relevant docs for storing environment variables in popular CI/CD platforms: Store the API Token securely
Don’t store the API Token as a plain environment variable! If your CI/CD platform provides a secure
secret storage, use it.
Create a build step in your CI/CD workflow
Install the Diversion client, authenticate it and clone your repo
In your CI/CD step editor or yml file, create a new Shell build step with the following content:
# Download Diversion client
curl -sL https://get.diversion.dev/unix | bash ; export PATH="$HOME/.diversion/bin:$PATH"
# Start the Diversion agent in the background and wait for it to start
dv --agent --bkg
sleep 2
# Authenticate Diversion
dv authenticate $API_TOKEN
# Clone your repository and wait for sync to complete
dv clone -new-workspace my-repository
cd my-repository
dv status
# Download Diversion client
. ([Scriptblock]::Create((([System.Text.Encoding]::ASCII).getString((Invoke-WebRequest -Uri "https://get.diversion.dev/win-ci").Content))))
# Start the Diversion agent in the background and wait for it to start
dv --agent --bkg
Start-Sleep -Seconds 2
# Authenticate Diversion
dv authenticate $API_TOKEN
# Clone your repository and wait for sync to complete
dv clone -new-workspace my-repository
cd my-repository
dv status
Replace $API_TOKEN with the appropriate way to reference your secret from the secure storage.
Consult your platform’s docs and the secure storage docs.
Replace my-repository with the name of your repository.
dv status will block until all the files are downloaded. This is important before starting to work.
It will also output the workspace ID if you want to reuse it for the next runs or view it in the web app.
-new-workspace will create a new workspace for each run of the CI/CD workflow. Passing a workspace argument here
is important, or else the clone command will prompt for user input and block. See dv help clone for details.
Add the rest of your CI/CD workflow
That’s it. You’re all set to use your Diversion repo in your CI/CD workflow. You can also use any CLI commands you would
use with dv when running locally.
A Jenkins example
Be sure to replace the placeholders with your actual values. Also note that this syntax is for a Windows node, so you may need to adjust it for your specific setup.
pipeline
{
    agent
    {
        any
    }

    environment
    {
        USER_POOL_CLIENT_ID = "j084768v4hd6j1pf8df4h4c47"
        DV_WORKSPACE = "<Workspace ID>" //Found in Diversion using 'dv workspace' command
        DV_REPO = "<Diversion Repository Name>" //Your repository name
    }

    stages
    {
        stage('Sync Repository')
        {
            steps
            {
                script
                {
                    // Checking if Diversion CLI is installed and installing from API if not
                    if (!fileExists("${USERPROFILE}\\.diversion\\bin\\dv.exe"))
                    {
                        echo "Diversion not installed at ${USERPROFILE}\\.diversion\\bin\\dv.exe, installing..."
                        powershell 'iwr https://get.diversion.dev/win-ci | iex'
                    }

                    //Authenticating Diversion CLI
                    withCredentials([string(credentialsId: '<Jenkins Credential ID>', variable: 'API_TOKEN')]) //Insert your credential ID found in Jenkins Credentials
                    {
                        echo "Diversion CLI installed, authenticating..."
                        bat "dv authenticate %API_TOKEN%"
                    }

                    //Cloning repository if it is not already cloned
                    if (!fileExists("${WORKSPACE}\\${DV_REPO}\\.diversion"))
                    {
                        echo "Diversion authenticated, empty folder found, cloning repository..."
                        bat "dv clone ${DV_REPO} -workspace ${DV_WORKSPACE}"
                    }

                    //Pulling latest changes if repository is already cloned
                    else
                    {
                        echo "Diversion repository already cloned, pulling latest changes..."
                        bat "cd ${WORKSPACE}\\${DV_REPO} && dv update"
                    }

                    //Displaying status of repository until tasks complete (so we do not start more tasks until it is done)
                    bat "cd ${WORKSPACE}\\${DV_REPO} && dv status"
                }
            }
        }
    }
}