This guide uses the Desktop App for Windows and macOS. You can also use the CLI, Unreal Engine Plugin, or WebUI. Driving Diversion from an AI coding agent (Claude Code, Cursor, Codex)? See the Agent Quickstart.
- Windows
- MacOS
- Linux
1
Install Diversion
Download the installer and follow the instructions.By installing Diversion, you agree to the Terms of ServiceAfter installing, launch the Diversion desktop application.
2
Create an account and log in
Create a new account or sign in with Google.
3
Create a new repository
Diversion will show you an option to create a new repository if you don’t have any. Click on 
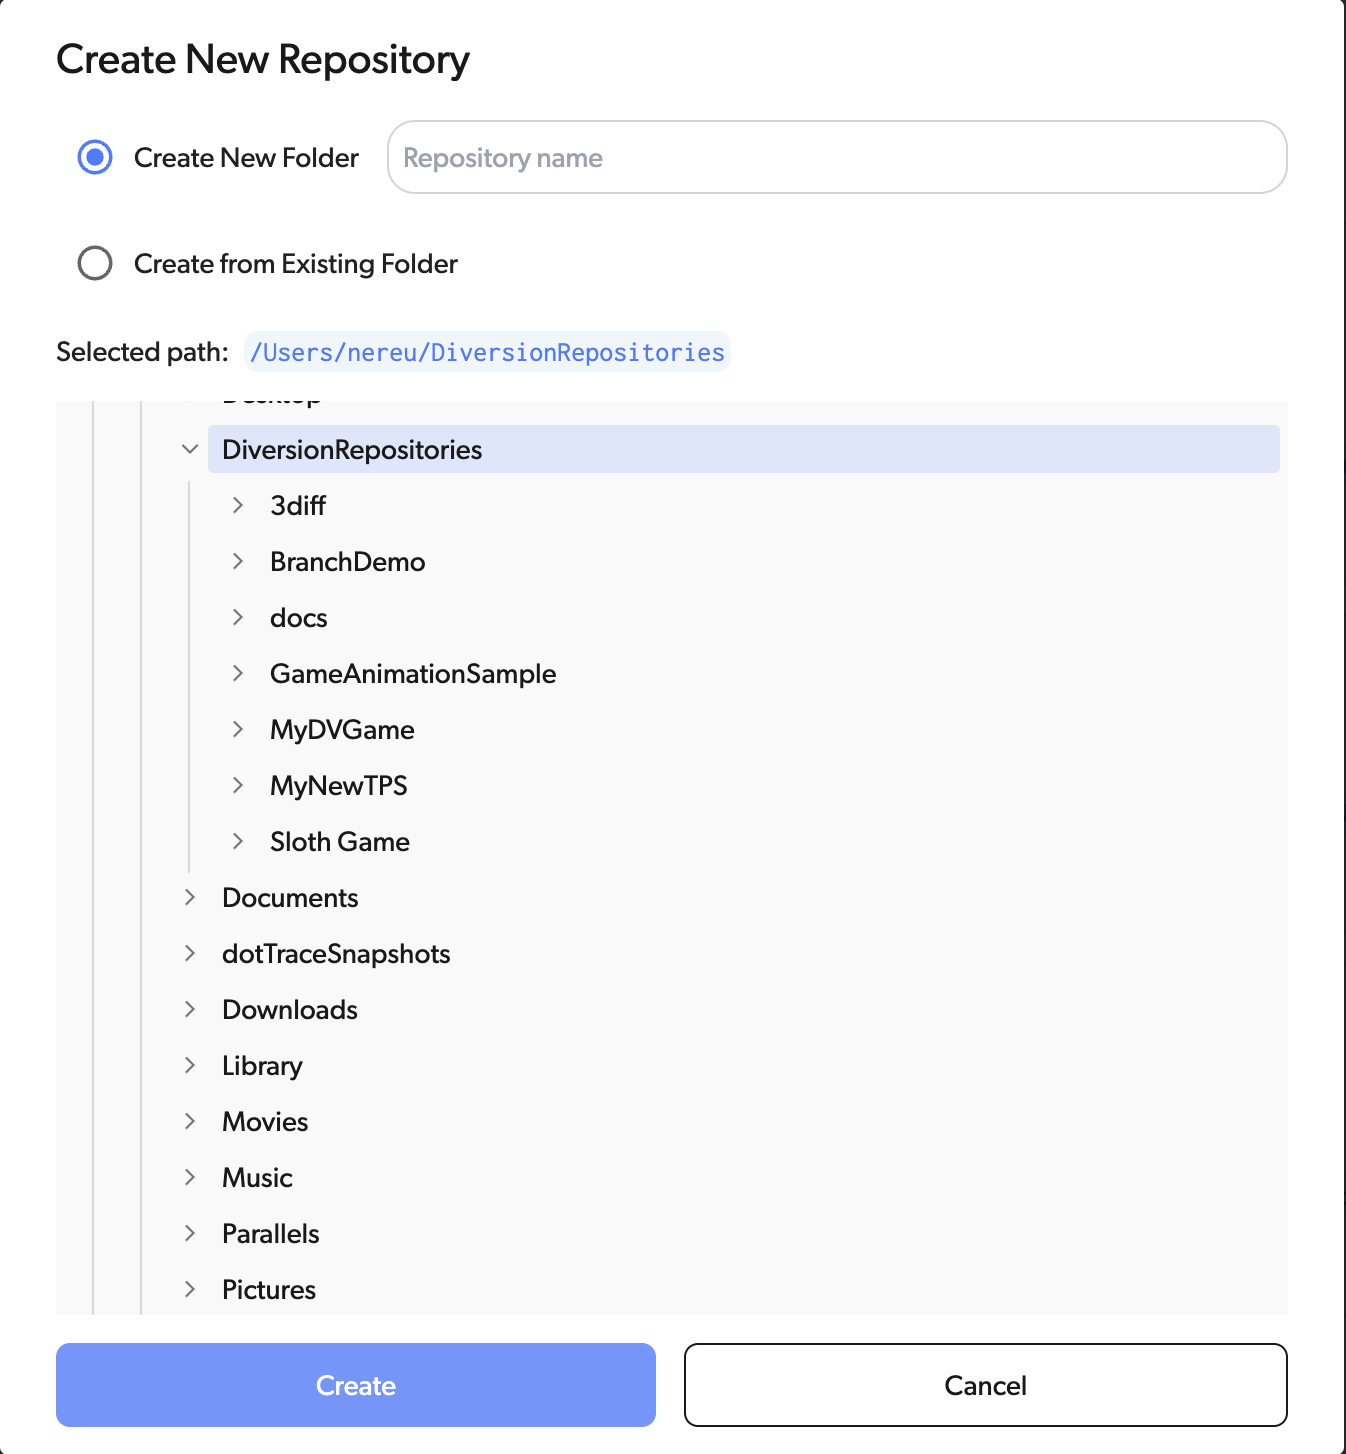
New repository.Create New Folder and specify the directory on your computer where you want your repository saved.4
Add files and start working
Navigate to the folder you created for your repository and add your project files. You can drag and drop files, create new ones, or copy your existing project into this folder.Diversion automatically tracks all changes in the background—no need to manually “add” files like in Git.Open the Diversion desktop app to see your changes tracked in real-time.
5
Commit your changes
Once you’ve made changes you want to save, open the Diversion desktop app and review your modified files.Write a descriptive commit message explaining what you changed, then click the “Commit” button.Your changes are automatically synced to the cloud and shared with your team—no push or pull required!
What’s Next?
Now that you’re set up, explore these guides to get the most out of Diversion:Work with Your Team
Invite collaborators and manage permissions
Import Existing Project
Bring your existing codebase into Diversion
Branching & Merging
Work on features in parallel without conflicts
Unreal Engine Setup
Install the Unreal Engine plugin