You’ve made some changes to your project - created new files, modified existing ones, or deleted some. Now what?

Are you using Unreal?

You can do this with our Unreal Engine plugin! Check it out here.

Review your changes

In the desktop app, go to your repo. On the left, under Workspace, you should see the files you’ve changed.
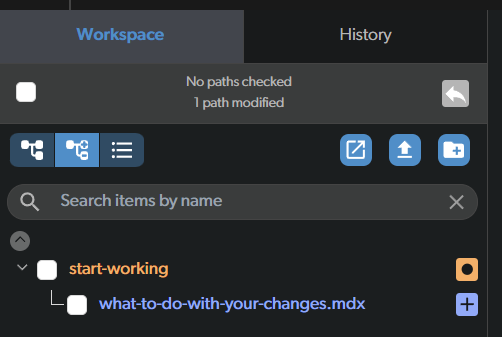
Each change is marked with an icon and a color. You can always hover over the icon to see what change was made - added, modified, deleted, or moved (which includes renaming).

The buttons on the top let you change the way you see your list of changes. Choose one you like.

When you click on a file you changed, if it’s in a supported format, it will open in the main panel. Right now Diversion supports text files and images. Use the button on the top to switch to Diff View to see the changes you made.

Commit your changes

If you like your changes and want to keep them, you should Commit them. A commit is like a snapshot of your project at a certain point in time. It’s an encapsulated unit of change in your repository.

When you commit your changes, any collaborators you have in your project will be able to see them.

If your collaborators are on the same branch as your are, assuming they have no conflicting changes, the changes you commit will be automatically synced to their workspaces.

For more info, check out the Branches page.

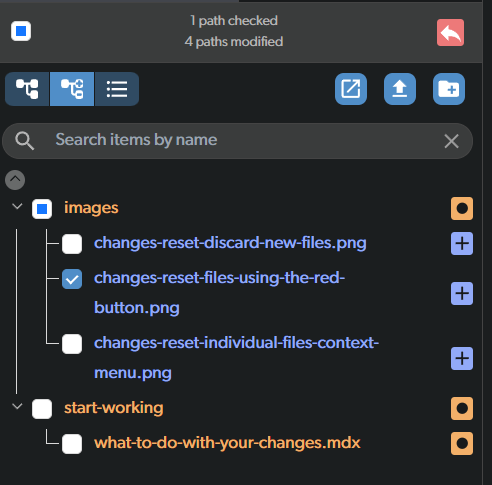
To commit your changes, choose which files you want to include in the commit, write an informative commit message, and click Commit. You can choose to commit all changes, using the checkbox above the list, or only some of them.
You should try to keep your commits small and focused, and your commit messages should be descriptive and informative. Remember, even if you’re working alone - Future You will thank you for it.

When you’re ready, hit the commit button! Your changes are now saved in your repository.

Undo your changes

If you don’t like your changes and want to undo them, you can Reset them. This will revert the files to the state they were in when you last committed them.

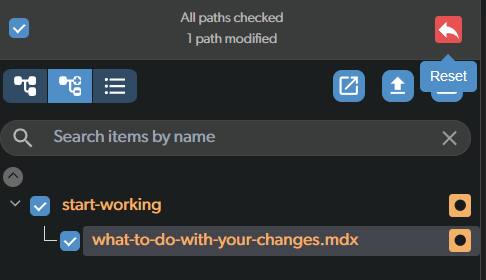
You can reset files using the red Reset button on the top right. Using this method you can reset multiple files at once.
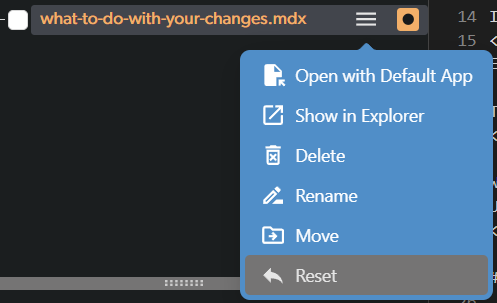
Alternatively, you can reset individual files using the file’s context menu.

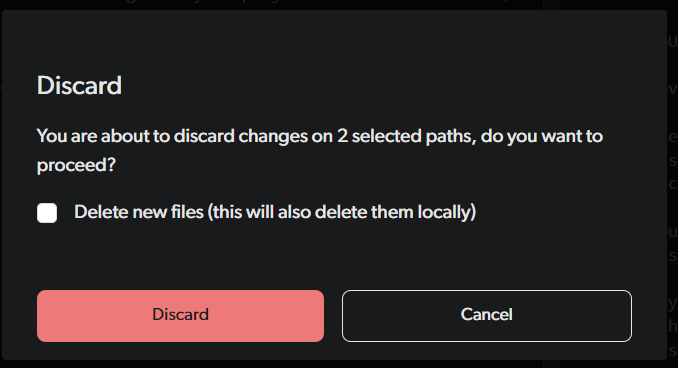
By default, when resetting changes, any new files you’ve added won’t be deleted. If you want to delete new files, make sure to check the Delete new files checkbox in the confirmation dialog.