

Are you using Unreal?
You can do this with our Unreal Engine plugin!
1
Create a new repository
In the desktop app, click on the 
New repository button on the top right.2
Choose a folder for the repo
You can create a new folder or use an existing one. If you have a game-engine project, you probably want to choose its root folder.
For this example I’ll create a new folder, but the other steps work the same either way.
I’ll select 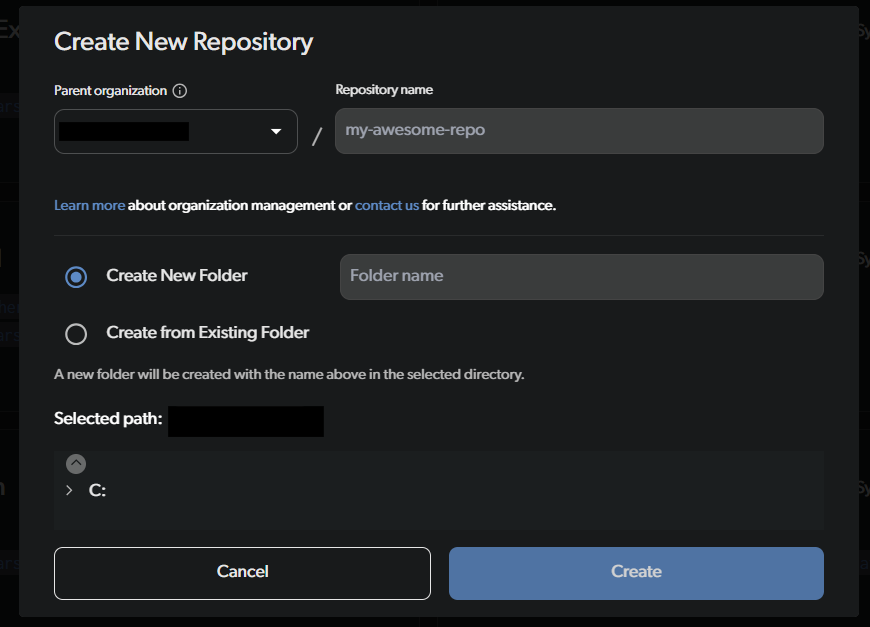
Create New Folderand call it CreatingNewRepo.3
Click Create
4
Syncing
A new repo is created in the folder you specified! The workspace’s Sync toggle shows it’s syncing, and its status reads Syncing… while it uploads the folder’s content to our cloud.
In this example it’s an empty folder so it should only take a moment. If you create a new repo for an existing project, it might take a bit longer.
5
Good to go!
Once the upload finishes, the workspace row’s status changes to Synced. Open the repo and the workspace header names the commit your machine actually has — Synced to 
dv.commit.<id>, with cloud workspace dv.commit.<id> on the line beneath it — so you can see what arrived rather than only that it finished. It stays on screen until the state changes. See dv status for the same two facts on the command line.What’s next?
- Manage project access — invite collaborators to your repo