Why Consider Migration?
Diversion offers the same core version control functionality as Perforce with key improvements:- Smaller installation footprint (for the client, no need to set up any server)
- Significantly faster commit speeds
(Diversion continuously uploads in the background; committing is the moment you save a snapshot into your history) - Simplified UI focused on essential workflows
- Better user experience for artists and non-technical team members
Feature Comparison
| Feature | Perforce | Diversion |
|---|---|---|
| Client Installation Size | Large, complex installer | Small, easy installer |
| Learning Curve | Steep, overwhelming UI | Intuitive, streamlined interface |
| Commit Speed | Standard | Significantly faster |
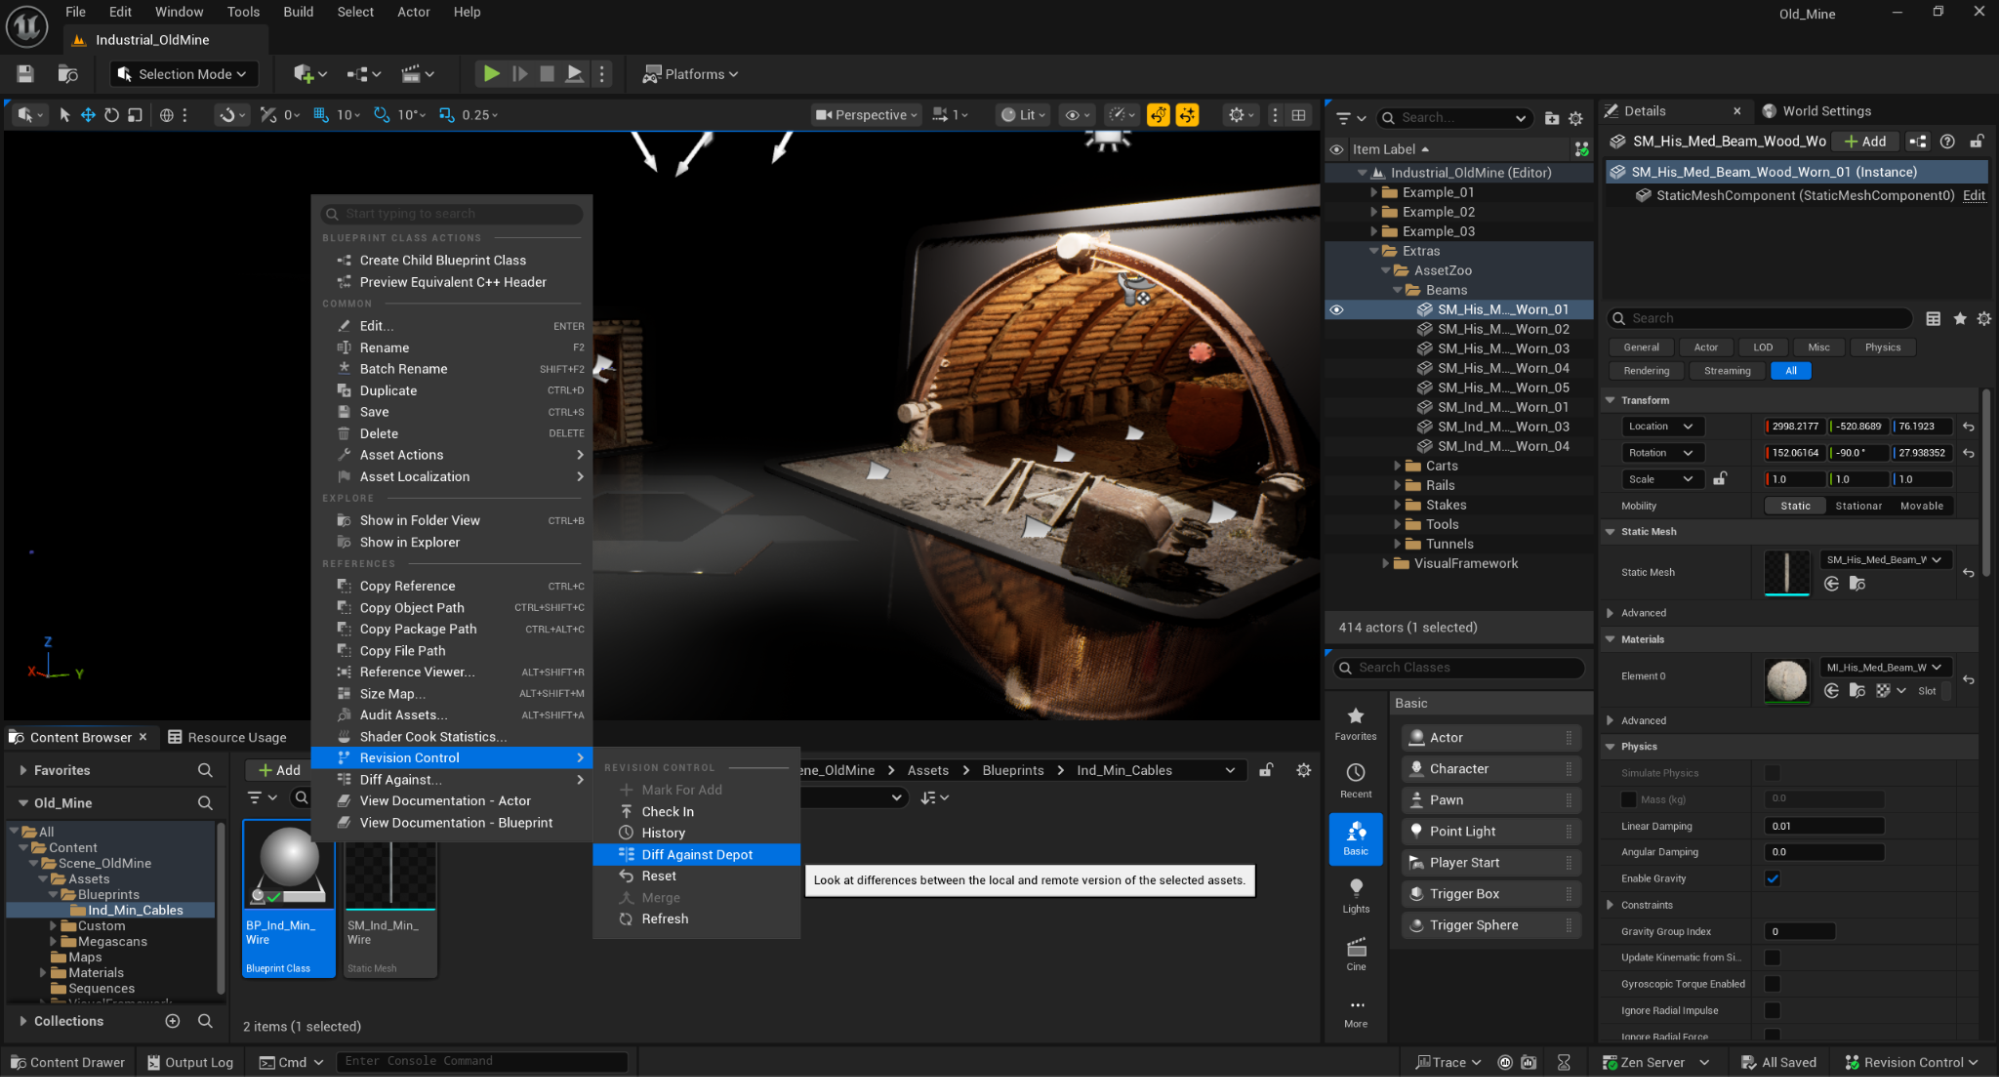
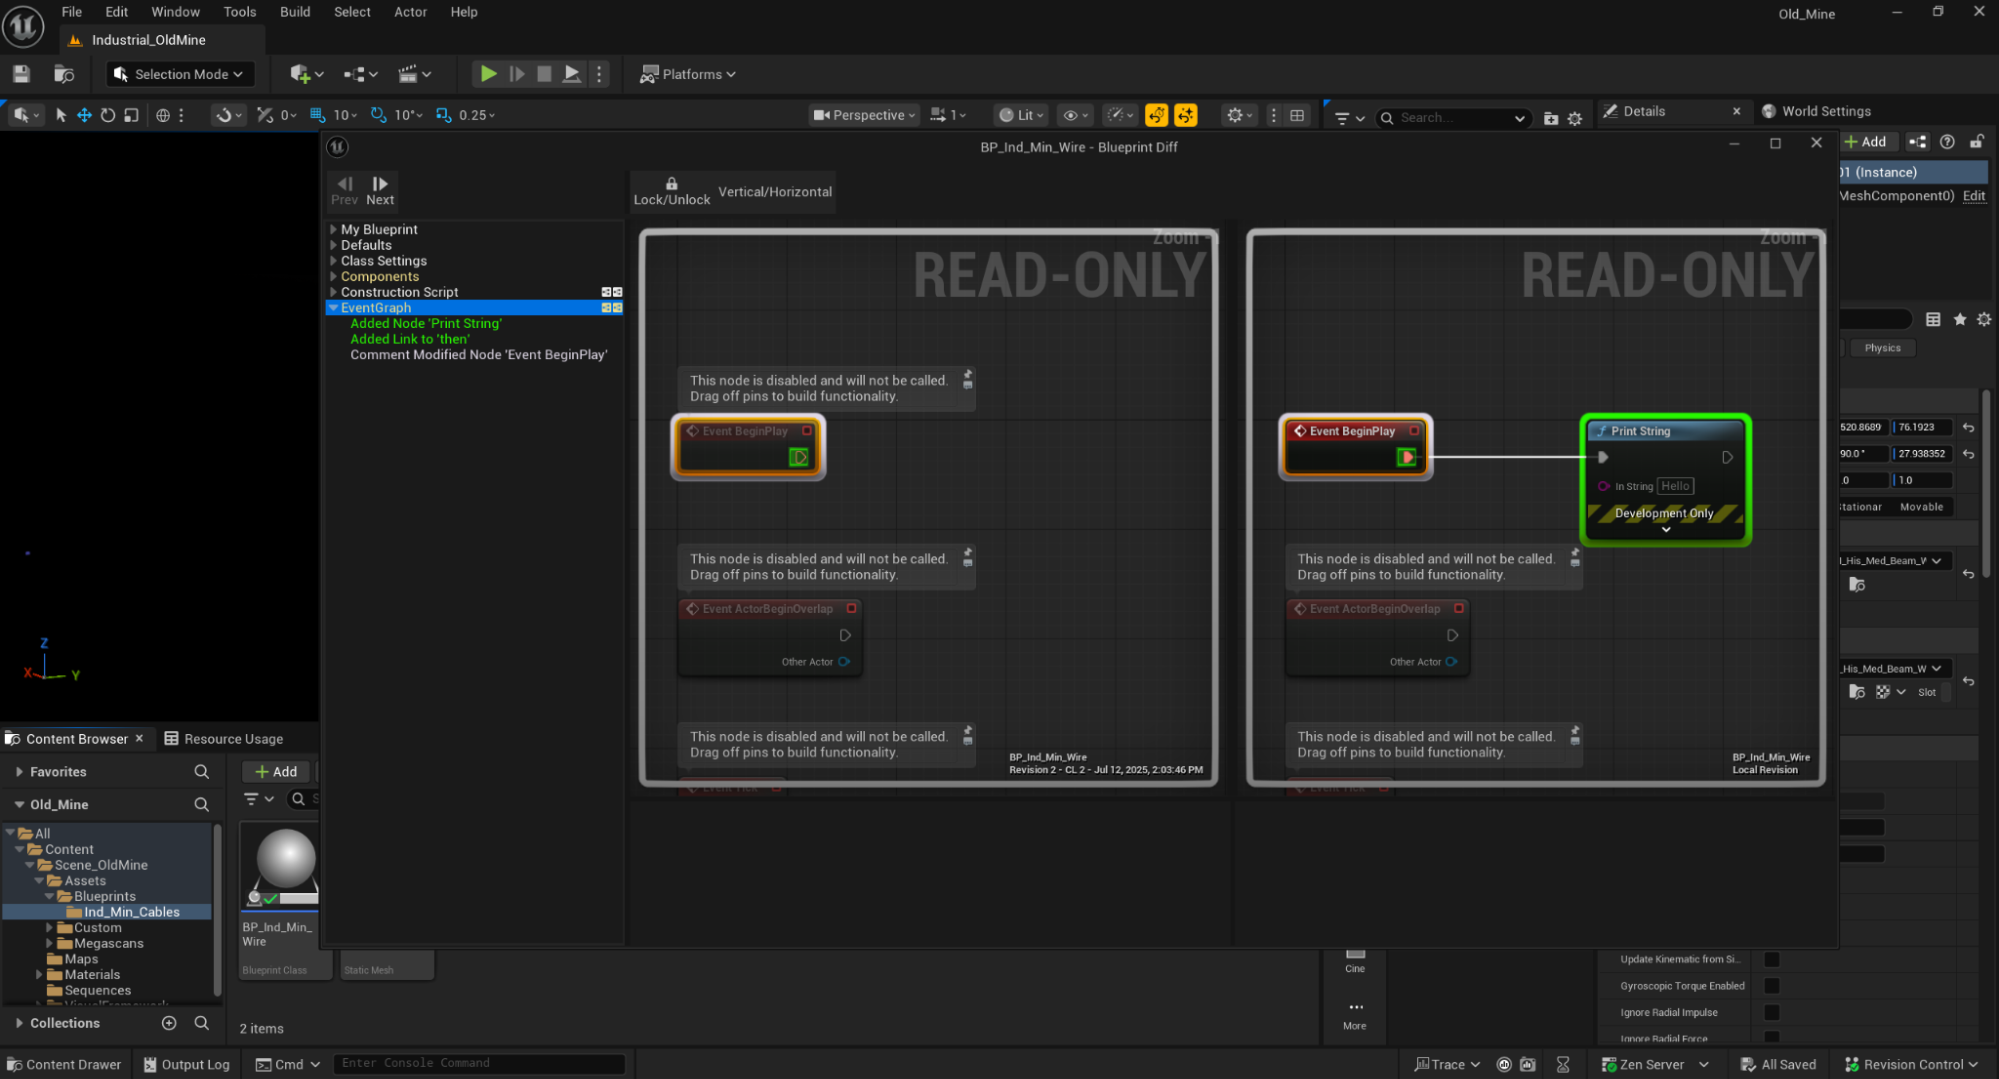
| Visual Diffs | ✅ Available | ✅ Available |
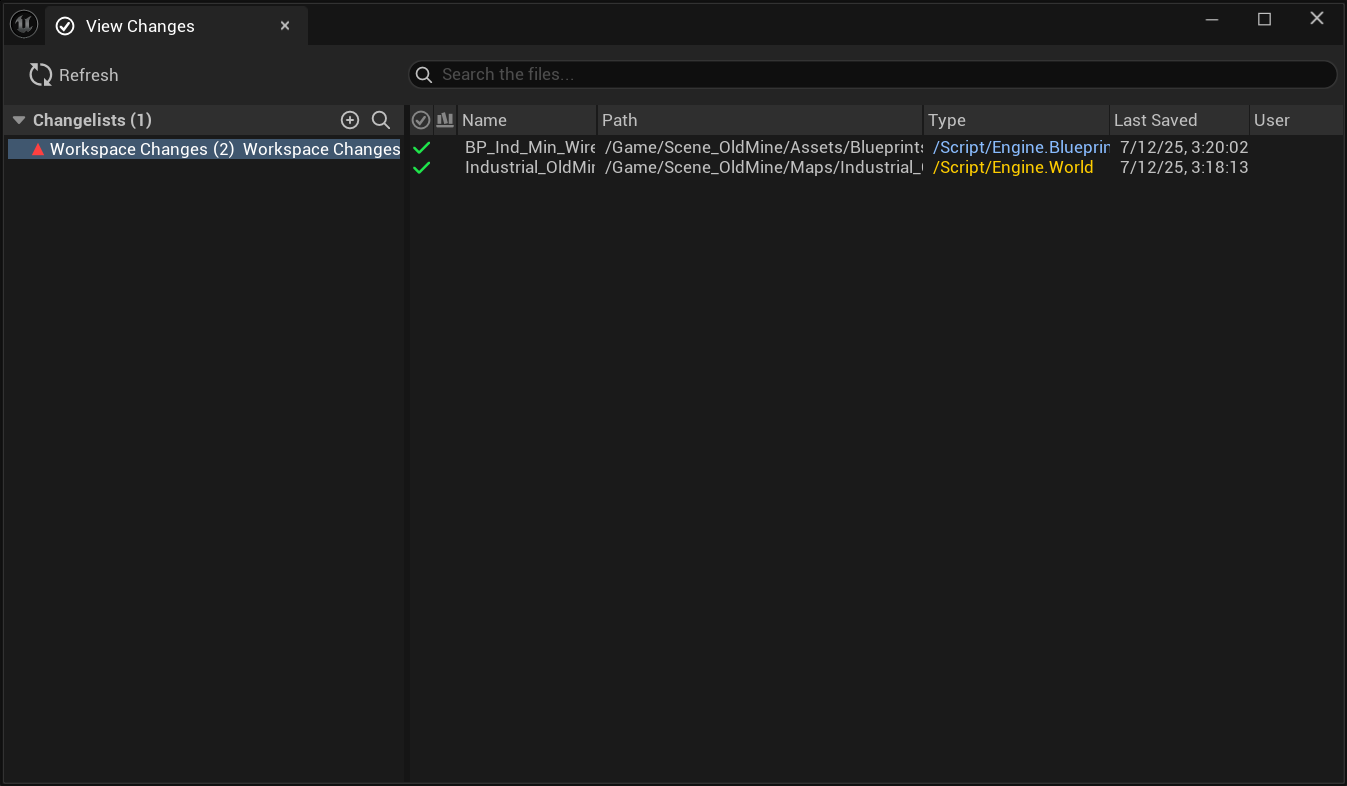
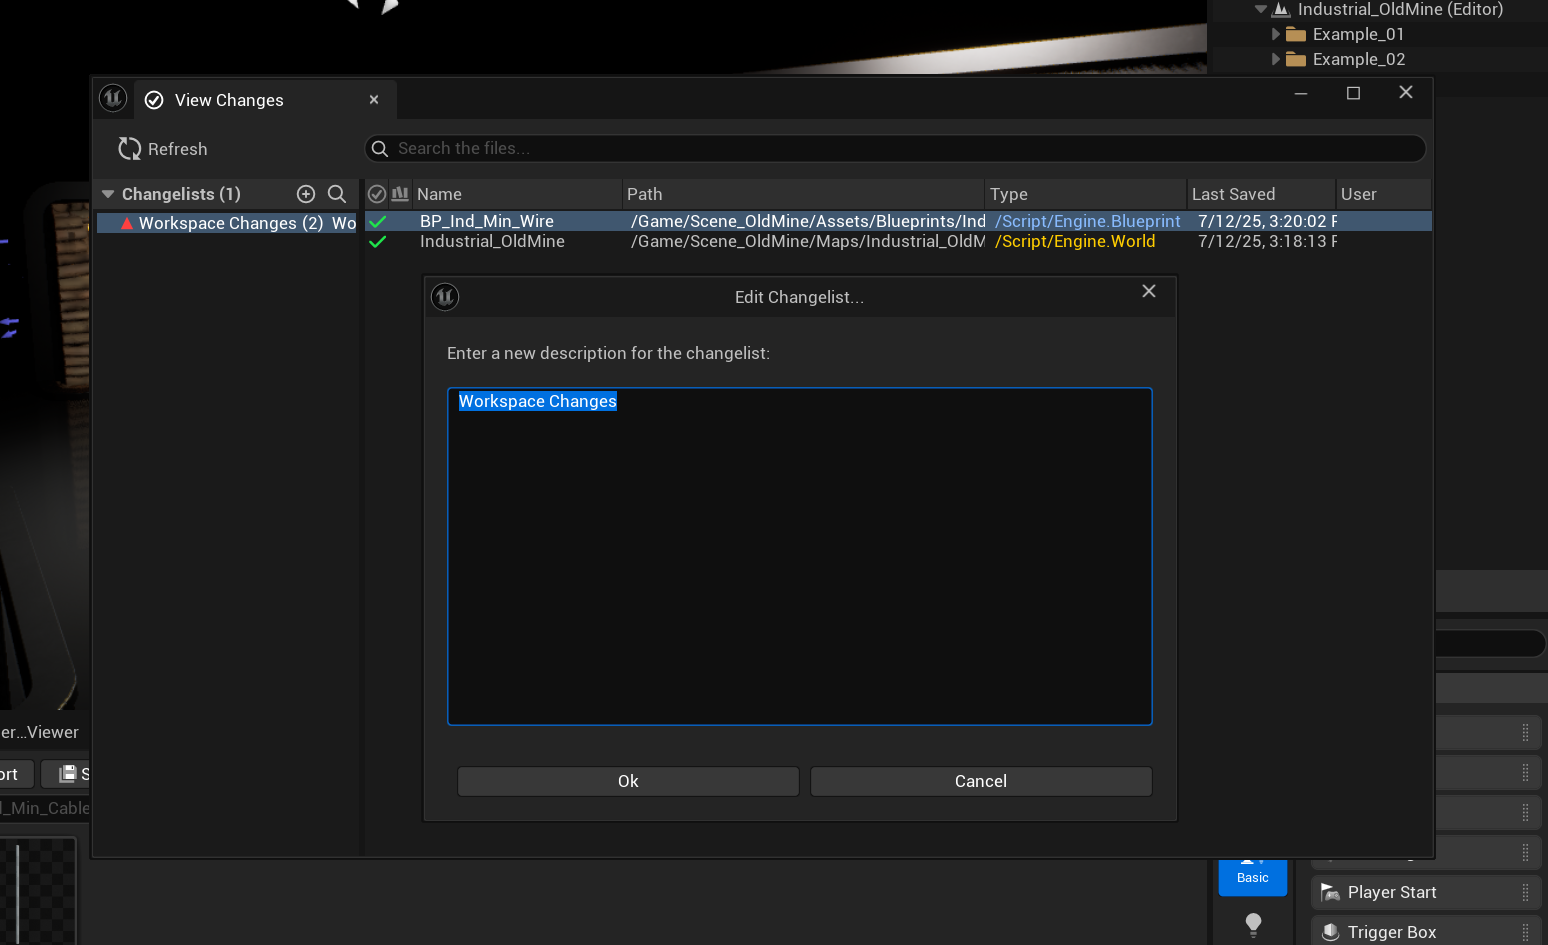
| Changelist Management | ✅ Available | ✅ Available |
| Locking Model | Hard (exclusive) lock | Soft lock (non-blocking) + Hard Locks (optional) |
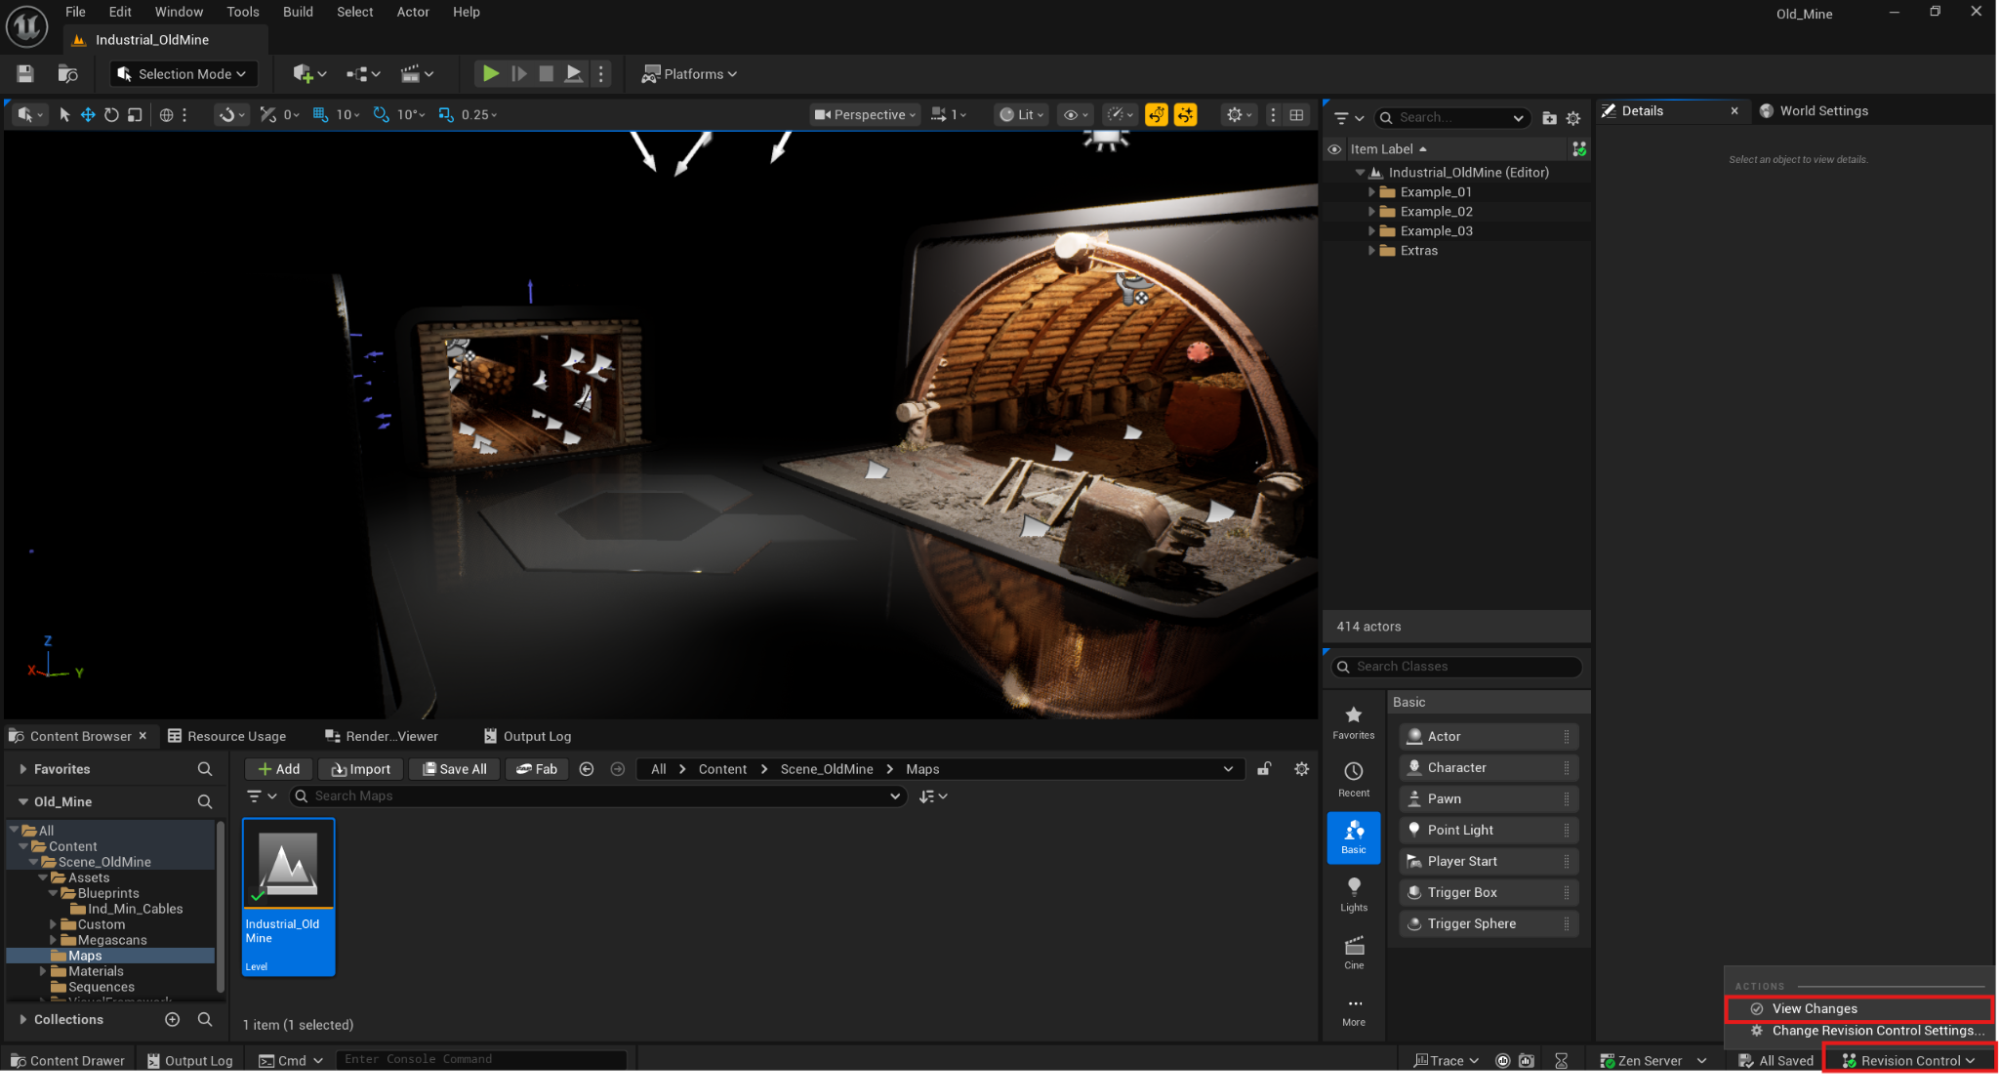
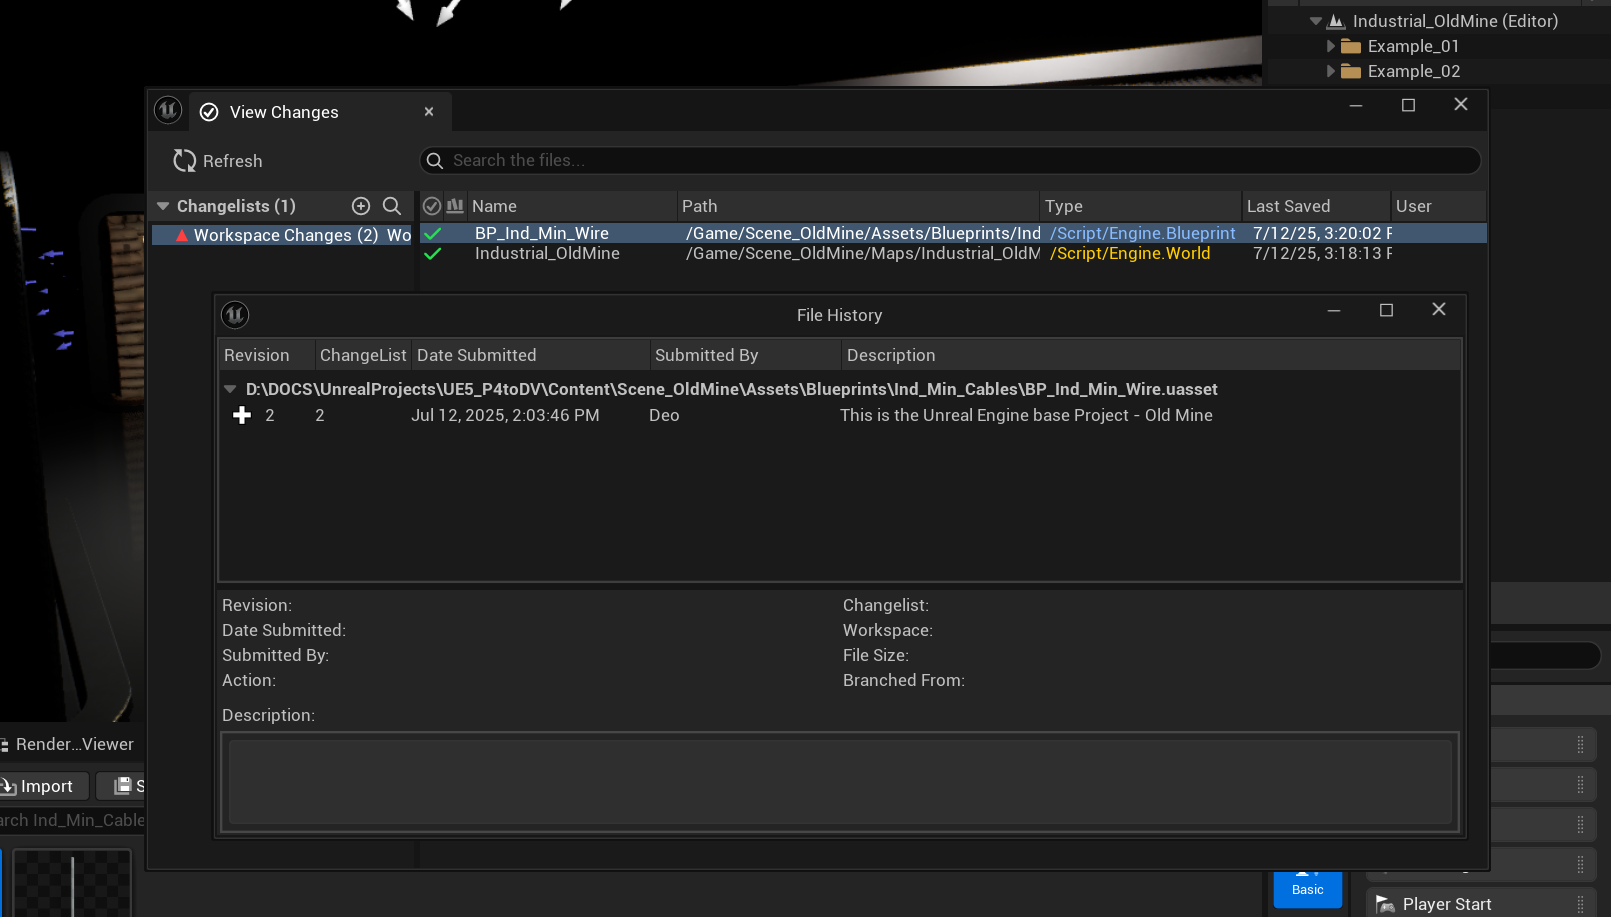
| History Tracking | ✅ Complete history | ✅ Complete history |
| Unreal Engine Integration | ✅ Native plugin | ✅ Native plugin |
| User Experience | Complex, tool-heavy | Clean, action-focused |
| Artist Friendliness | Challenging for non-technical users | Designed for all skill levels |
Soft Locking vs. Hard Locking
Diversion automatically indicates when a file is being edited (soft lock)—no one needs to explicitly take authorship. You’re not blocked: you can confirm editing via the prompt and proceed. If a teammate’s version was committed, you can merge it into your branch (auto-merge on same branch when there’s no conflict). Some teams require hard locks; see Hard Locks for details on configuring exclusive file locking. Why this matters:In Perforce, you must explicitly take authorship of a file (check-out). If someone else has it locked and is unavailable to release it (vacation, sick, etc.), you’re deadlocked.
In Diversion, the backend automatically and implicitly signals active edits without blocking your work.
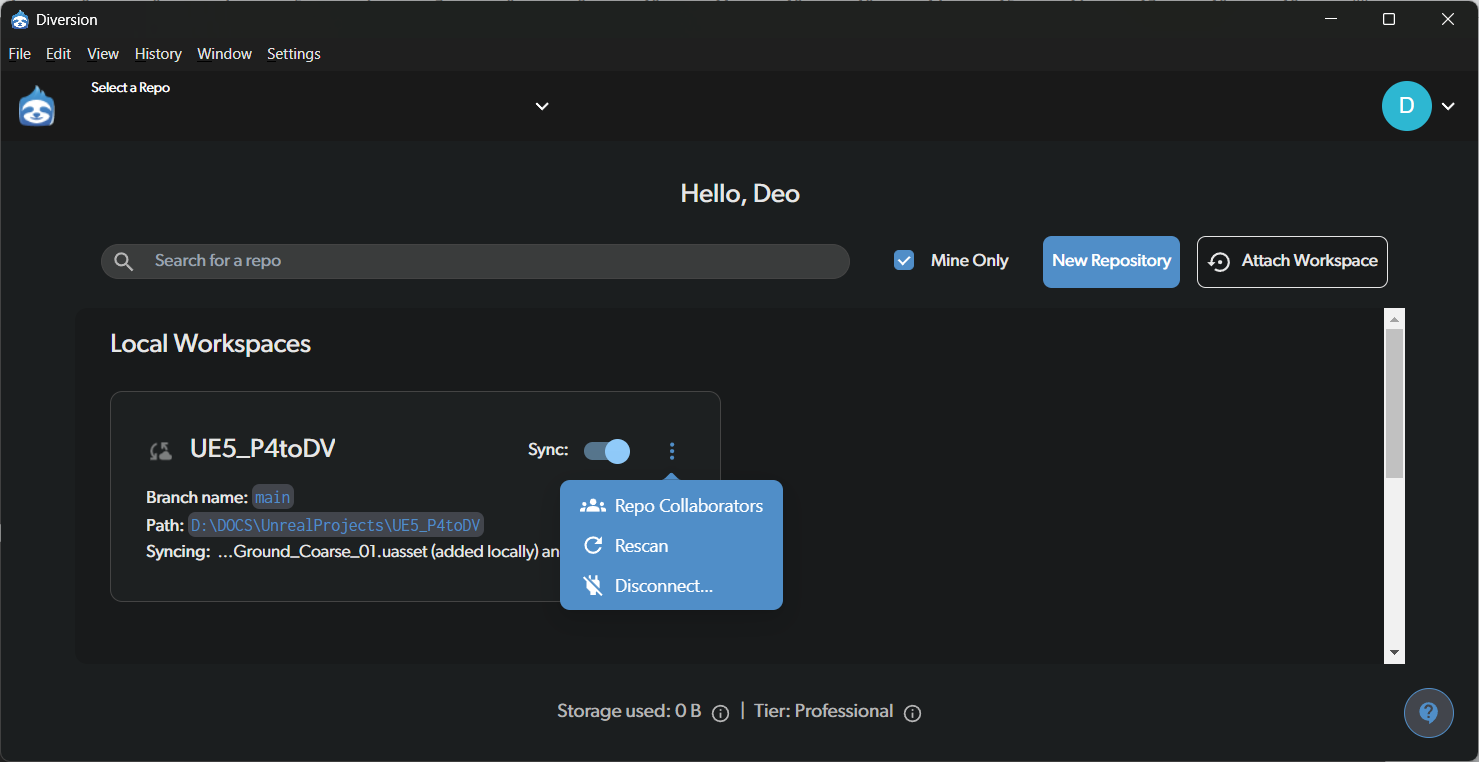
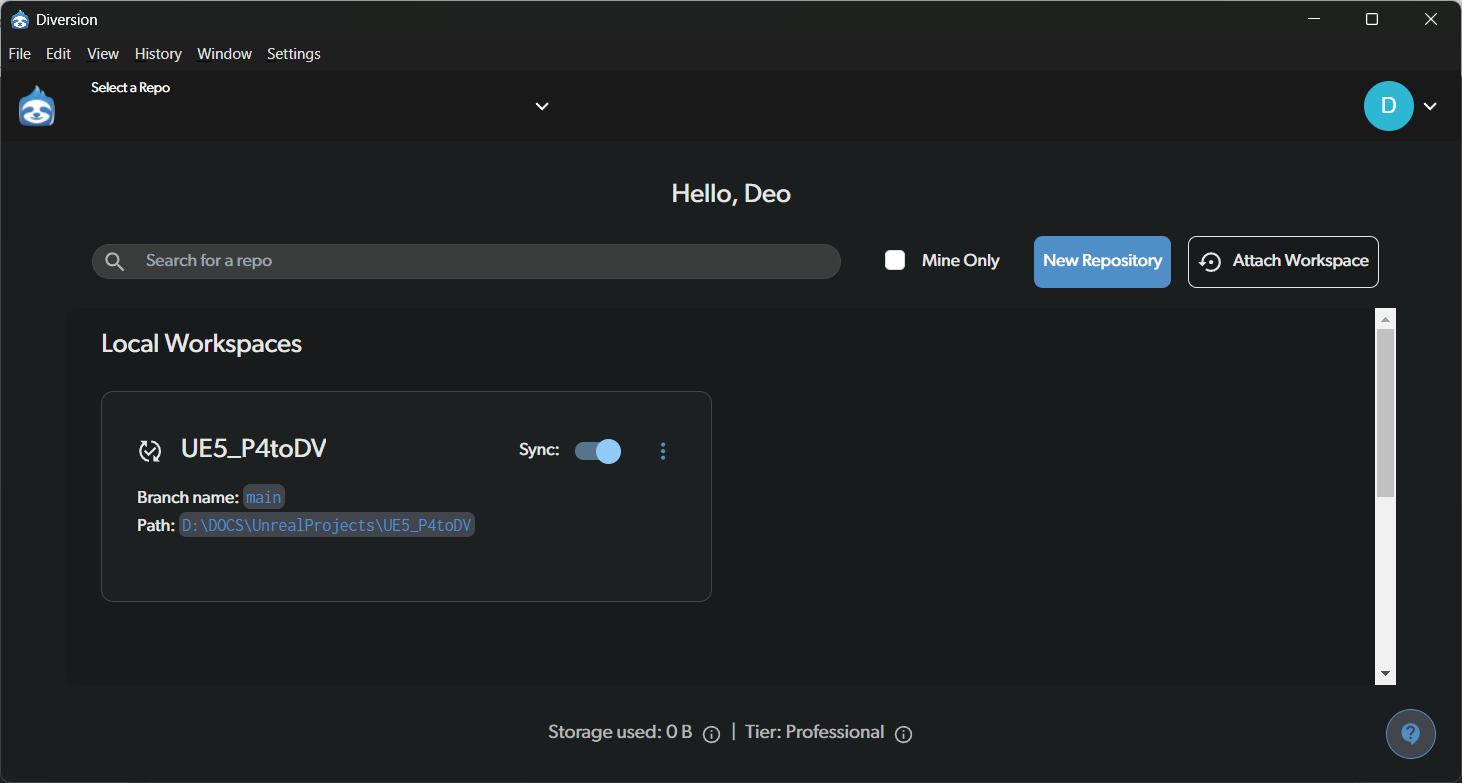
Migration Options
If you have a project in Perforce and want to move over to Diversion, there are two options to do so: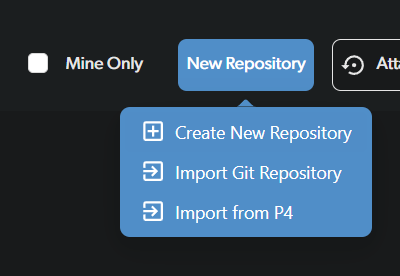
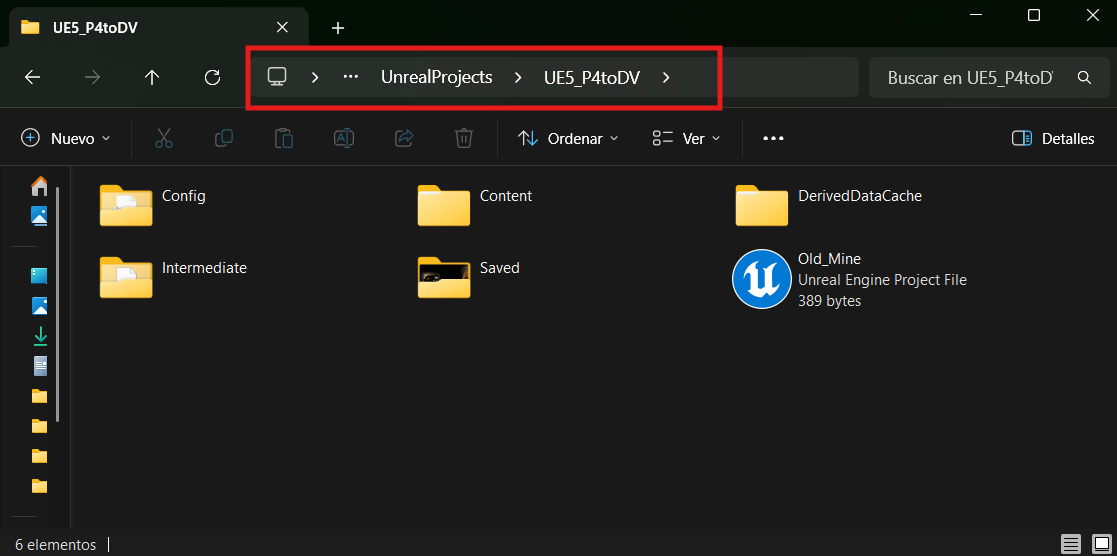
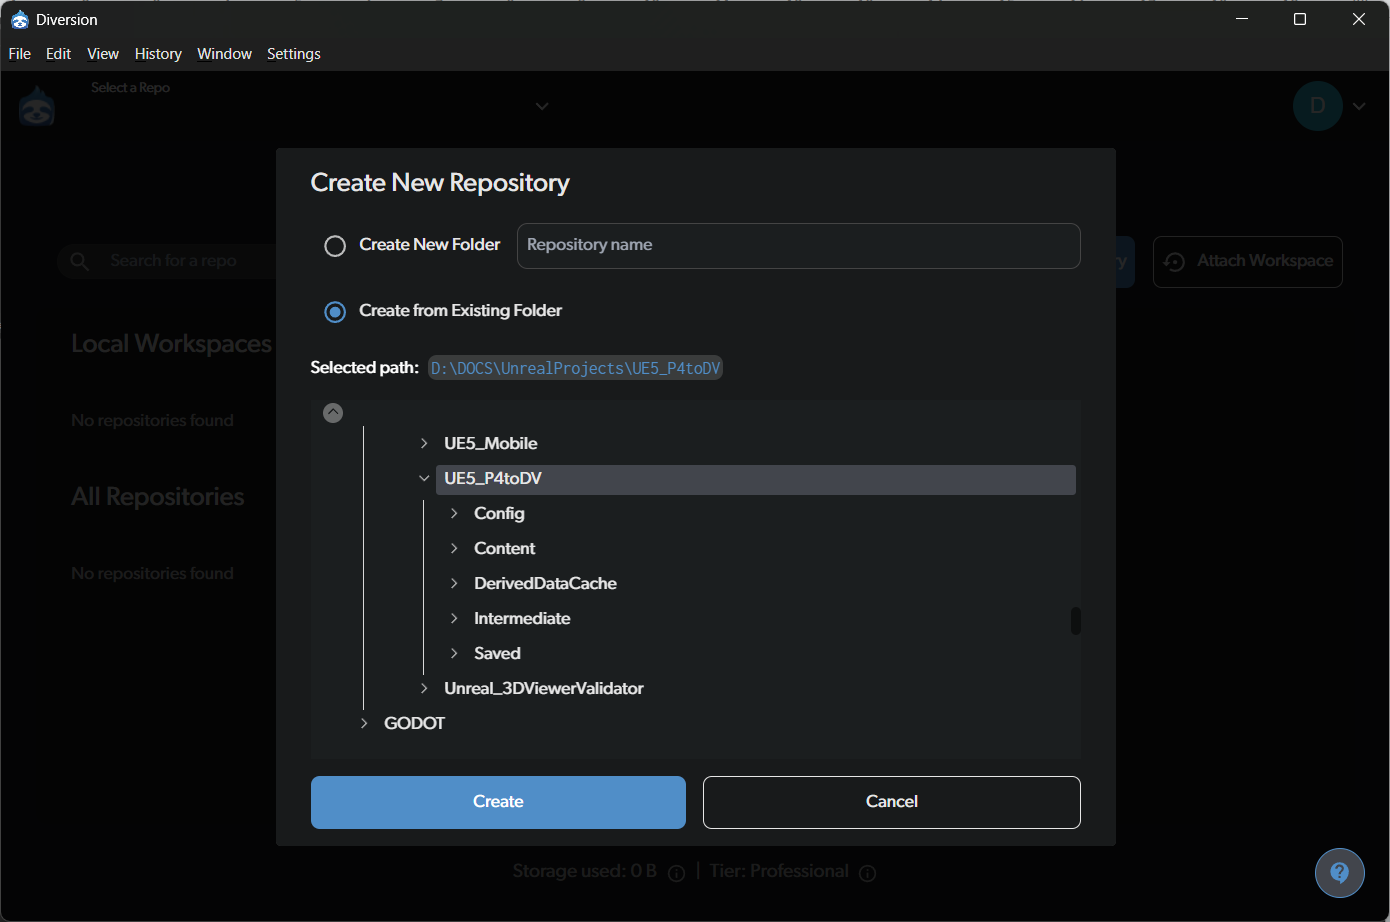
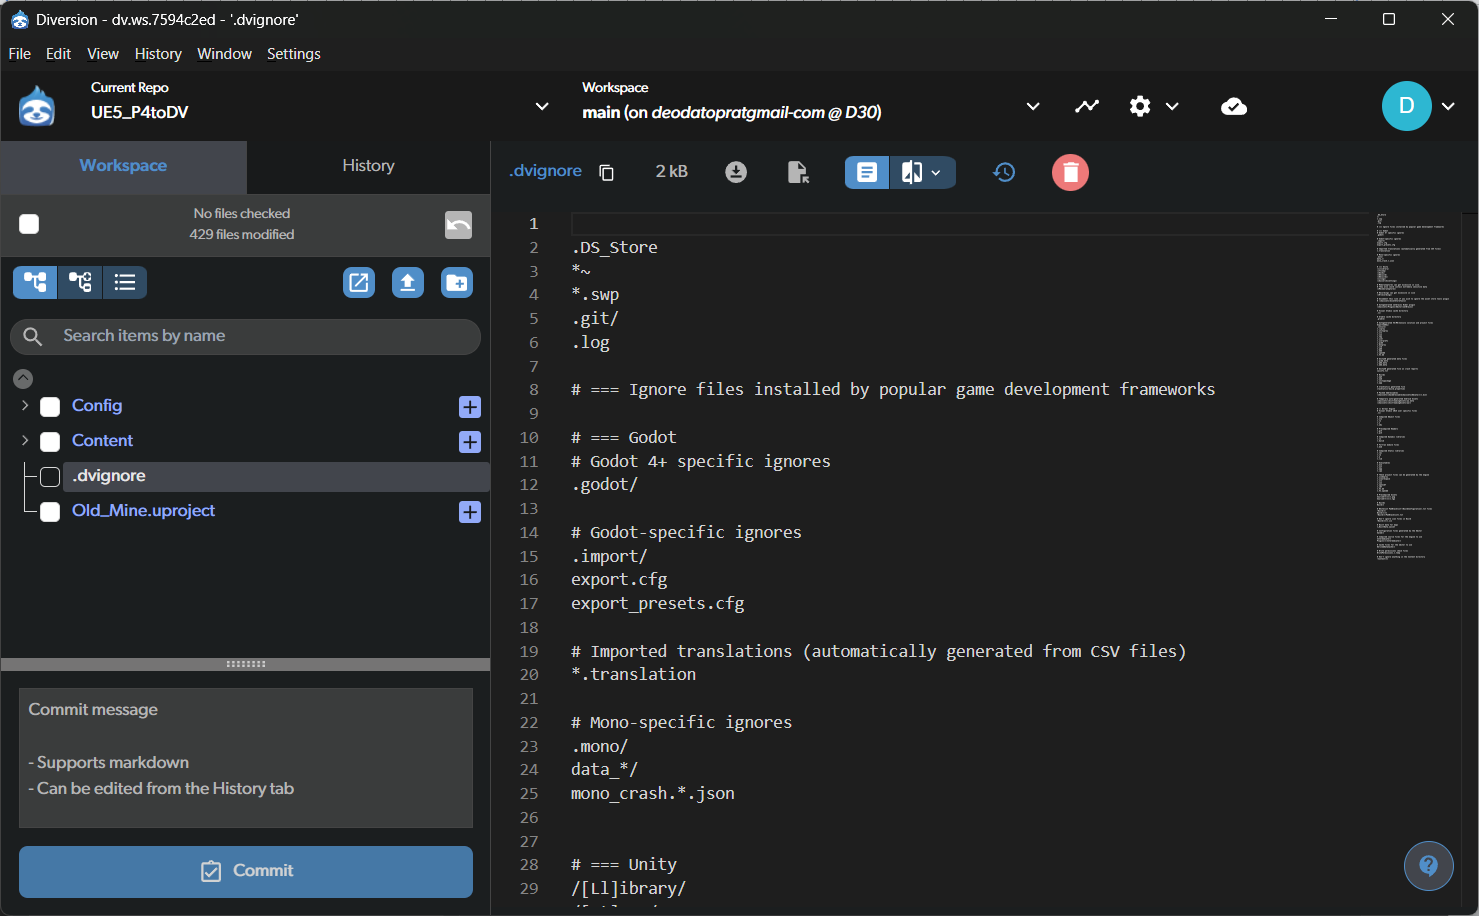
.dvignore file for you, skipping folders that are temporary or rebuilt by the engine.
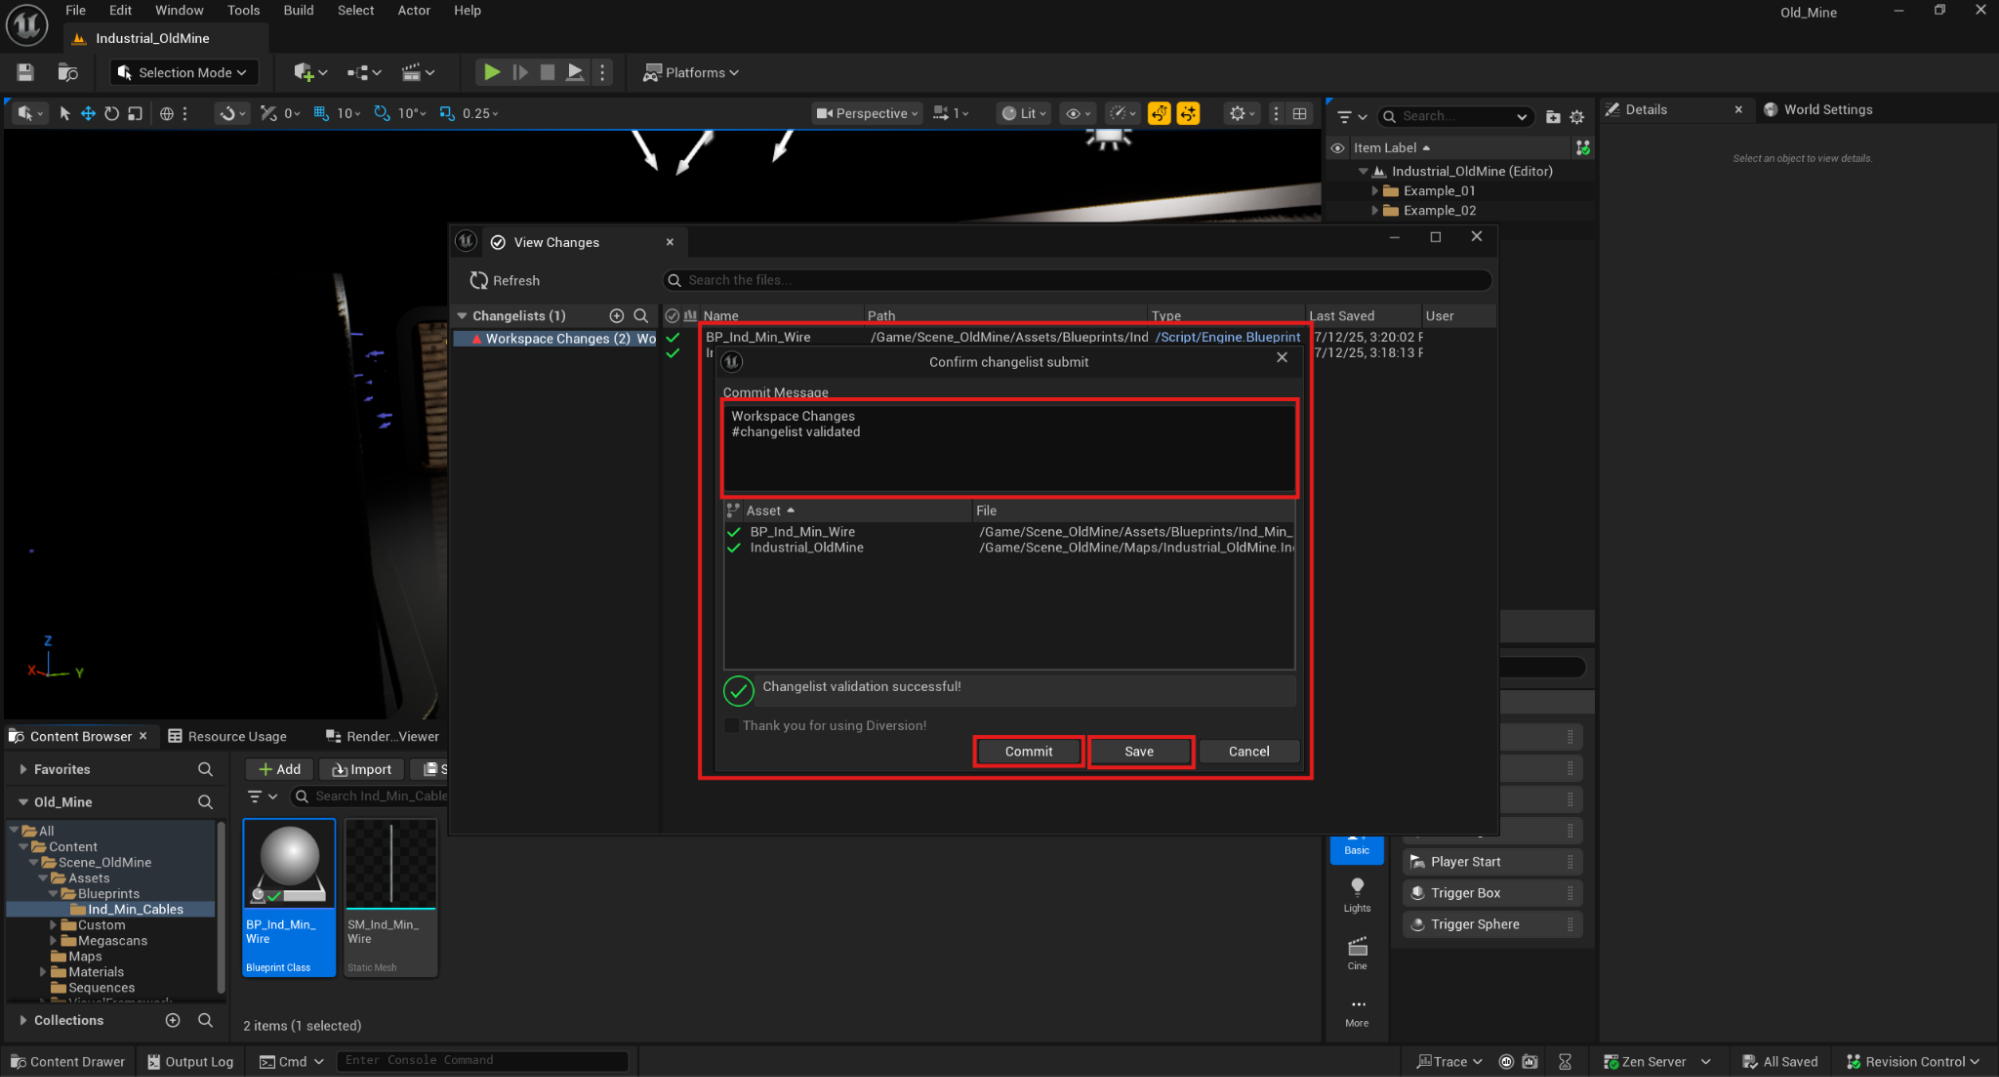
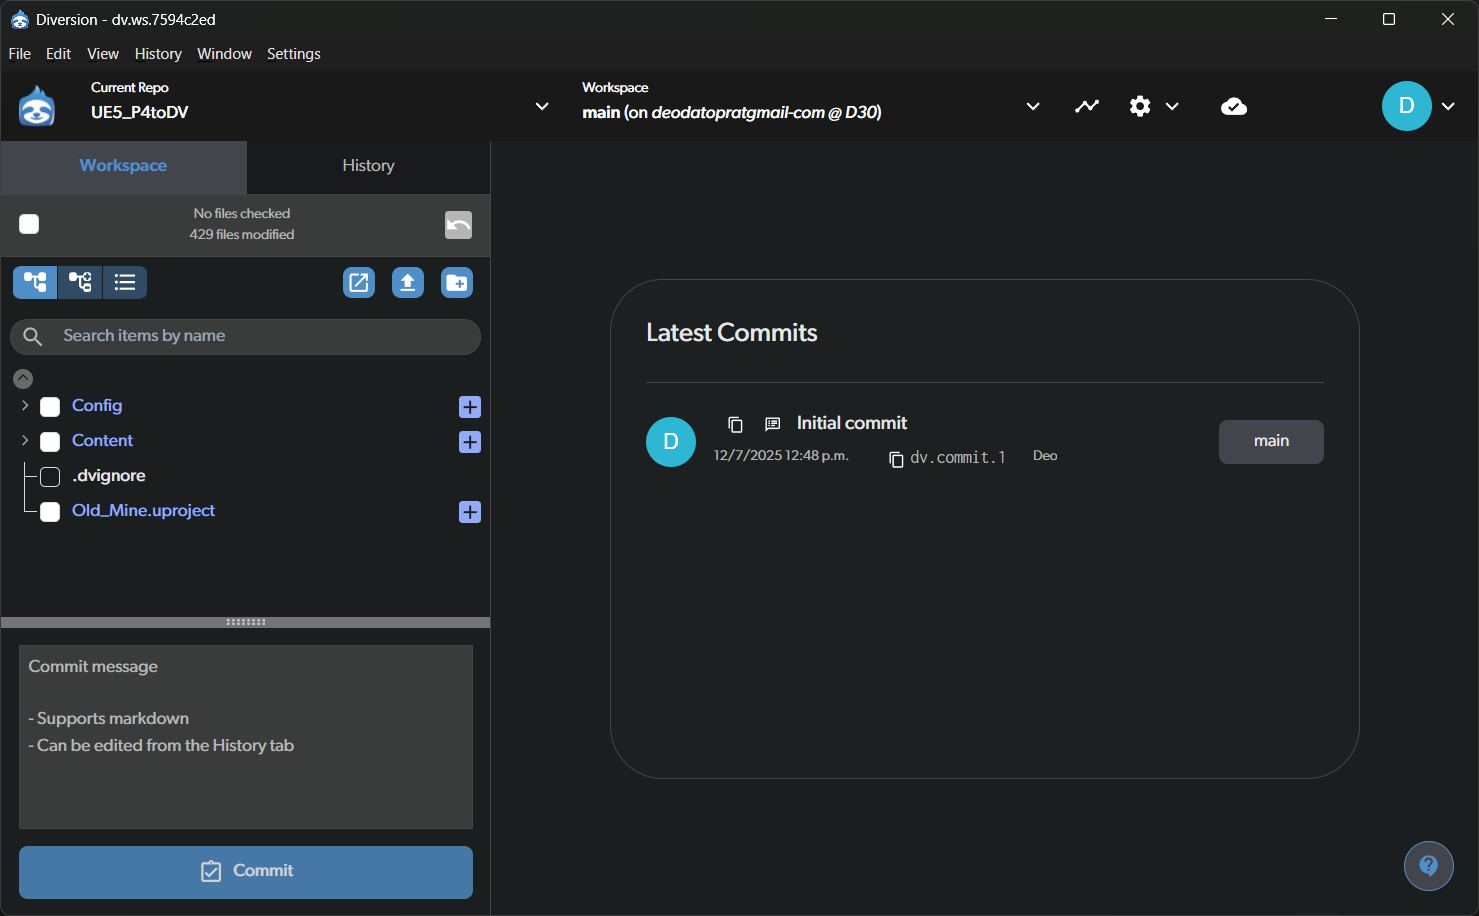
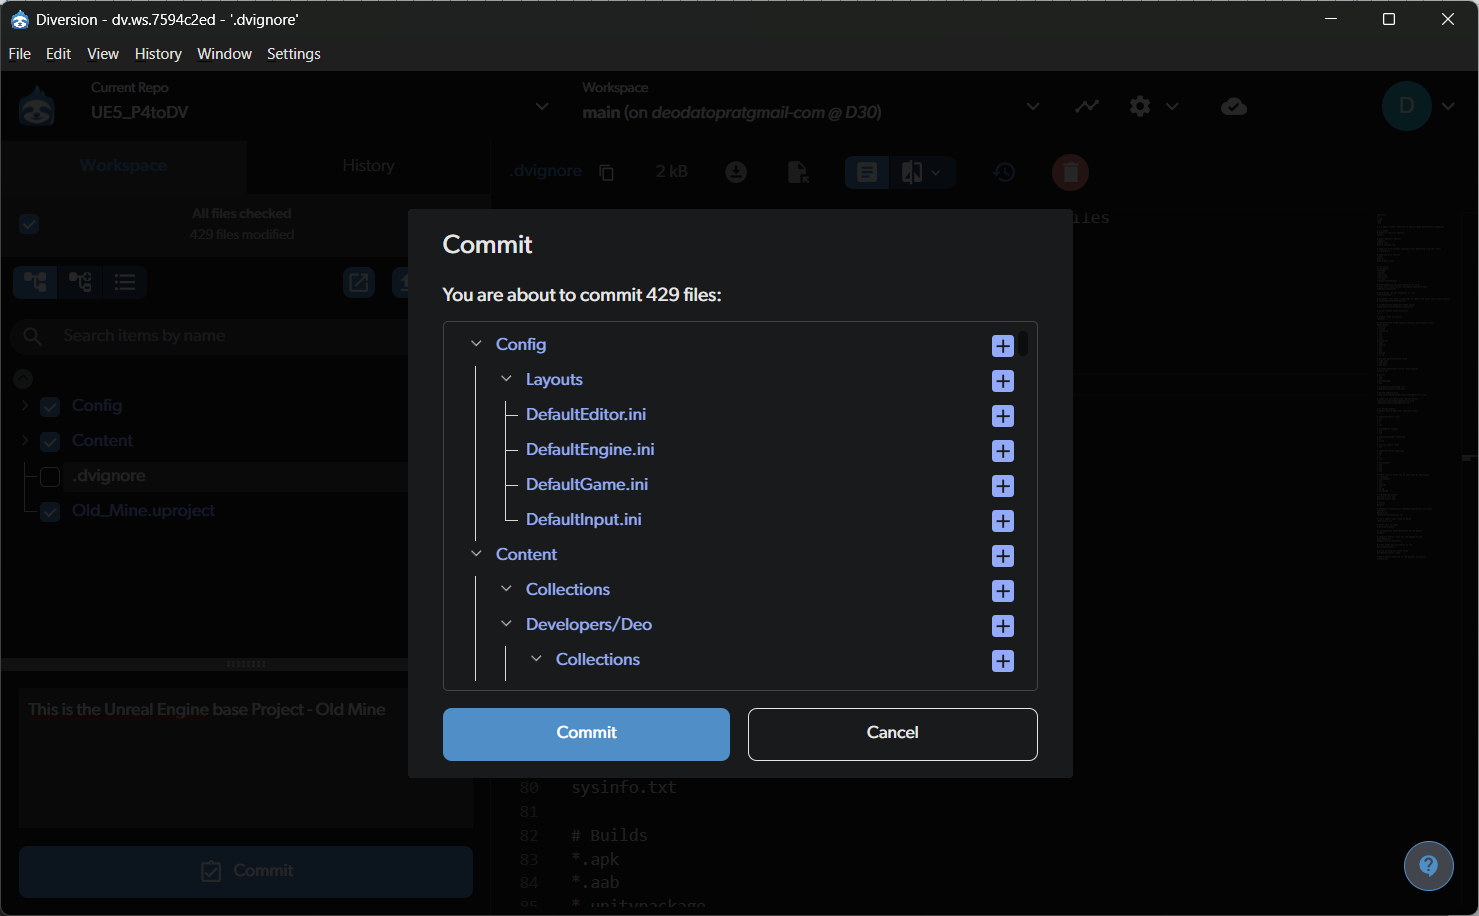
Commit Time
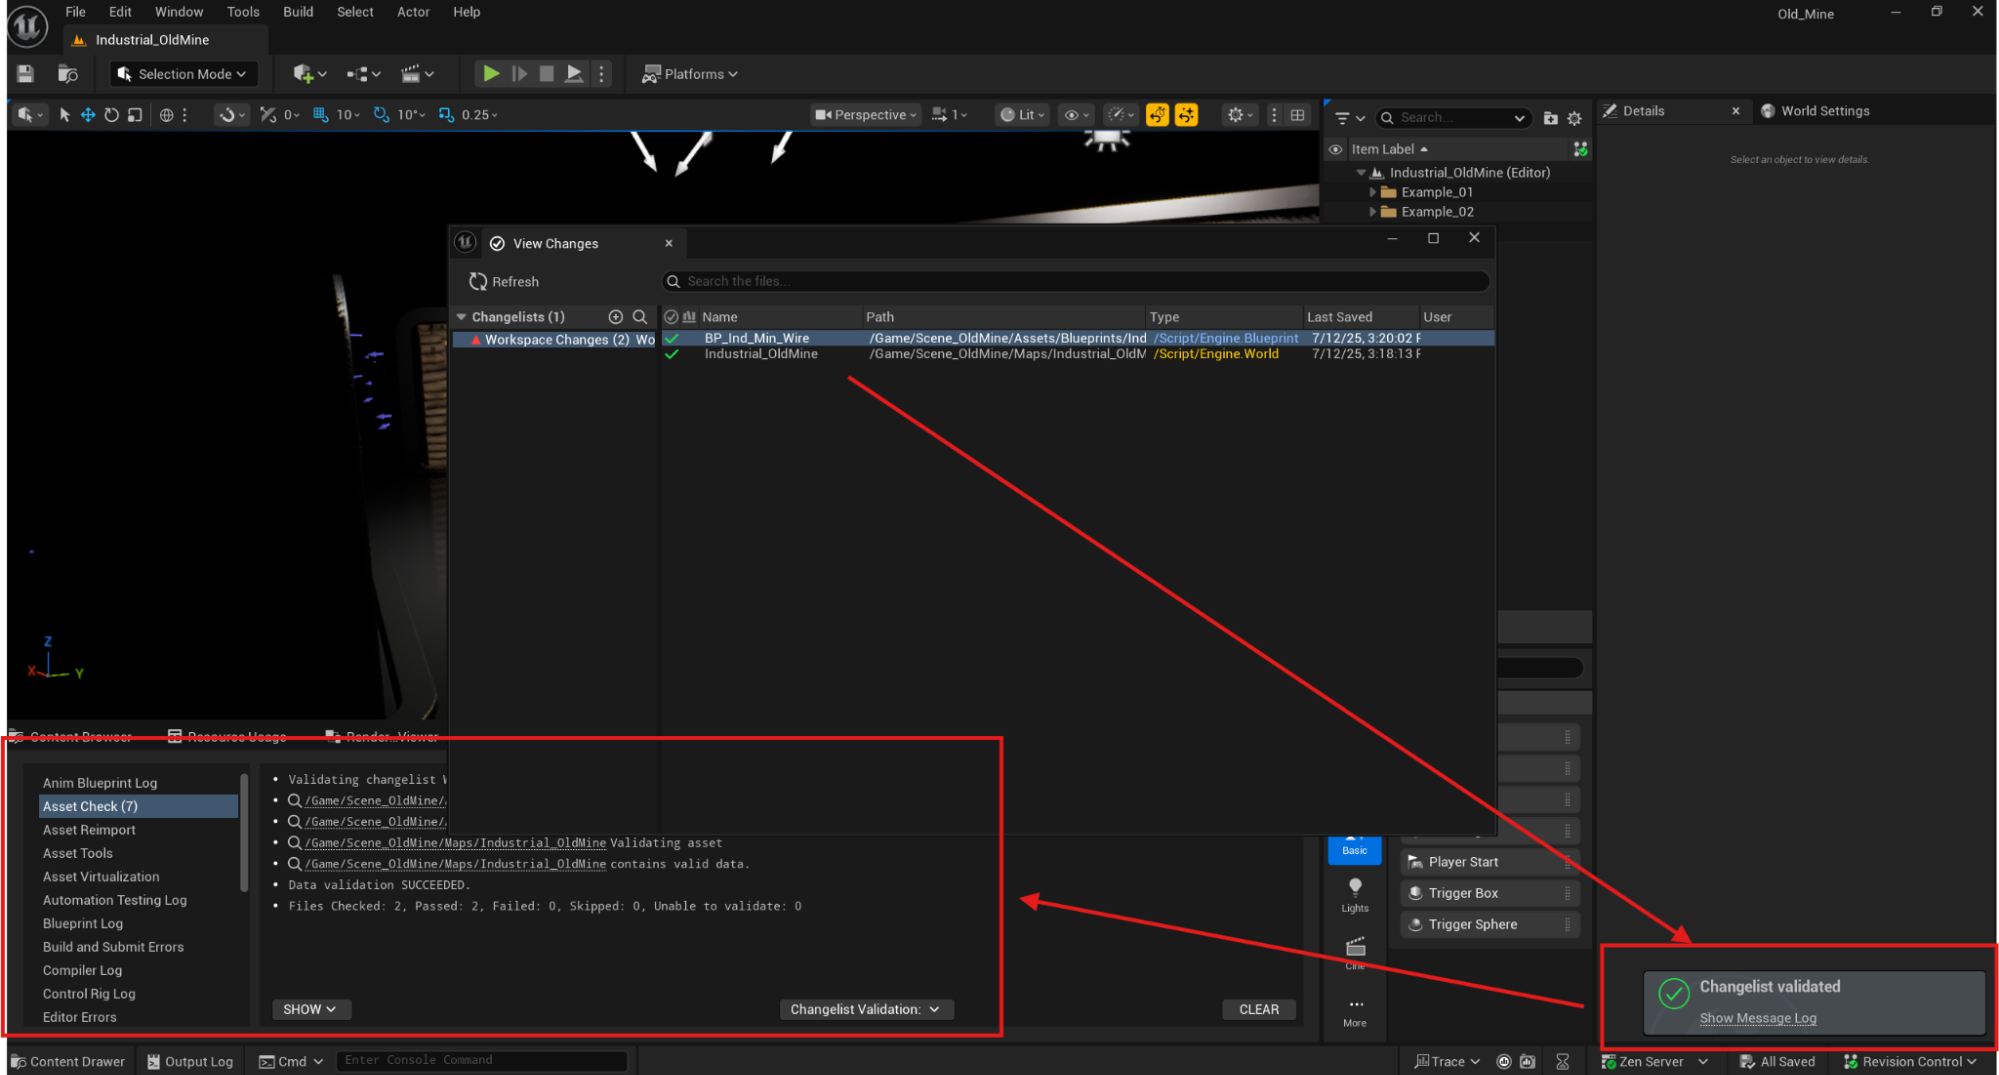
With Diversion, your workspace is continuously synced to the cloud. Committing is the moment you choose to save a snapshot into history. Because of Diversion’s architecture, commit operations are fast, even for large UE projects. As of 5.6, Diversion includes a dedicated Commit button for faster commits from the UI.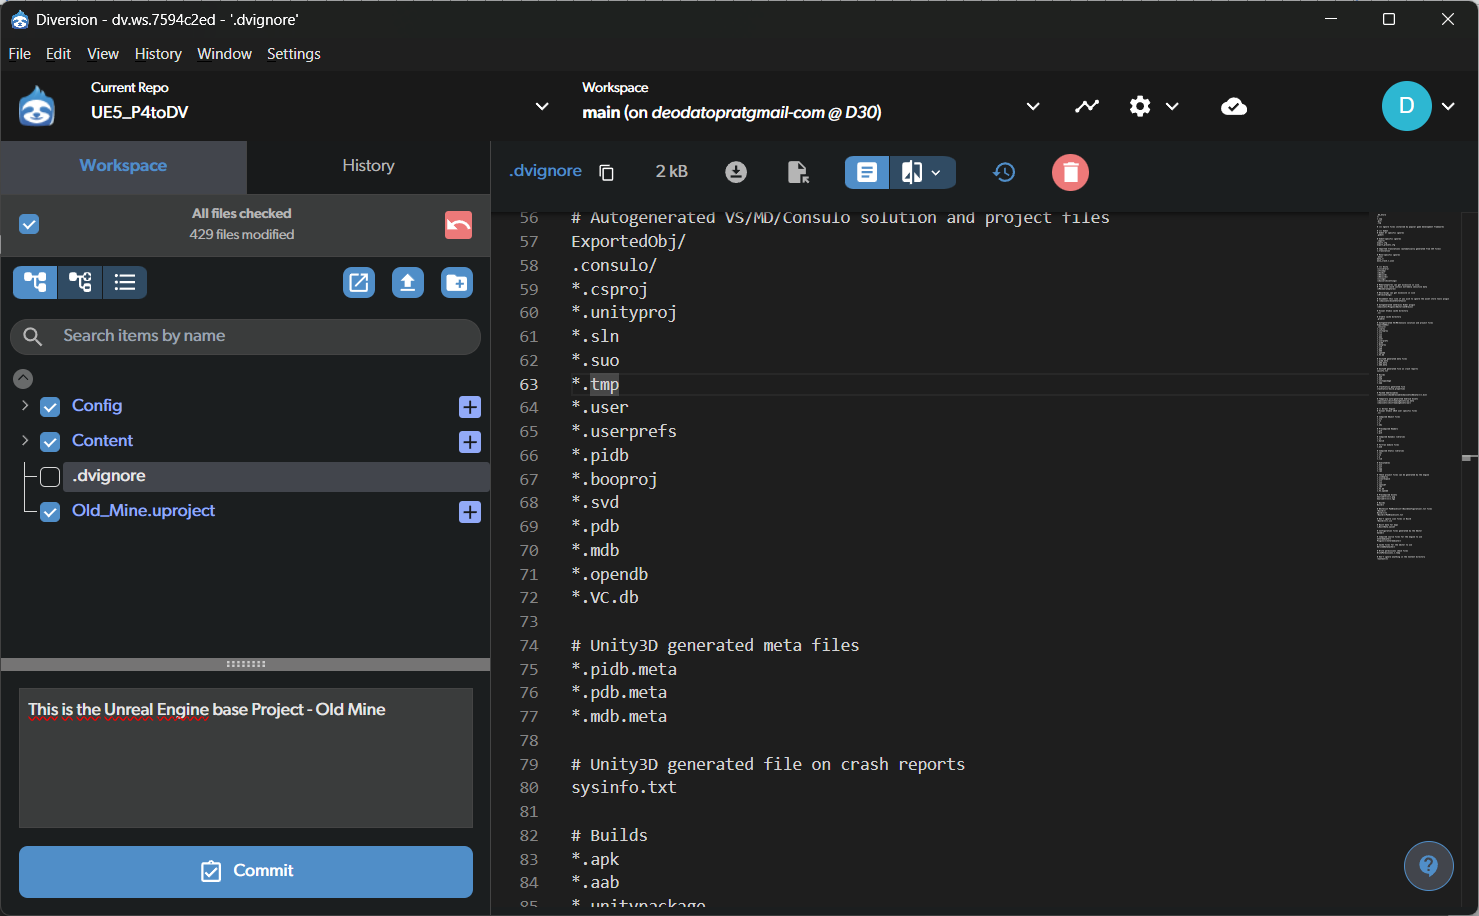
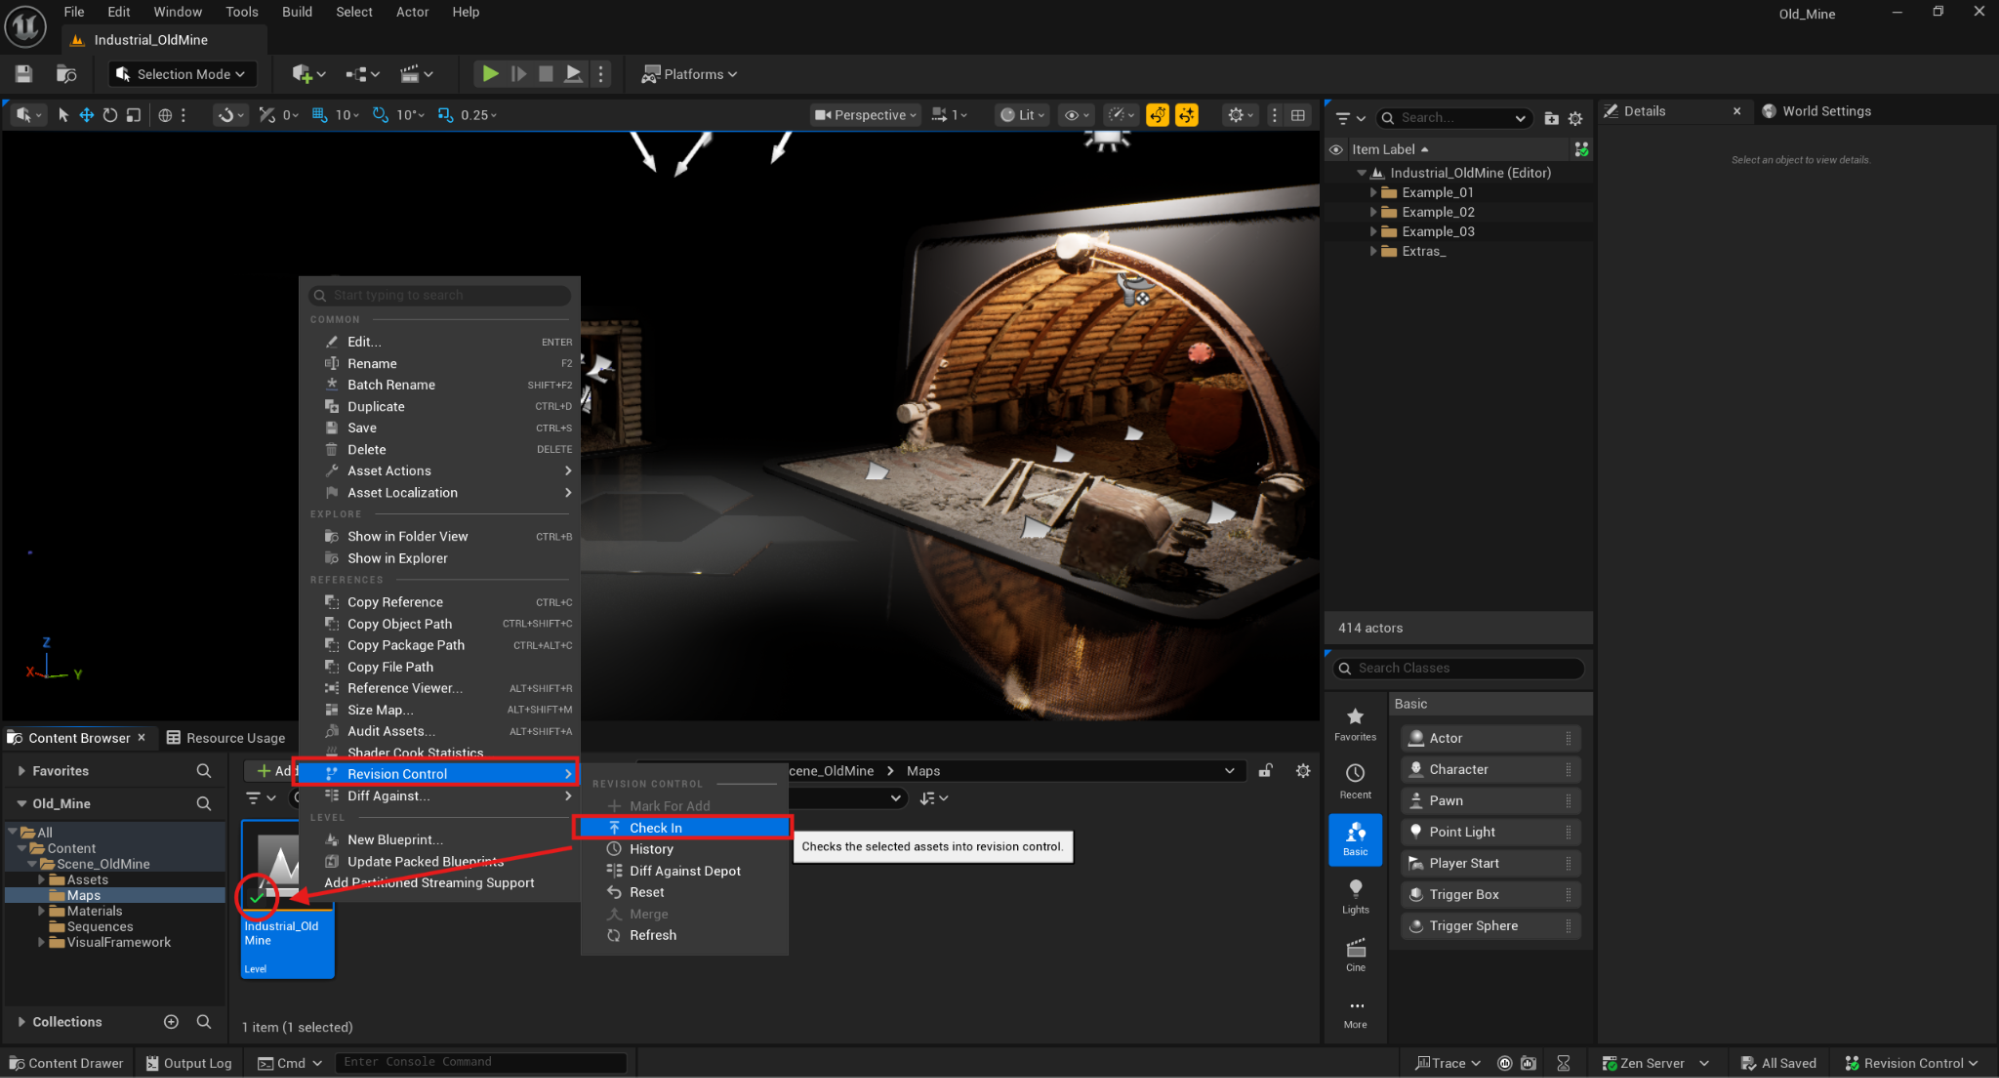
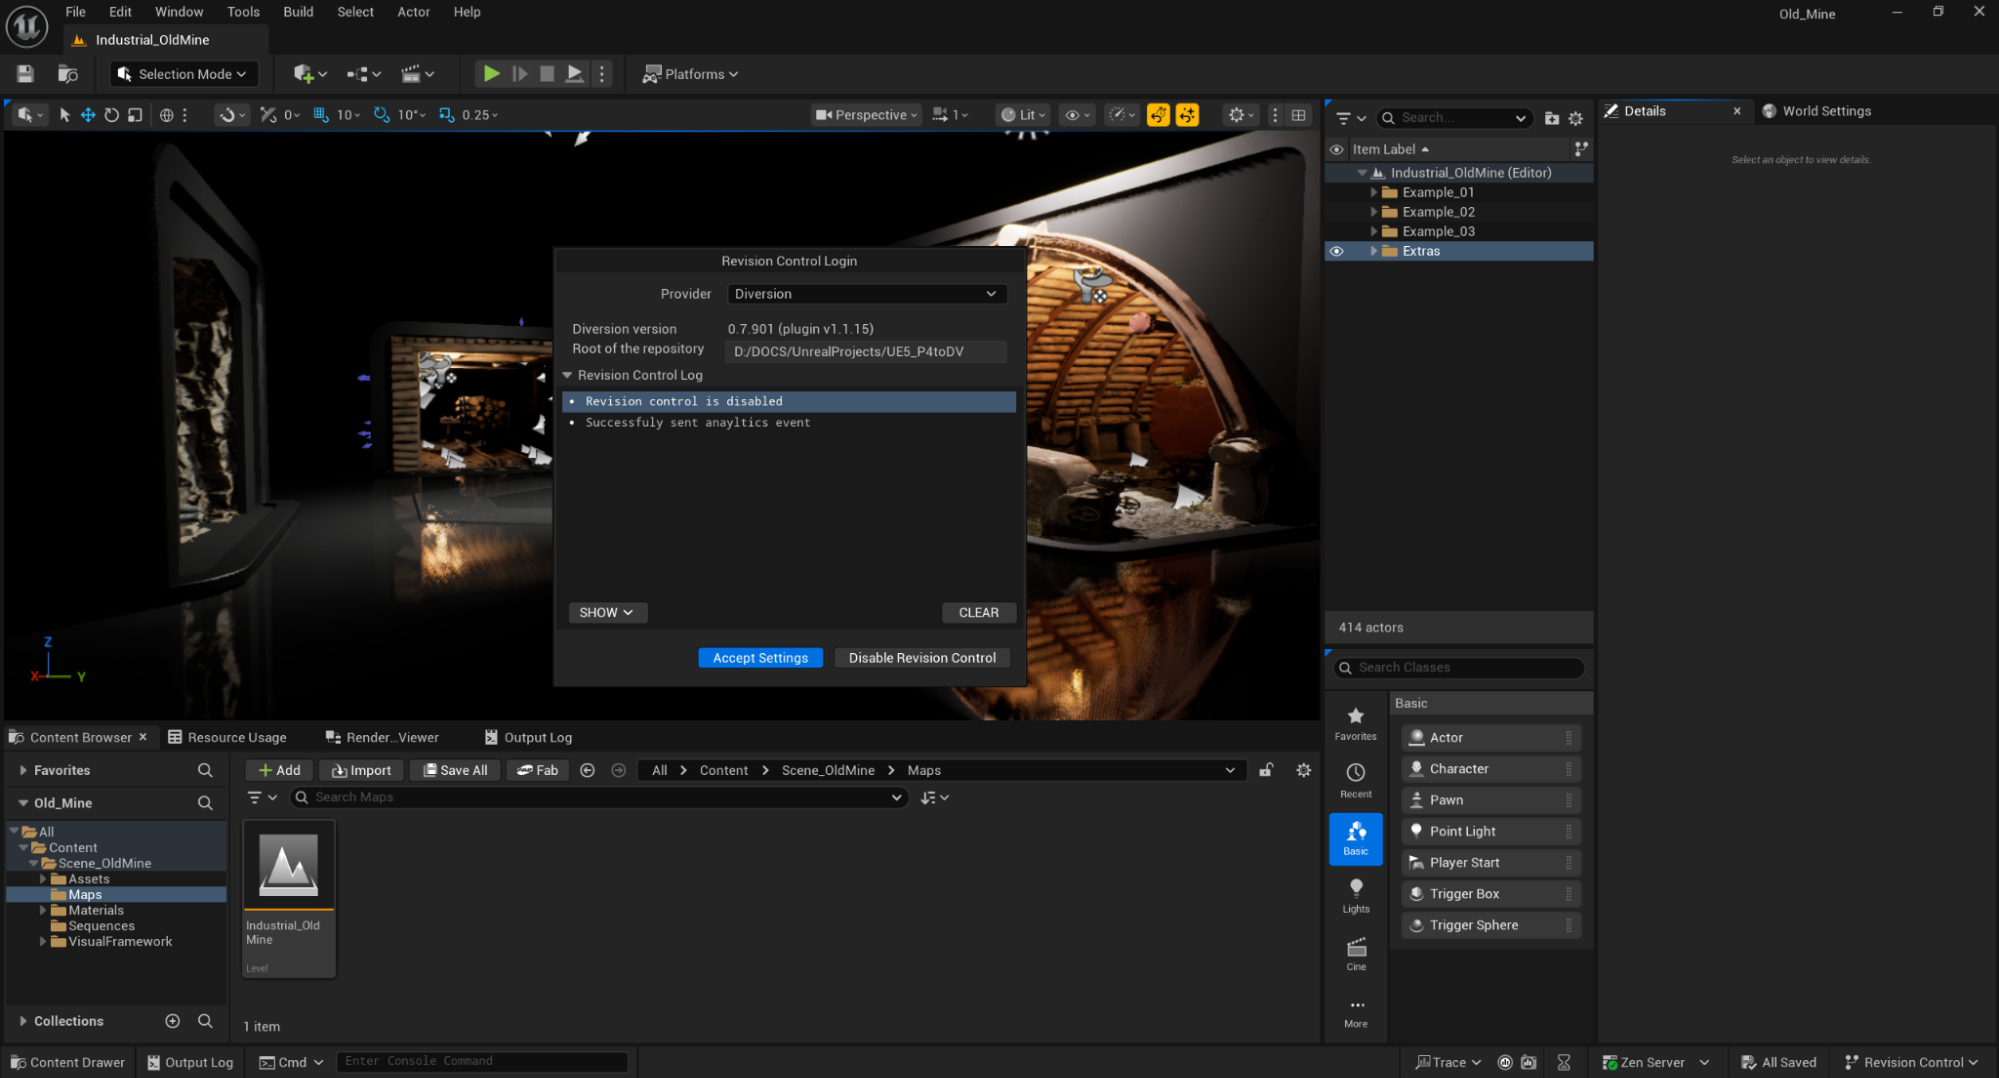
Unreal Engine Integration
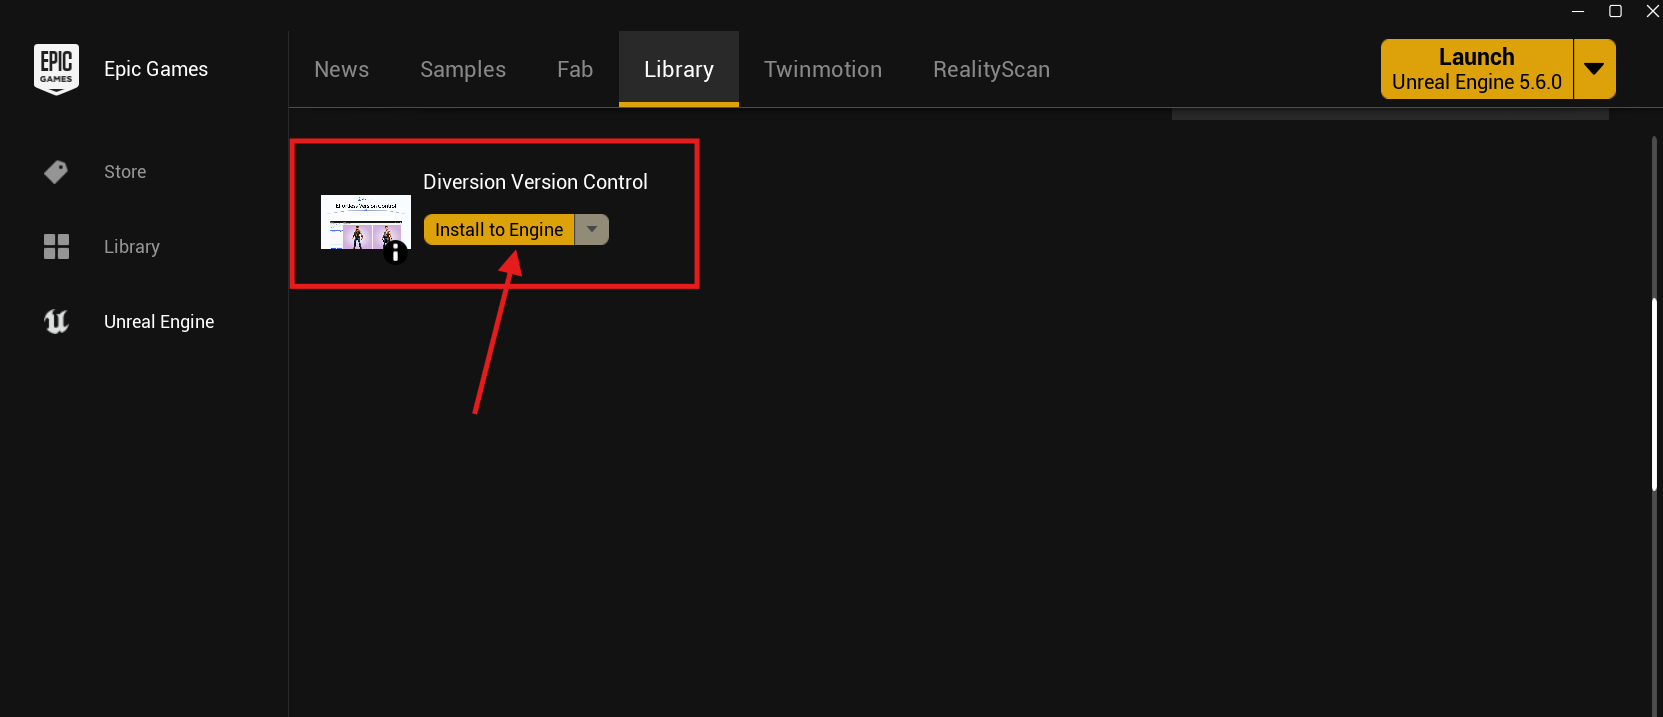
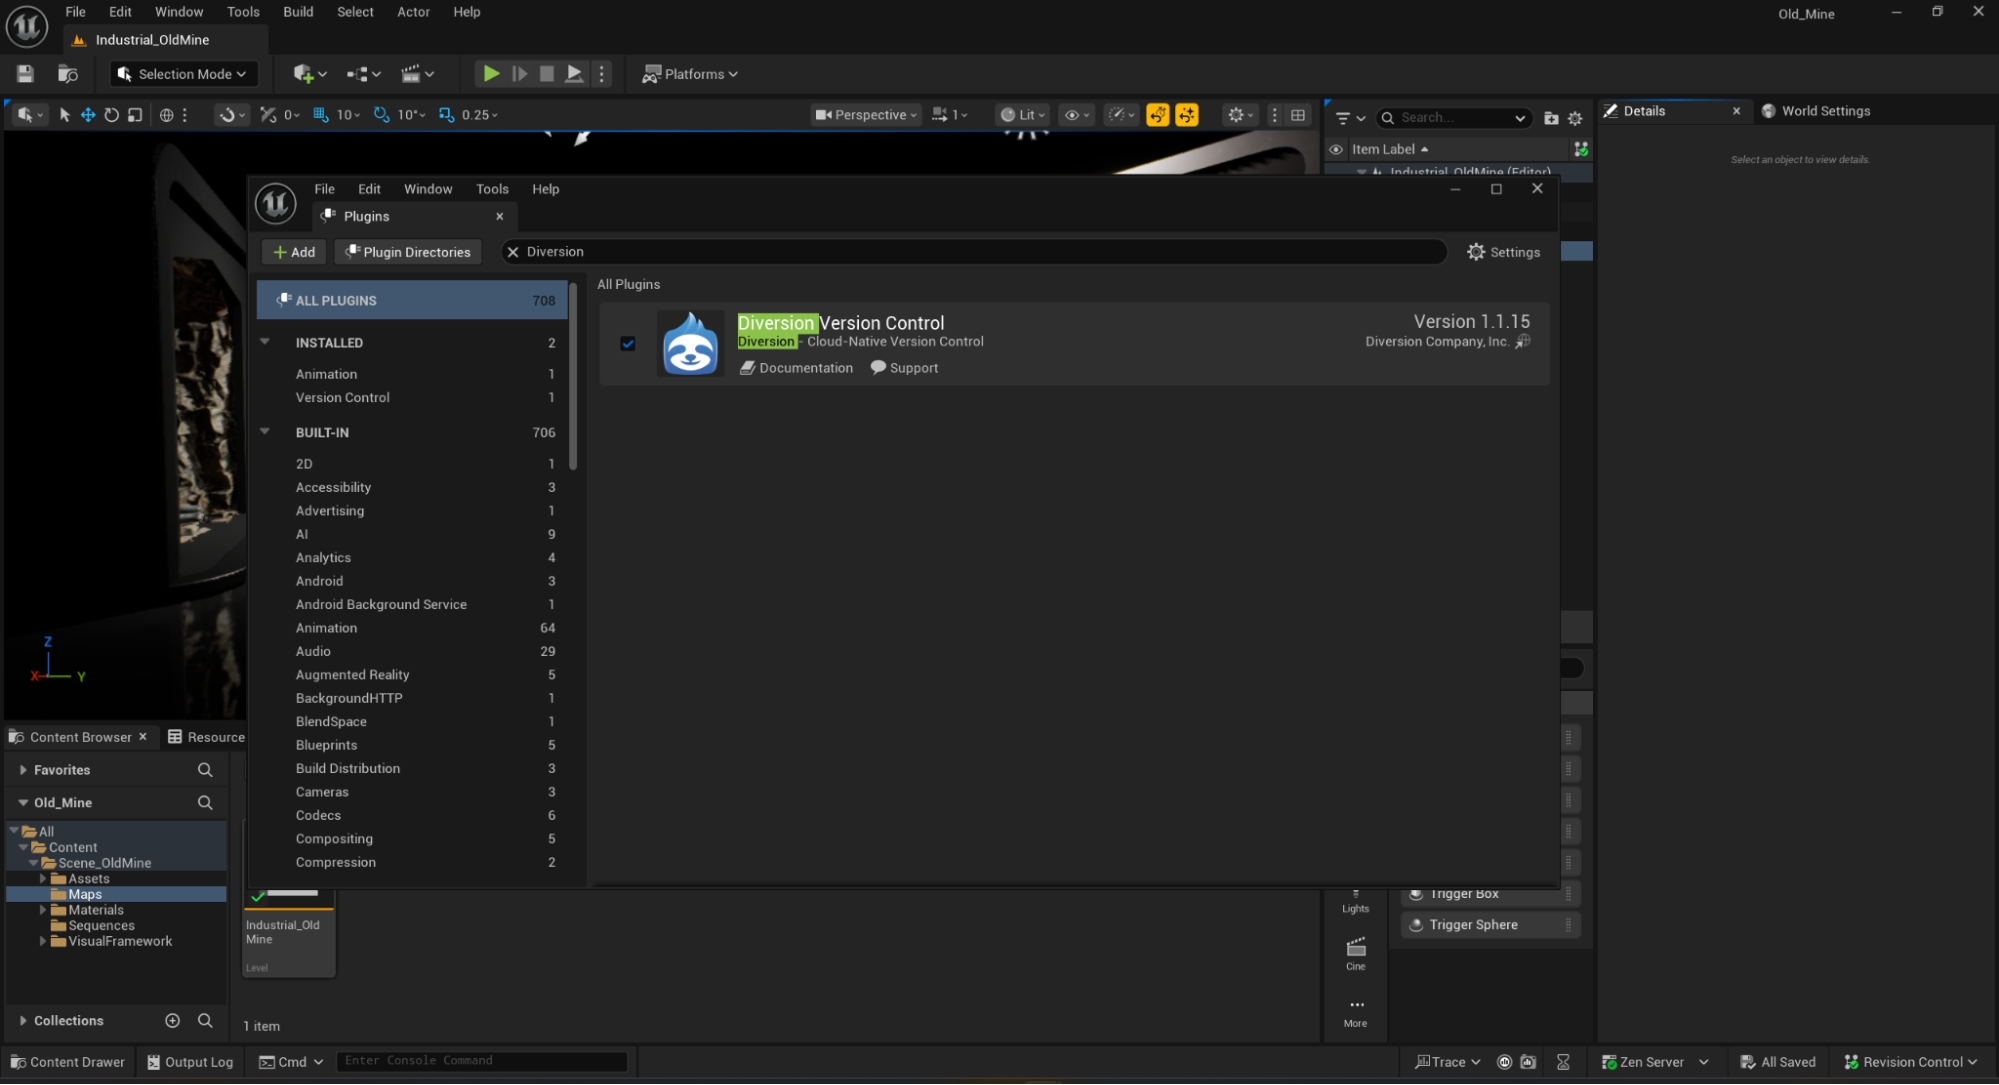
To integrate Diversion with Unreal Engine, go to FAB, search for “Diversion,” and download the plugin.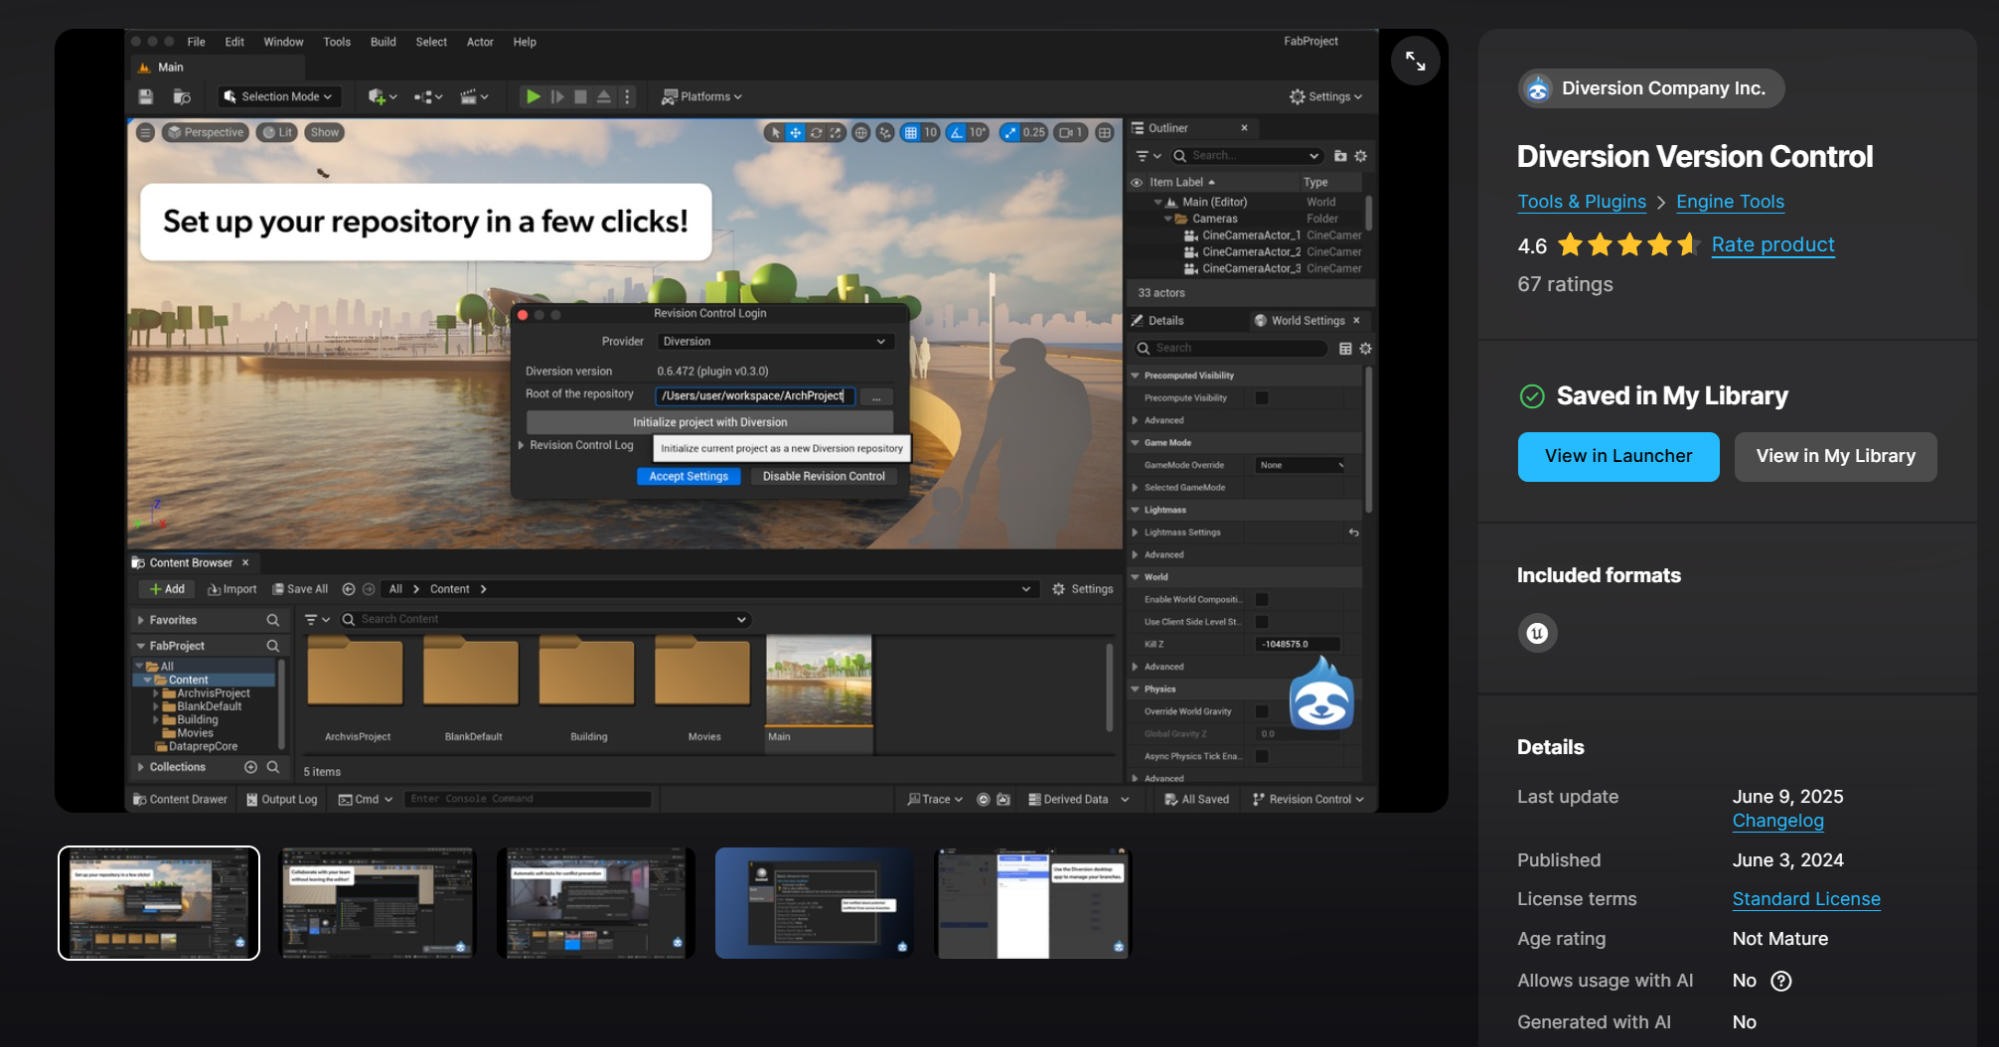
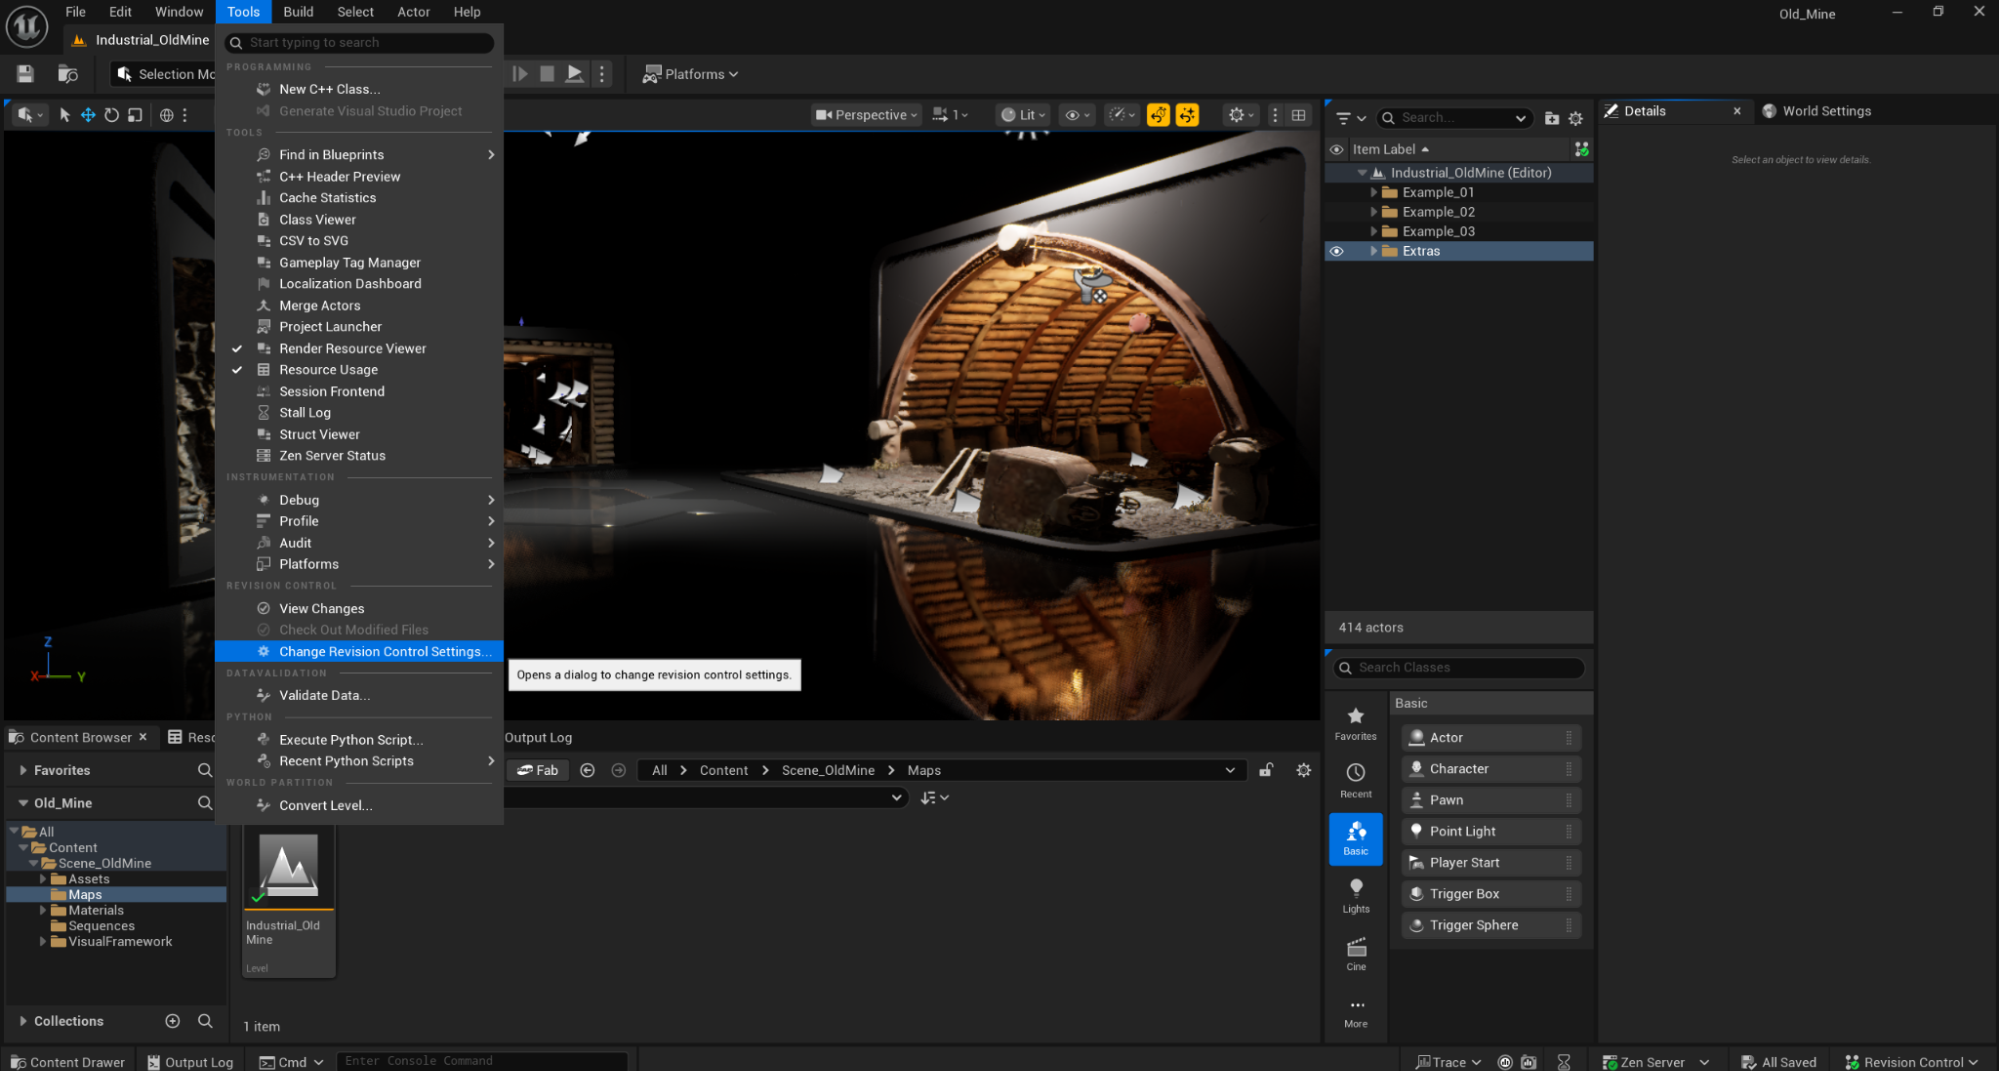
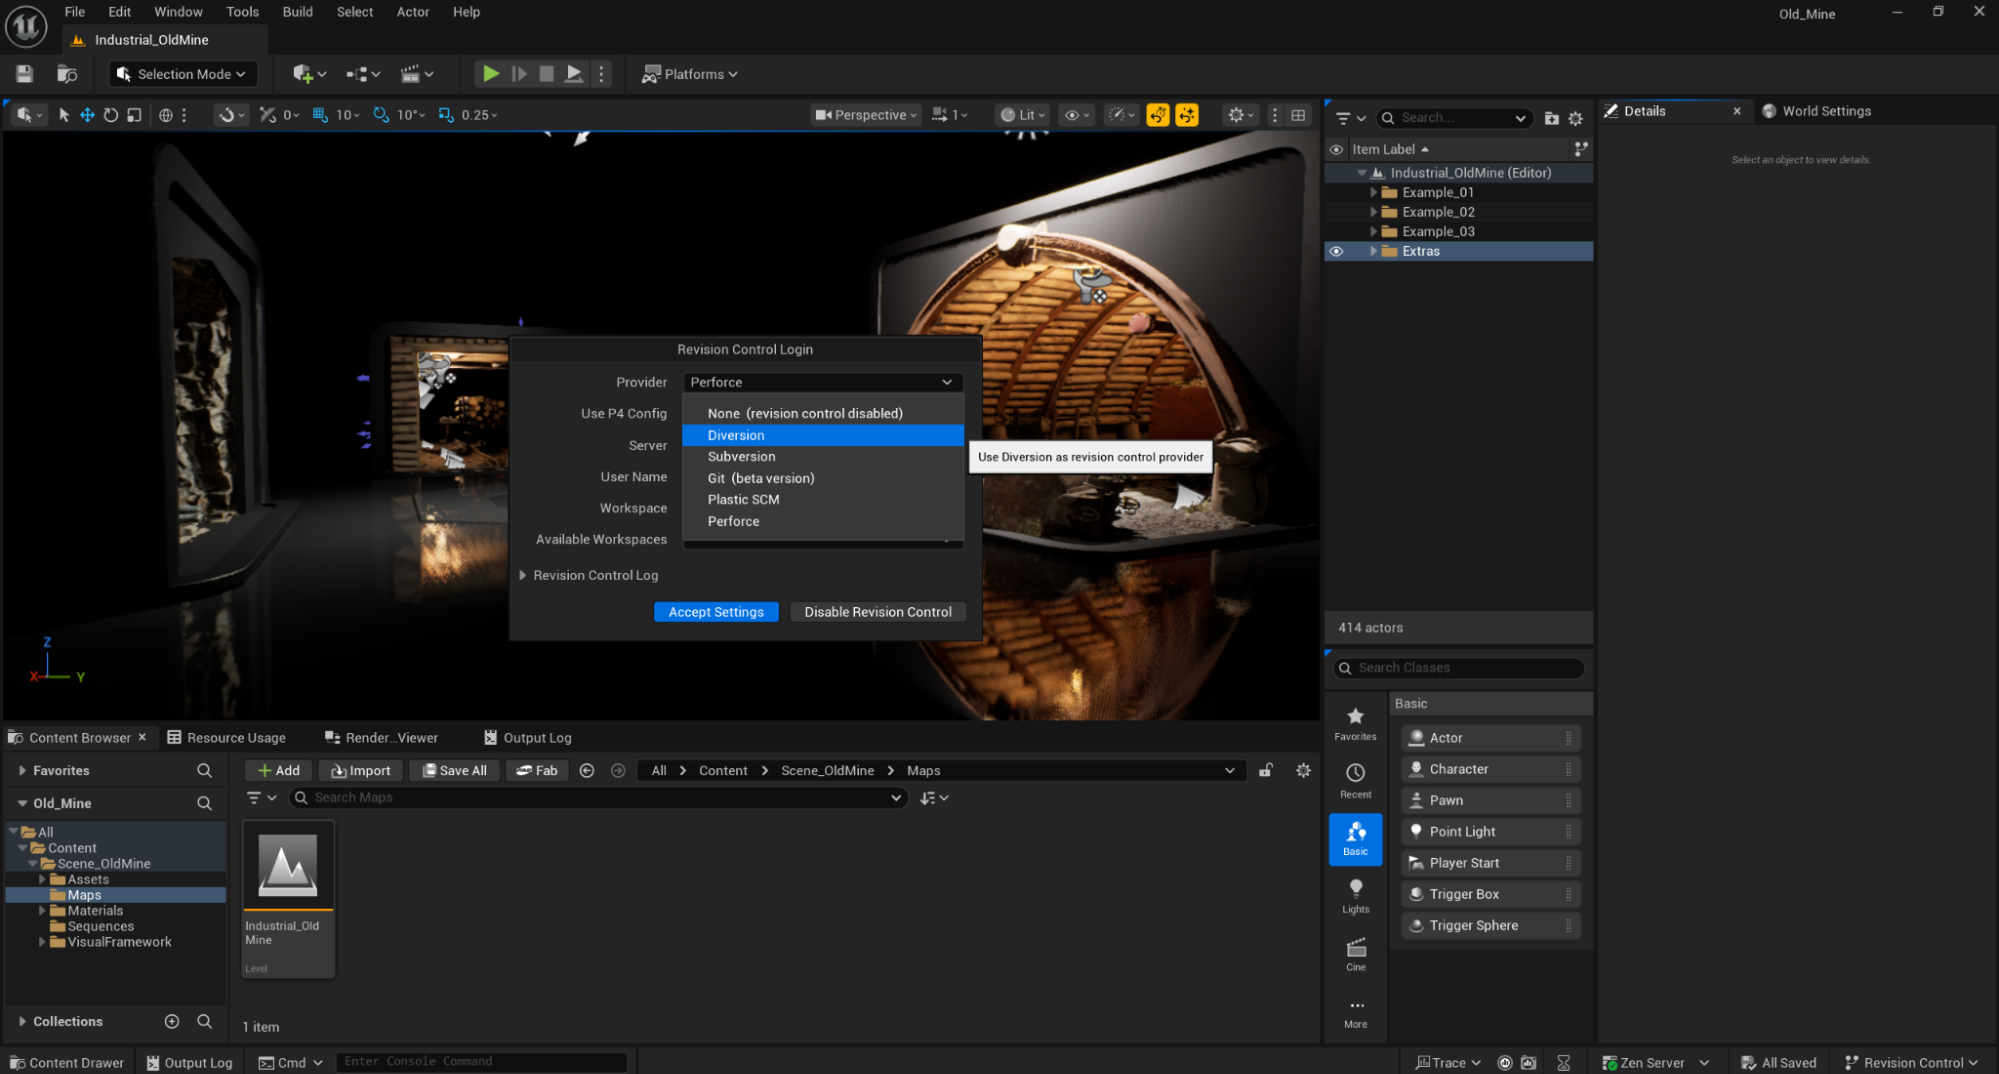
By selecting Diversion as your version control provider, Unreal Engine automatically detects the configuration and establishes the connection without requiring any manual setup.
In Perforce, an exclusive lock corresponds to check-out; Diversion uses soft locking (non-blocking indicators) and supports merge-based collaboration.