Branching
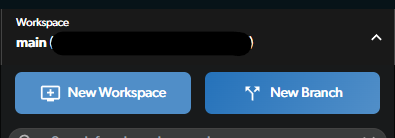
You can think of a branch as a separate version of your project. When you create a branch, you’re creating a copy of your project at that point in time.Creating a new branch
Choose a branch name
Give your branch a name that describes what you’re working on.
Also, pay attention to the commit you’re branching from - this will be the base for our new branch.
You can automatically switch to the new branch after creating it by leaving the checkbox checked, it’s checked by default.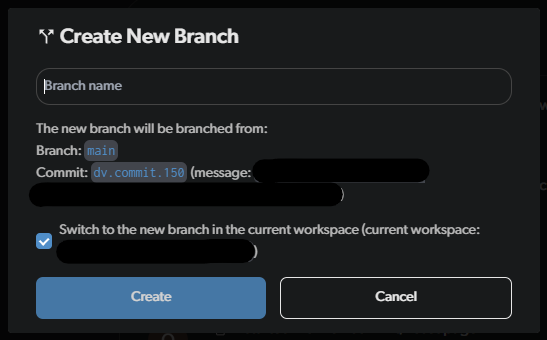
Switching branches
In your workspace view, you can see a list of your branches. You can see the branch you’re currently on at the top of the list. Click the menu for the branch you want, and select “Switch to branch”.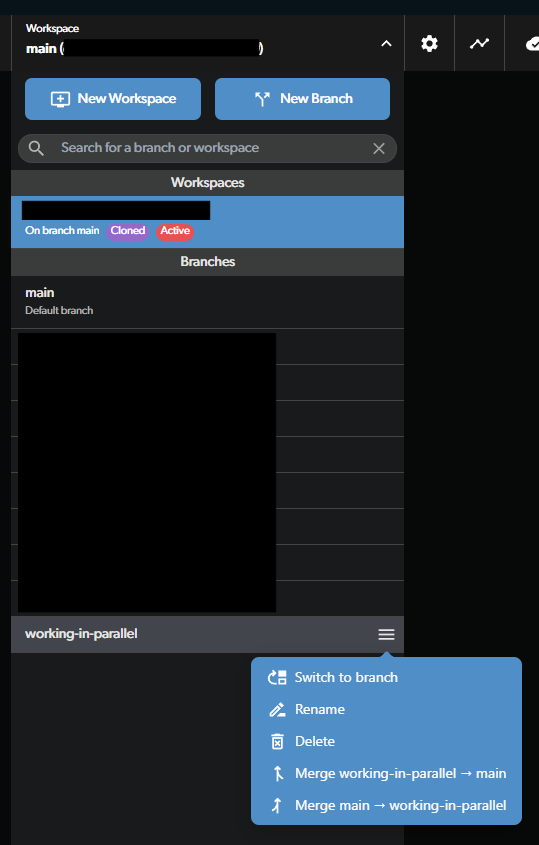
Branch graph
You can see a graph of your branches in the workspace view. Click the button in the top bar. If you have a lot of branches, this can help you understand how they relate to each other.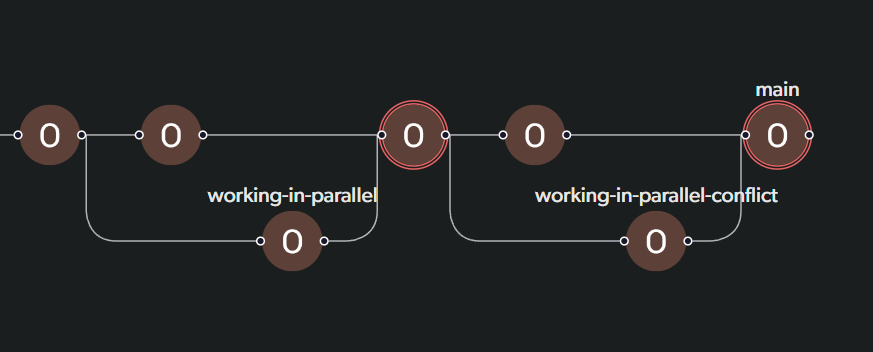
Important things to remember
- Working on any branch is just like working on your main branch. Making changes, committing, syncing - it’s all the same.
- Branches are visible to anyone in your repo, and anyone can switch to any branch.
- The committed changes on the branch are only available to team members who are on the same branch.
Merging
When you’re done working on your branch, you can merge it back into your main branch. Merging takes all of the changes from one branch and applies them to another.How to merge
In the same workspace view, you can choose the branch you want to merge and choose the option you want from the menu.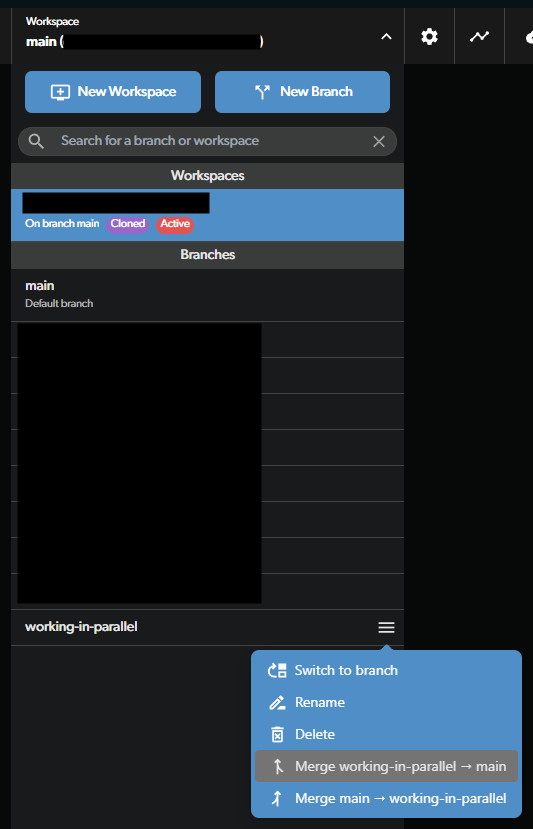
Merge conflicts
Sometimes, the changes you made on your branch conflict with the changes someone else made on another branch. When you try to merge these branches together, you’ll have to decide how to handle these conflicting changes. If you have conflicting changes and follow the steps in How to merge, you’ll see a screen that shows you the conflicting files instead of the successful merge commit.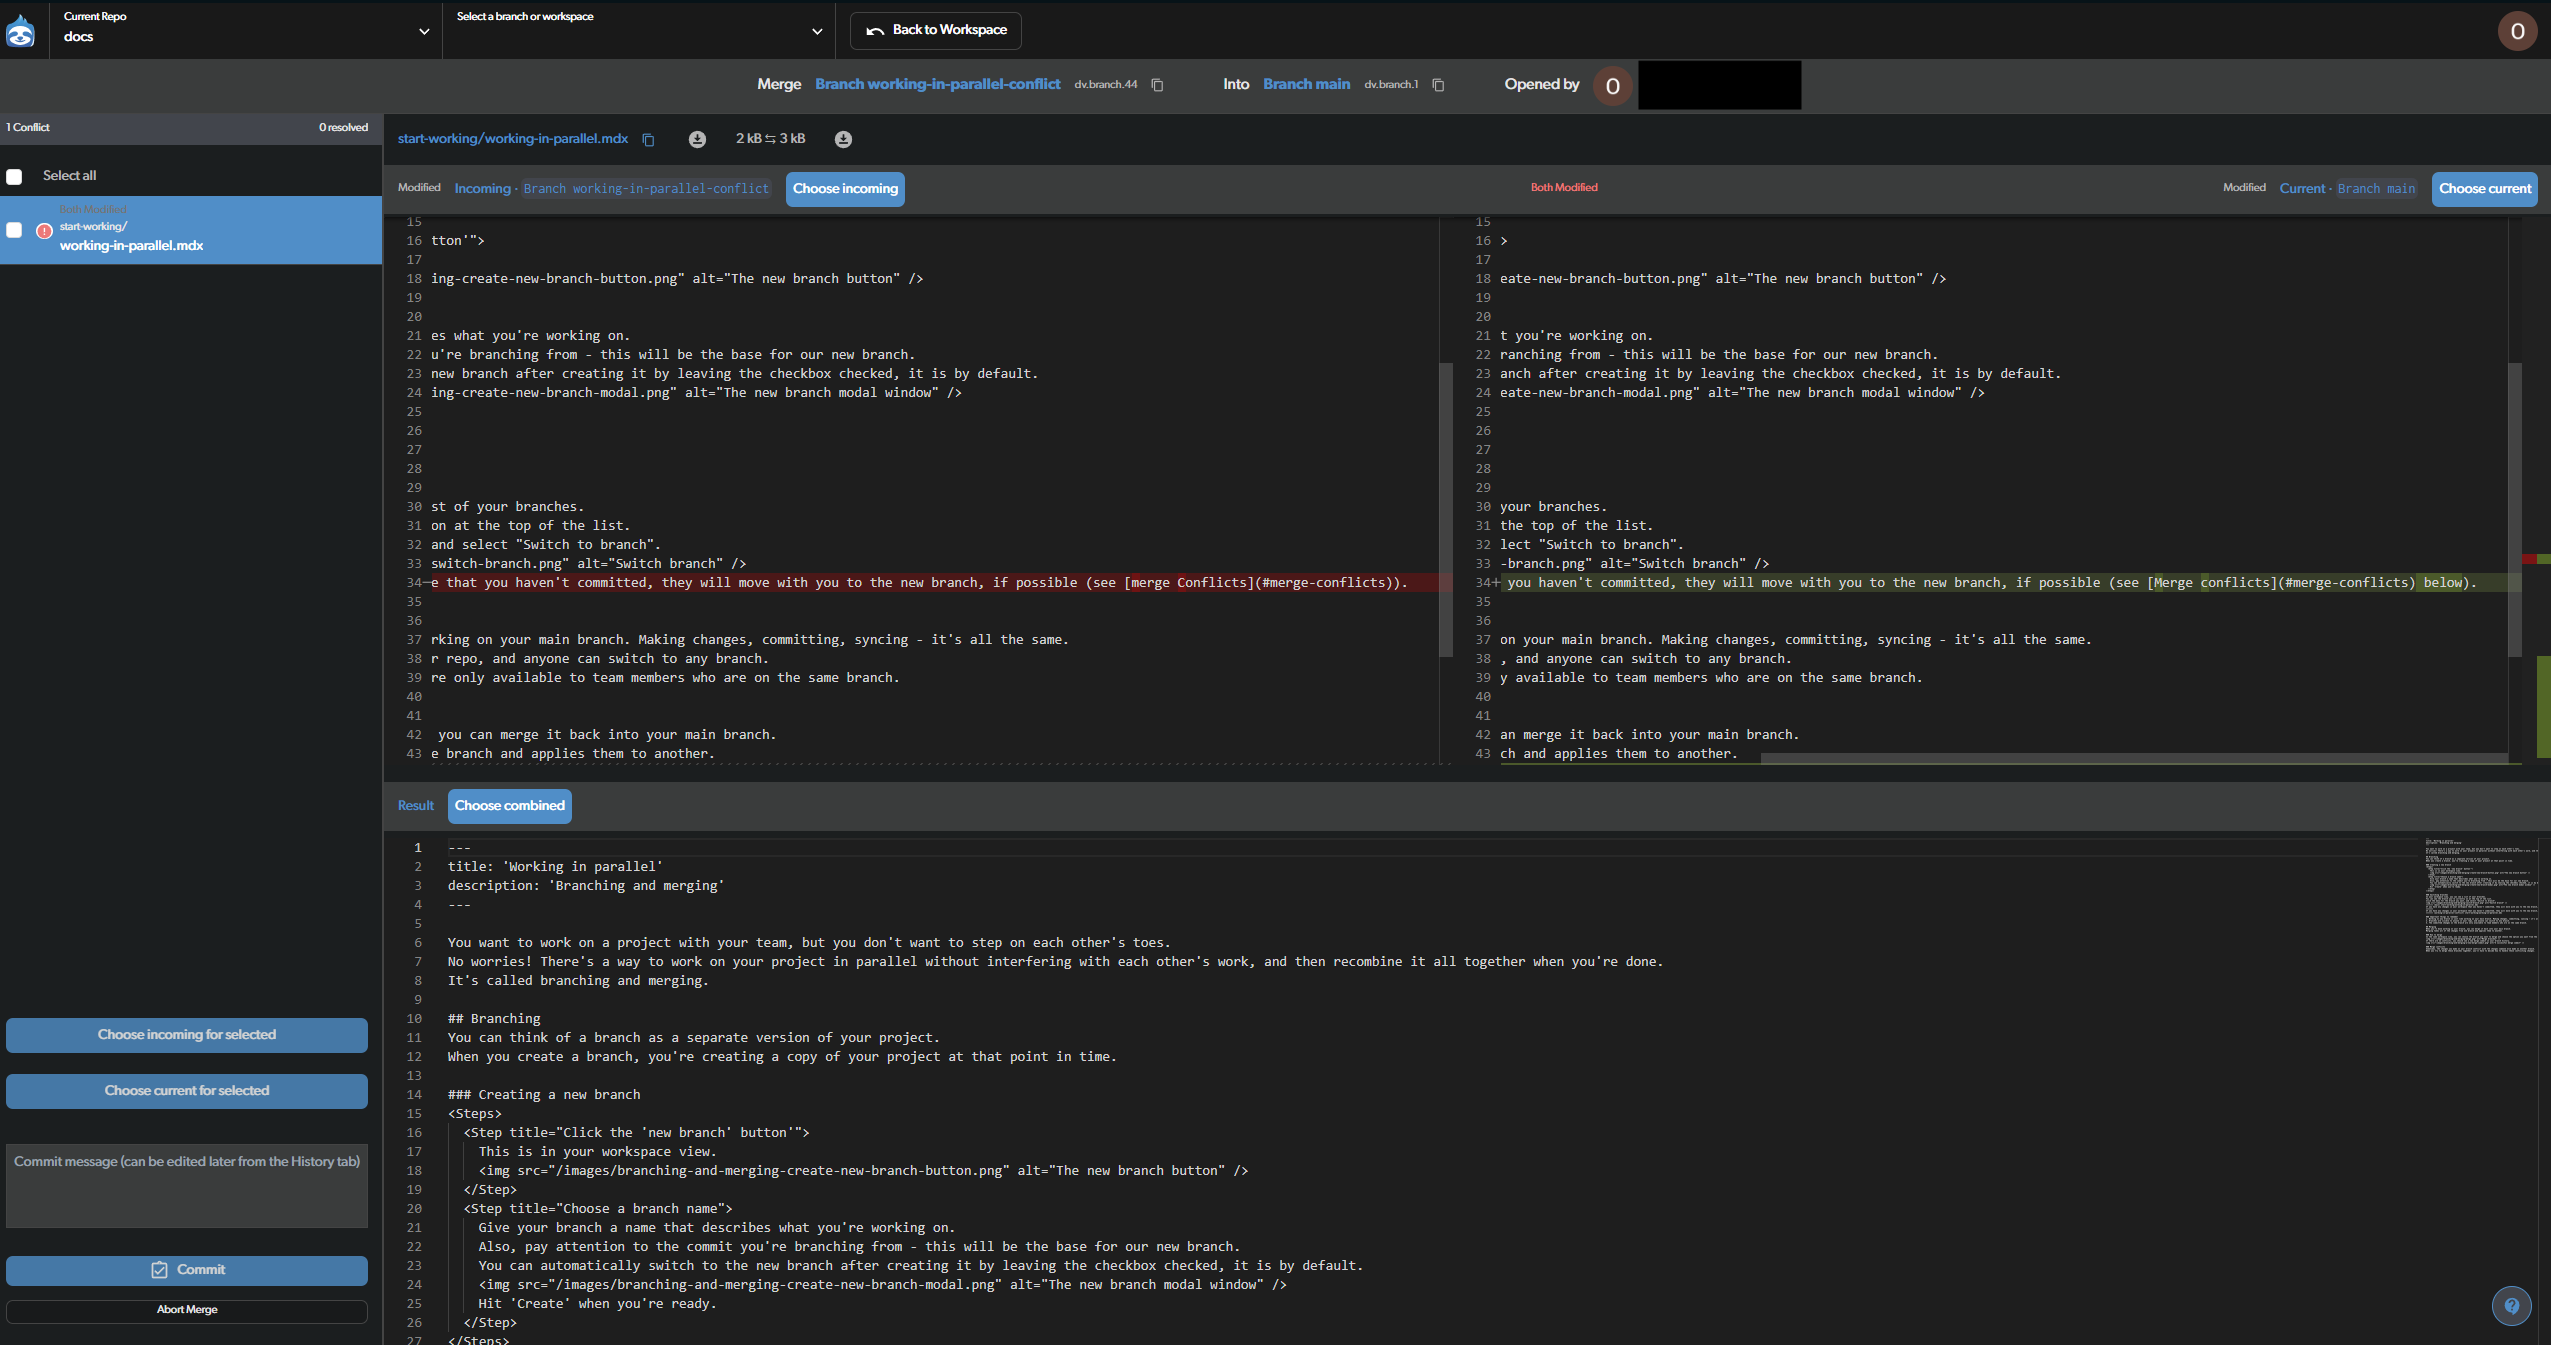
- A list of files with conflicting changes.
- For each file on the list:
- The incoming file. This is a readonly version of the file that’s on the branch you’re trying to merge from.
- The current file. This is a readonly version of the file that’s on the branch you’re trying to merge into.
- The outcome file. This is what the file will look like after you resolve the conflict. This is editable.
Merging non-text files
Non-text files, like images, 3d models, spritesheets, animations, etc., can’t be merged. This merge process works because text files are human-readable and can be compared line by line. If you have a merge conflict with a non-text file you have 2 options:- If you have a specific tool that can merge these files, you can use it to resolve the conflict. One example is Unreal Engine’s built-in merge tool which you can use if you have our plugin.
- Choose one version to keep and discard the other.