Installation
Prerequisites
Before installing the plugin, you’ll need to have the Diversion installed and signed in to. If you haven’t done that yet, check out the Quickstart guide.Installing the plugin
Get the plugin from FAB
Search for 
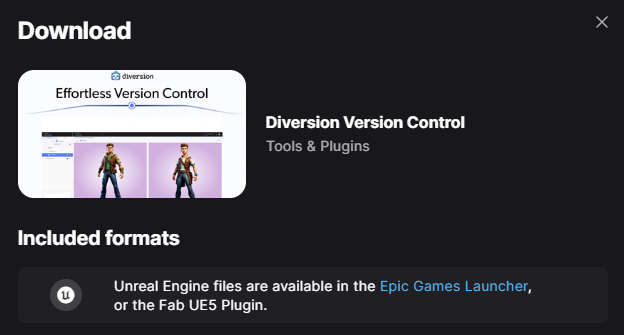
Diversion in the Fab Marketplace,
then click on the Add to My Library button to add the plugin to your account.Download button and click on the Epic Games Launcher link to go to your engine assets library.The plugin is downloaded via FAB but must be installed from the Epic Games Launcher. After adding it to your library on FAB, you need to switch to the Launcher to complete the installation (next step).
Install the plugin from the Epic Games Launcher
Open the Epic Games Launcher and navigate to your engine assets library (under 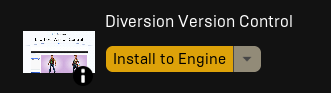
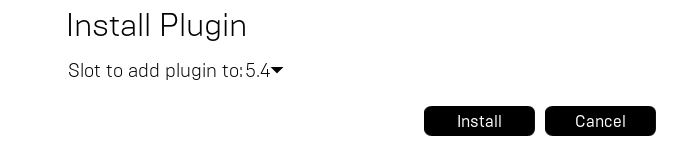
Library > Fab Library). At the bottom, locate the Diversion plugin and click Install to Engine.Install.Alternative: Build plugin from source
In case you would like to manually add the plugin to your UE project, instead of downloading it from the marketplace,
you can get the source code from the following links:
- Unreal Engine 5.3: Diversion-v2.0.17-ue5.3.0.zip
- Unreal Engine 5.4: Diversion-v2.0.17-ue5.4.0.zip
- Unreal Engine 5.5: Diversion-v2.0.17-ue5.5.0.zip
- Unreal Engine 5.6: Diversion-v2.0.17-ue5.6.0.zip
- Unreal Engine 5.7: Diversion-v2.0.17-ue5.7.0.zip
Warning!
Choosing this options will require you to build the plugin from source and maintain the versions manually
in order to keep up with the latest features and improvements.
Configuration
After installing the plugin, you’ll need to configure it for each project to use Diversion as your source control provider.Activate the plugin
In the editor, go to 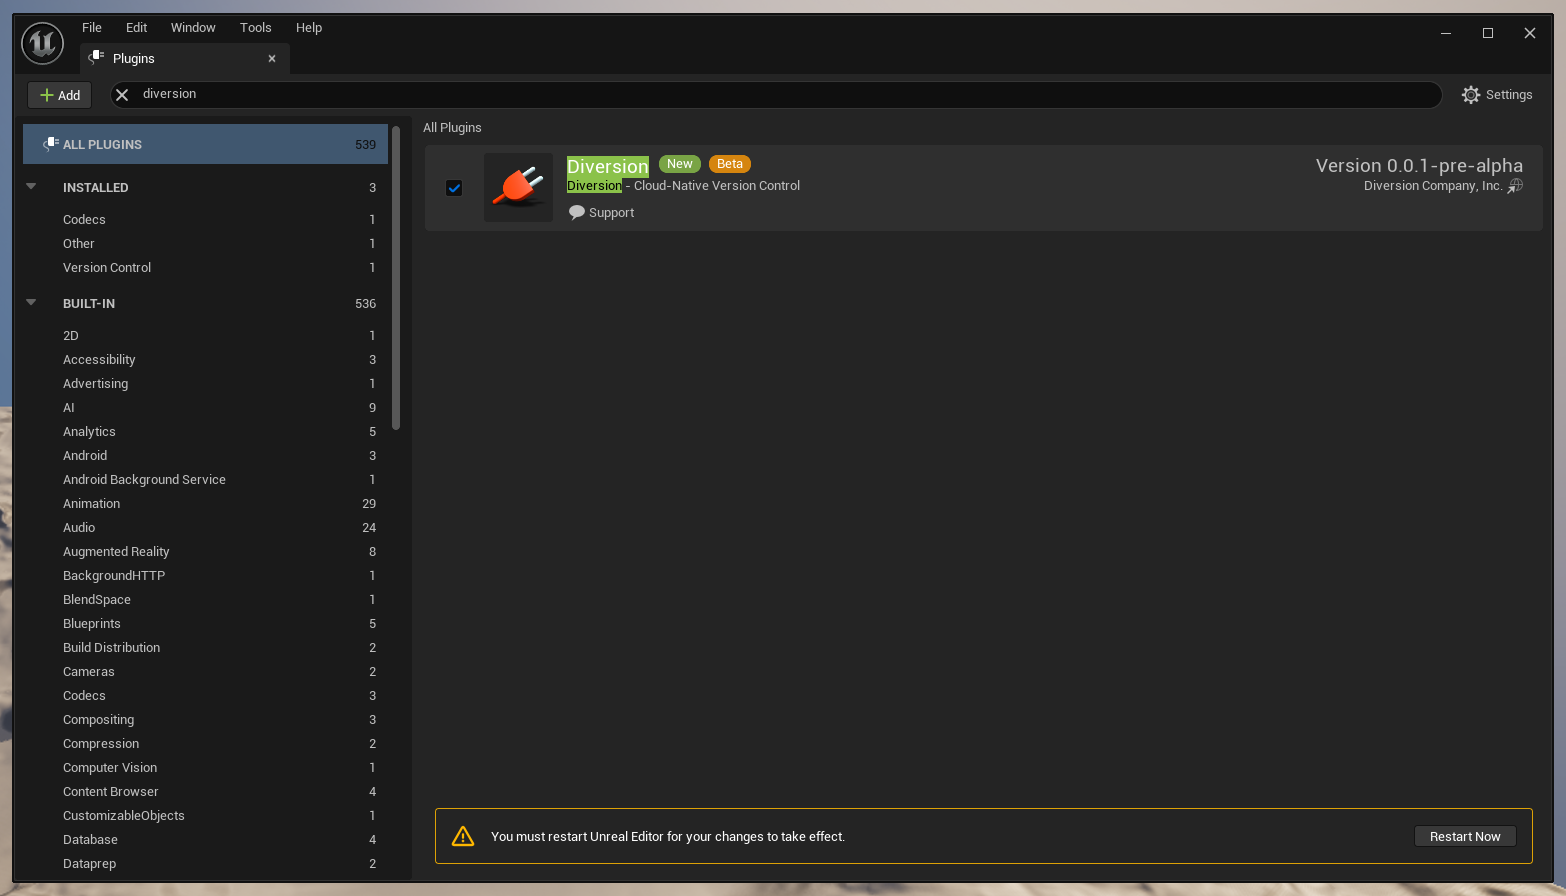
Edit > Plugins. Search for Diversion and click on the checkbox to activate the plugin. If you’re prompted to restart the editor, please do.Enable revision control
With the plugin enabled, click on 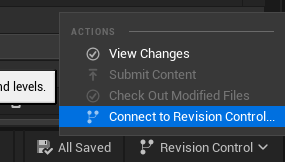
Revision Control -> Connect to Revision Control on the bottom-right.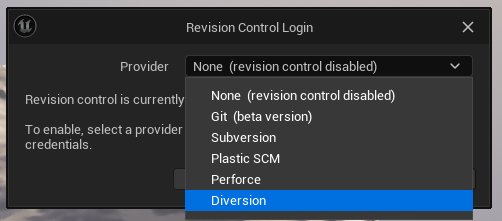
Make sure you're logged in to Diversion
The next step won’t work if you’re not. Check out Quickstart if you’re not sure how to do that.
Set up Diversion Revision Control
I want to create a new repo
I want to create a new repo
If your project’s folder is not a Diversion repository, you’ll be prompted to initialize it.
Click on 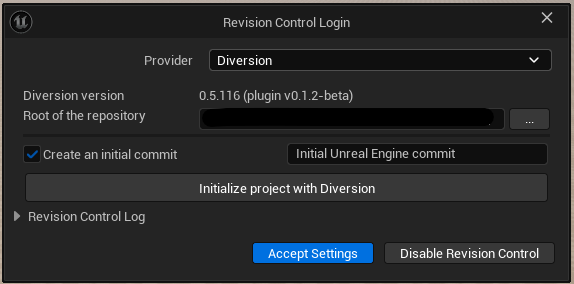
Initialize project with Diversion and the plugin will do the rest. If it looks like nothing happened, make sure you’re logged in and try re-selecting Diversion from the provider drop-down list.
The plugin will recognize the root of the repository and your Diversion installation.Accept Settings and you’re good to go!I’m connecting to an existing repo
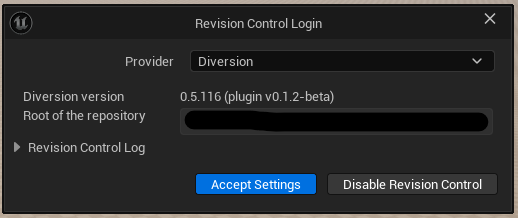
I’m connecting to an existing repo
If your project is already a Diversion repository, like in the case of cloning a repo, just click on
Accept Settings and you’re good to go!Usage
Let’s go over a common workflow using the plugin. For this, we’ll be using a clean Unreal project with the plugin already installed and configured.Make a change
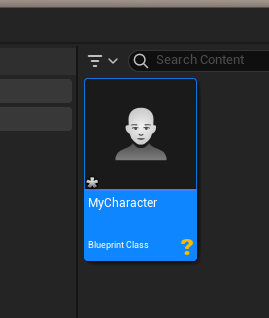
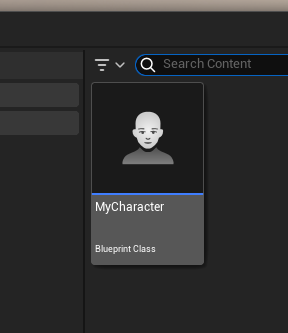
This project will one day be our Multiplayer Open World Survival RPG With Crafting and Building Mechanics™. For that, we’ll need a character. Let’s create one. In yourContent Browser, right-click and choose Blueprint Class.
In the window that appears, choose Character and name it MyCharacter.
You’ll notice that the new file might not be what you’re used to - it now has a yellow question mark on it. This is because Unreal Engine just created the file in-memory, and hasn’t saved it to the disk yet, so Diversion doesn’t know about it.
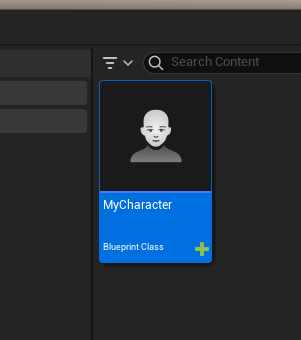
Save button on the top-left. Alternatively, you can press Ctrl + S while the file is selected in the Content Browser to save the file.
The question mark will now be gone, and instead we have a green plus sign. This means that the file is now being tracked by Diversion, and it recognizes that this is a newly added file.
Commit the change
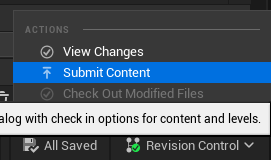
We want to save this change to our repository, to have it backed up and to be able to share it with our team. Click again on theRevision Control button on the bottom-right, and then click on Submit Content.
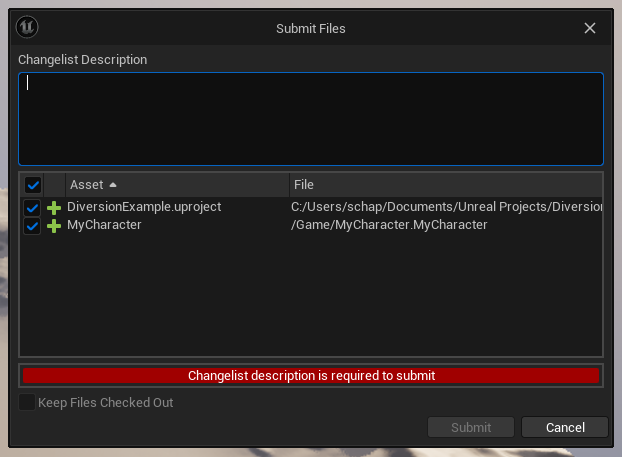
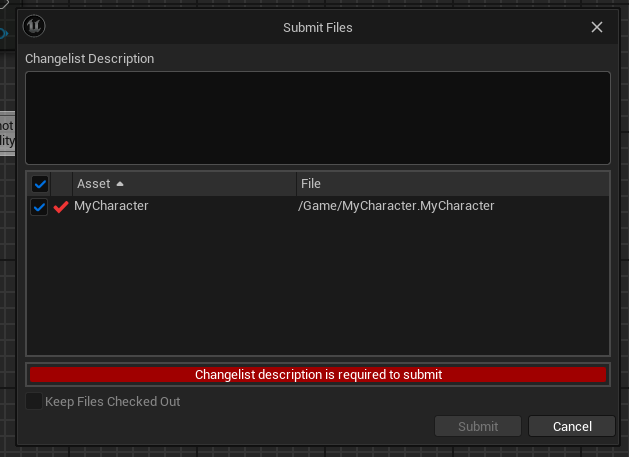
MyCharacter with a green plus sign next to it. You will also see your .uproject file, since Diversion recognizes this as a new file as well.
In the text box labeled Changelist Description, write a brief description of the changes you’re committing. In this case, you could write Added MyCharacter.
Warning!
Diversion does not endorse or encourage the use of vague, ambiguous, or laconic commit messages. This is for demonstration purposes only. Please write meaningful commit messages.
Submit button, and the green plus on MyCharacter will disappear, meaning that Diversion has committed the file.
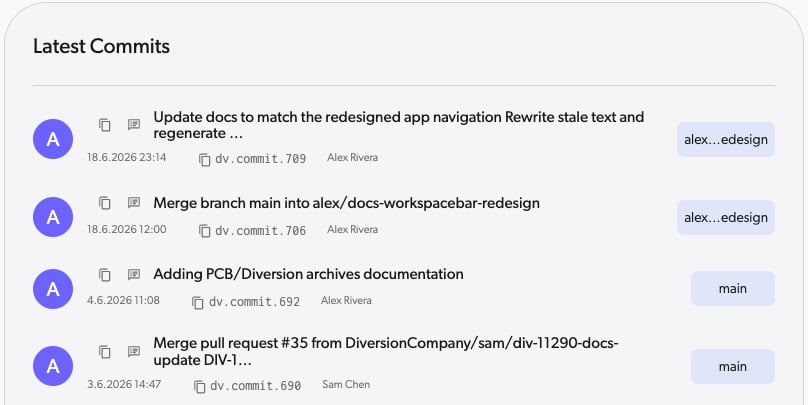
Let’s see this in the Web UI
Open your browser and go to your dashboard. Select your repository (via theView button on the Remote Repositories tab, or the top-left repo selector). It should have the same name as your project’s folder.
You’ll see the commit you just made, with the description you wrote, and the file you added. Open the Commits view from the left navigation rail to see your commit.
Make another change
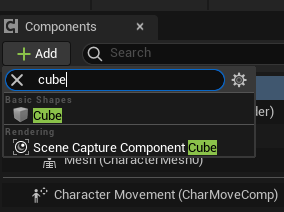
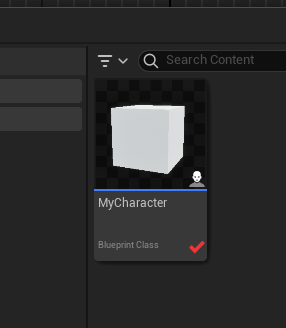
Our character is just an empty collider right now, so let’s add a placeholder mesh so that we can see it. In theMyCharacter blueprint, click on the Add Component button on the top-left, and then search for Cube and add it. Now we can see our character.
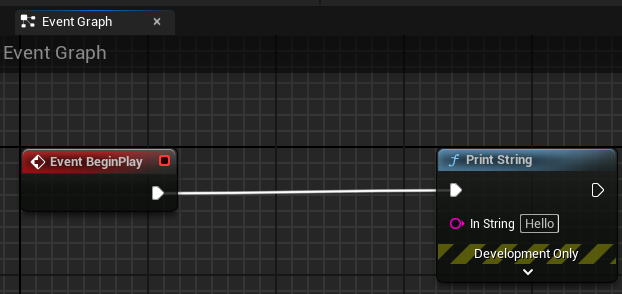
Event Graph, add a Print String node and connect it to the Event Begin Play node. Now our character has some basic functionality.
Content Browser and you’ll see that MyCharacter now has a red checkmark next to it. This means that Diversion recognizes that the file has changed.
Make another commit
Just like before, click on theRevision Control button on the bottom-right, and then click on Submit Content.
You’ll see the MyCharacter file with a red checkmark next to it.
Event Graph in the list on the left.
Clicking it will show you the changes you’ve made to the blueprint, and you you should see the Print String node you added.
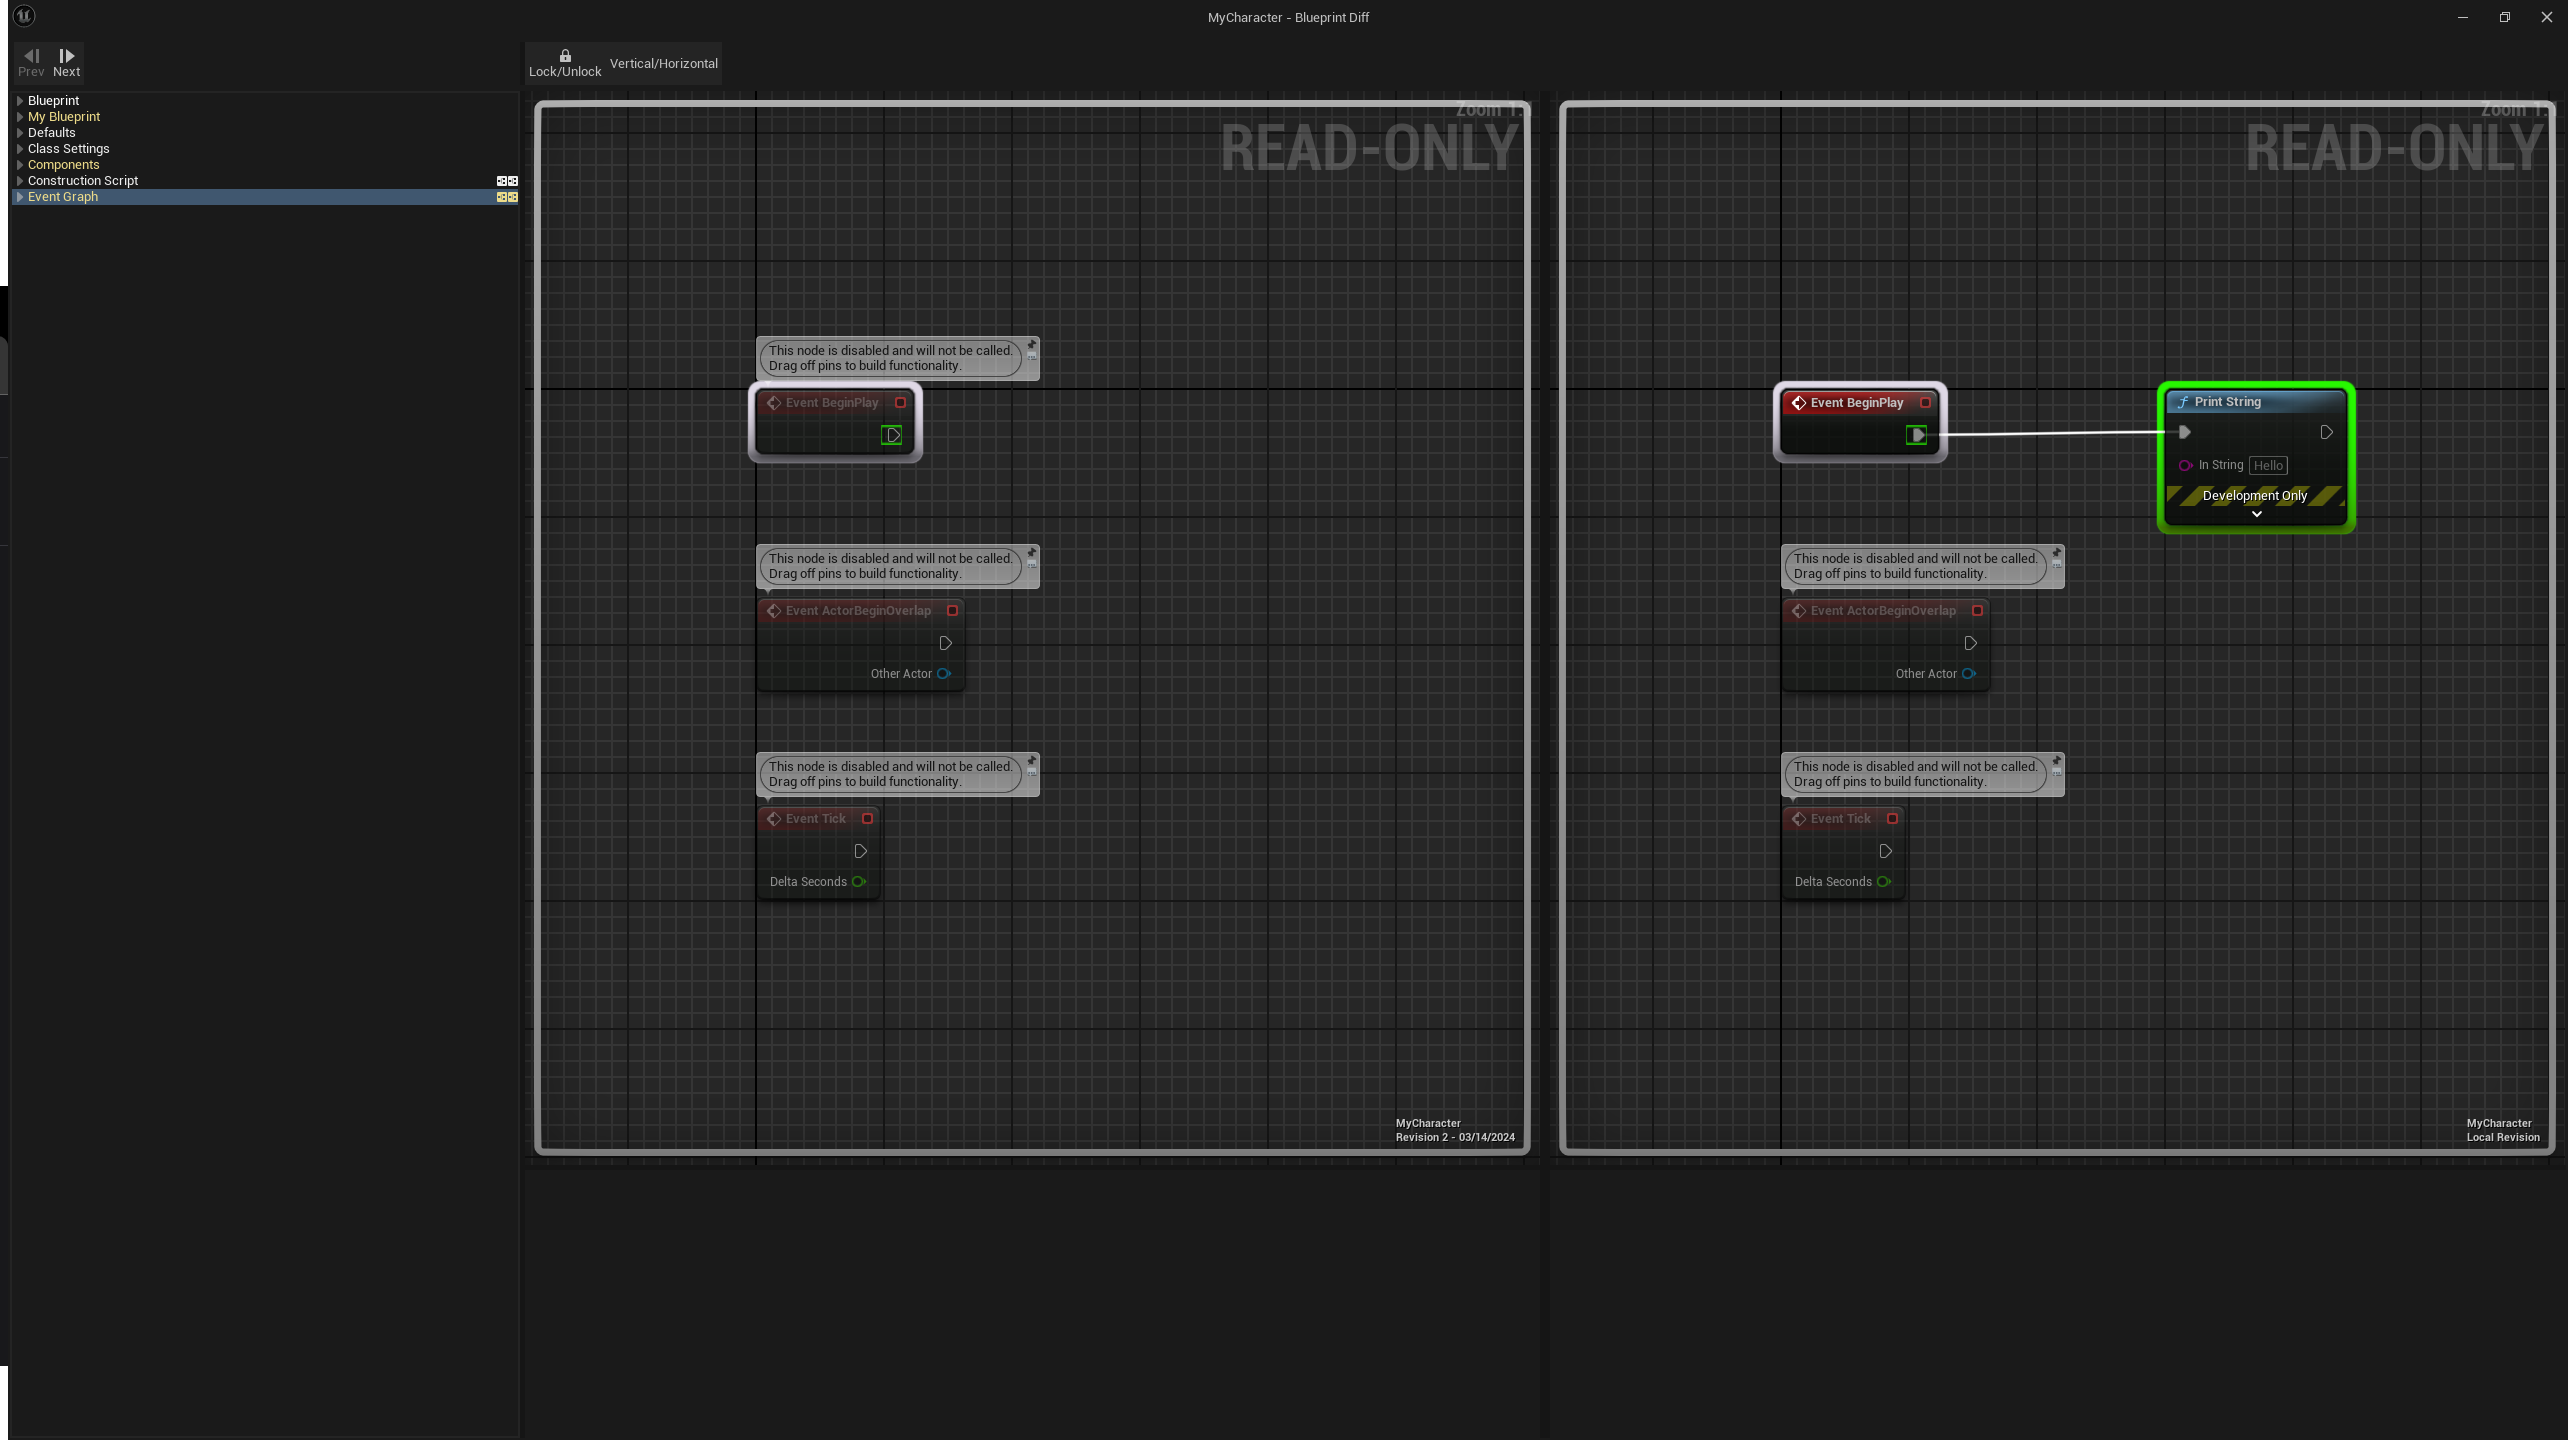
Adding placeholder mesh and basic functionality to MyCharacter.
Click on the Submit button and the red checkmark will disappear, meaning that Diversion has committed the file.
Disable soft lock warnings
Diversion’s soft lock feature warns you when files are being edited by other team members, helping you avoid potential merge conflicts. When you attempt to open a file that’s being worked on by others, you’ll see a warning message. If you’d like to disable these warnings, follow these steps: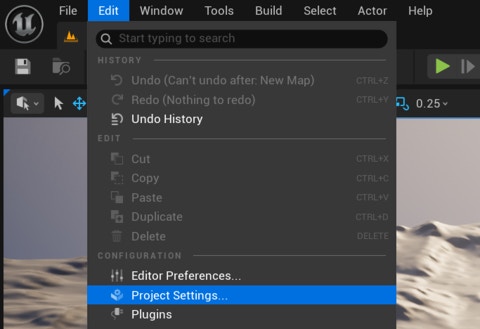
Disable soft lock confirmations
Search for “soft lock” and uncheck the field 
Enable Diversion Auto Soft Lock Confirmations.Important: Disabling soft lock warnings modifies your project’s configuration file. If you commit this change to your repository, it will affect the entire team. Consider either avoiding committing this configuration file or adding it to your ignore list if you want this to be a personal preference rather than a team-wide setting.