> ## Documentation Index
> Fetch the complete documentation index at: https://docs.diversion.dev/llms.txt
> Use this file to discover all available pages before exploring further.
# UE プラグイン - Diversion でマージ競合を解決する
export const Image = ({src, alt}) =>  ;
チームでプロジェクトに取り組むと、マージ競合に遭遇することはよくあります。これは、複数の人が同じファイルに変更を加え、その変更をマージしようとするときに発生します。
Diversion の `マージ警告` は競合の回避に役立ちますが、それでも発生してしまった場合、このガイドが Unreal Engine プラグインを使用した解決を支援します。
## ステップ 1: マージ競合を作る
マージ競合を発生させるには、2 つの異なるブランチで同じファイルに変更を加える必要があります。
ここでは、Unreal の Third Person Template プロジェクトの `BP_ThirdPersonCharacter` をプラグインで Diversion リポジトリとして初期化した状態のものを使用します。
;
チームでプロジェクトに取り組むと、マージ競合に遭遇することはよくあります。これは、複数の人が同じファイルに変更を加え、その変更をマージしようとするときに発生します。
Diversion の `マージ警告` は競合の回避に役立ちますが、それでも発生してしまった場合、このガイドが Unreal Engine プラグインを使用した解決を支援します。
## ステップ 1: マージ競合を作る
マージ競合を発生させるには、2 つの異なるブランチで同じファイルに変更を加える必要があります。
ここでは、Unreal の Third Person Template プロジェクトの `BP_ThirdPersonCharacter` をプラグインで Diversion リポジトリとして初期化した状態のものを使用します。
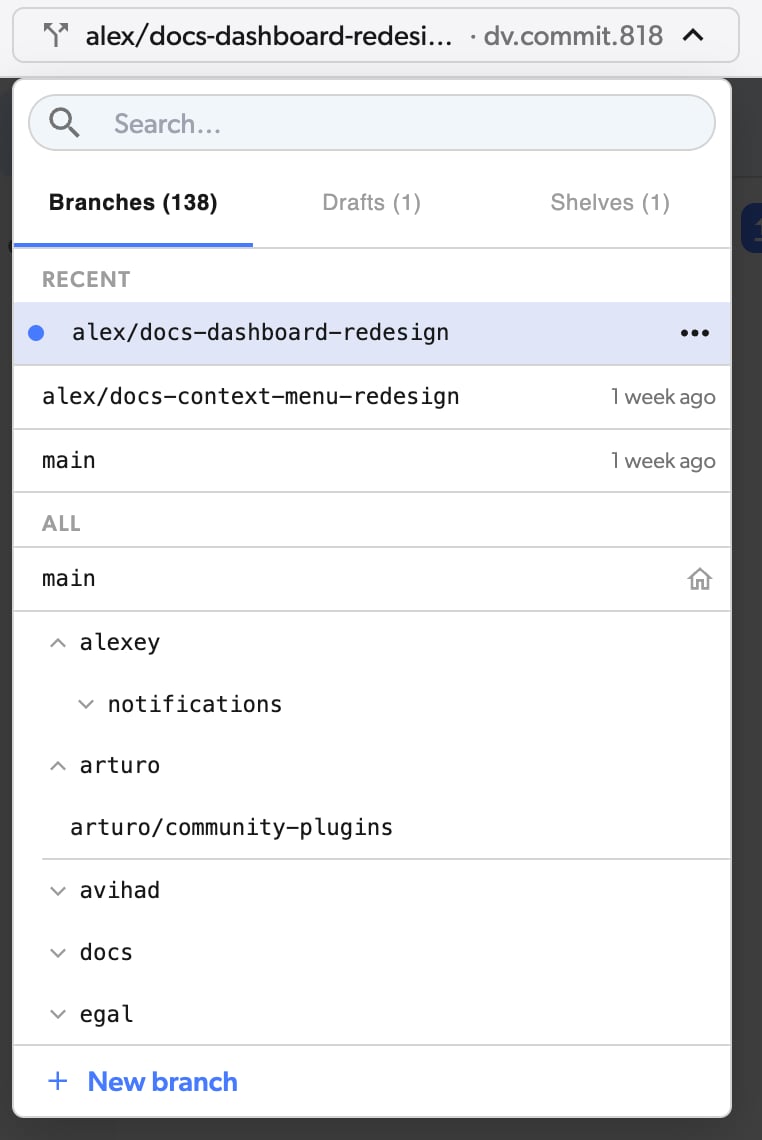
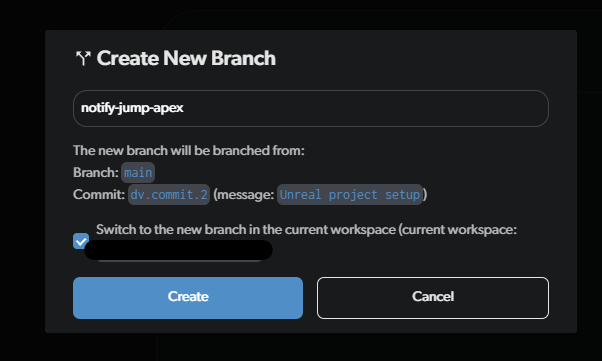
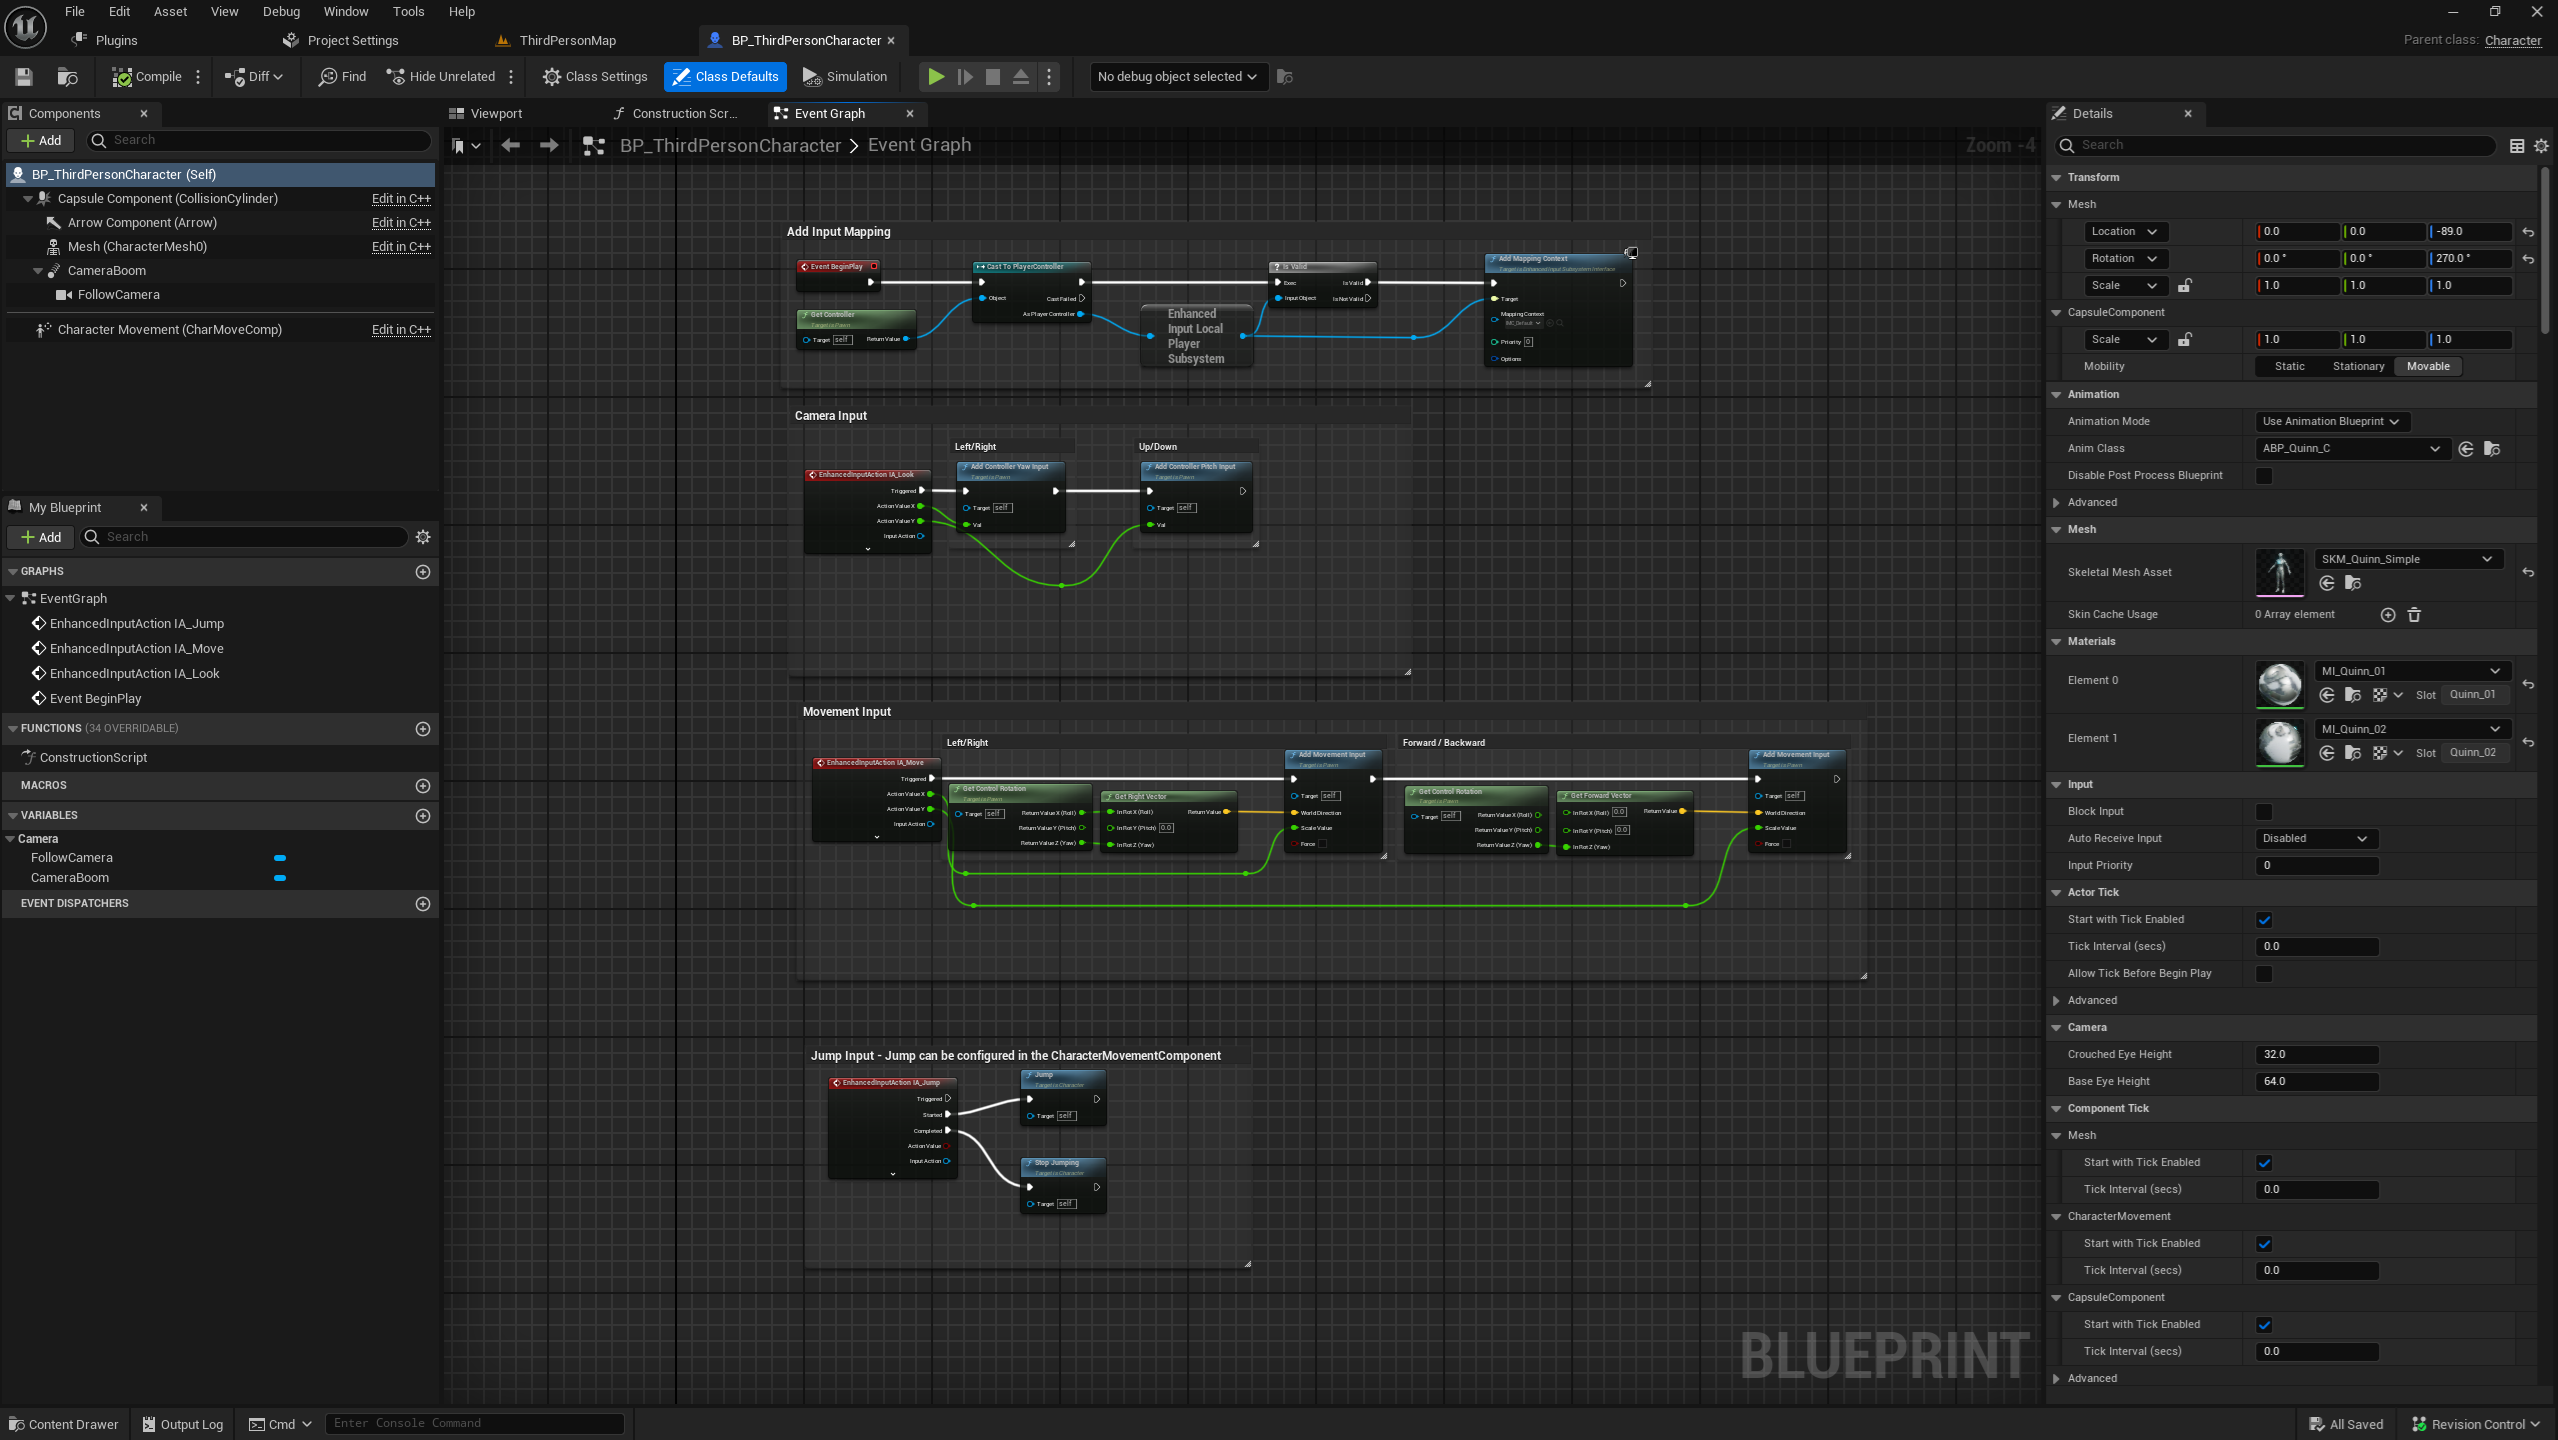 Diversion デスクトップアプリで、新しいブランチを作成し `notify-jump-apex` と名付けます。
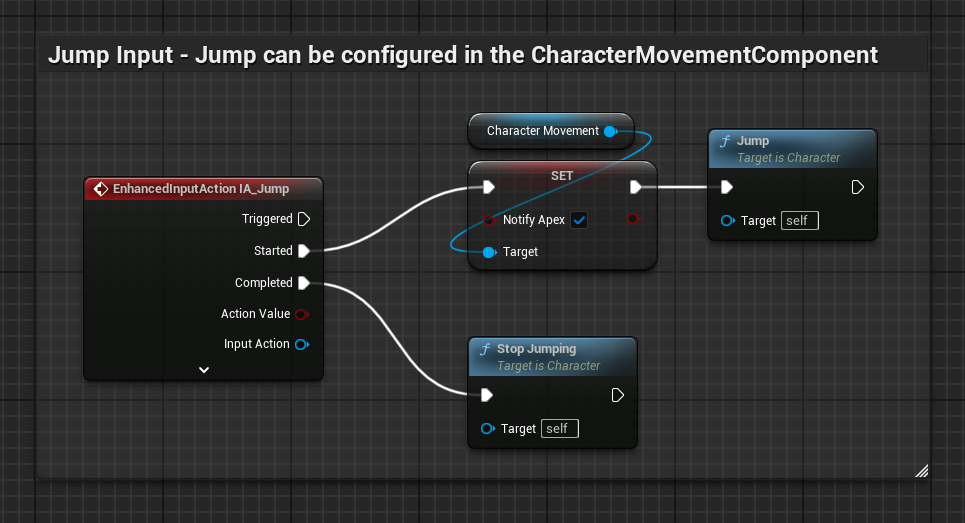
 キャラクターがジャンプの頂点に達したときにイベントを発火するようにしましょう。`BP_ThirdPersonCharacter` ブループリントに、次のように設定します:
(ここではガイドの目的のために簡略化した例です。)
キャラクターがジャンプの頂点に達したときにイベントを発火するようにしましょう。`BP_ThirdPersonCharacter` ブループリントに、次のように設定します:
(ここではガイドの目的のために簡略化した例です。)
 いいですね!変更を `notify-jump-apex` ブランチにコミットしましょう。
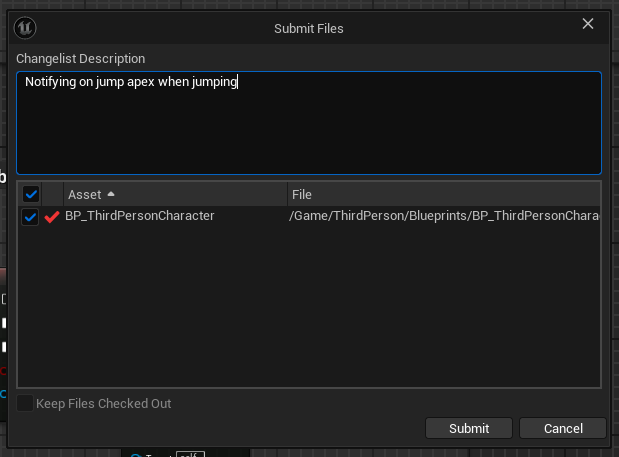 もう 1 つ欲しい「機能」は、キャラクターが攻撃できるようにすることです。`main` ブランチに戻り、前と同じように `attack` という新しいブランチを作成し、ブループリントの正しいバージョンを取得するためにエディターを再起動します。
攻撃ロジックを実装し、`attack` ブランチにコミットしましょう。
もう 1 つ欲しい「機能」は、キャラクターが攻撃できるようにすることです。`main` ブランチに戻り、前と同じように `attack` という新しいブランチを作成し、ブループリントの正しいバージョンを取得するためにエディターを再起動します。
攻撃ロジックを実装し、`attack` ブランチにコミットしましょう。
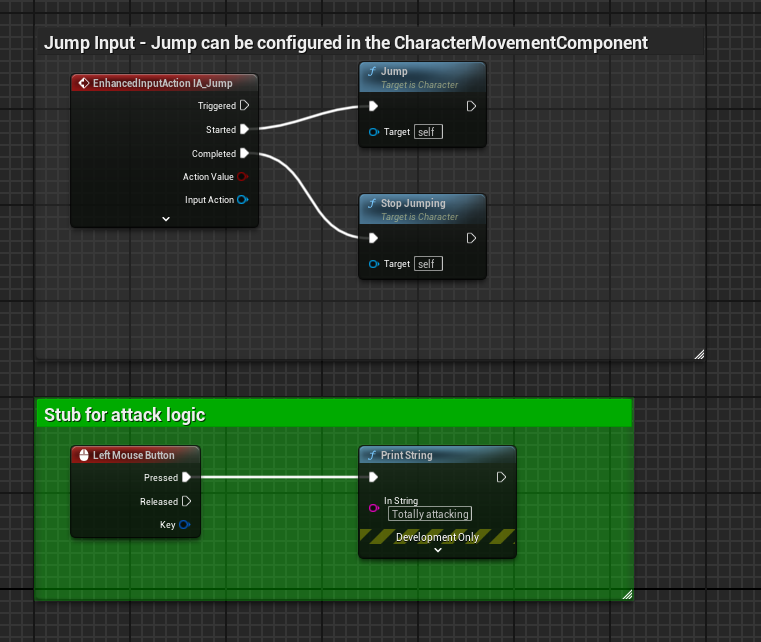 さて、マージしましょう!エディターを閉じ、`main` ブランチに戻り、`notify-jump-apex` ブランチをマージします。
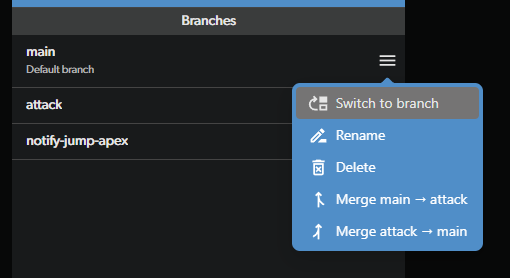
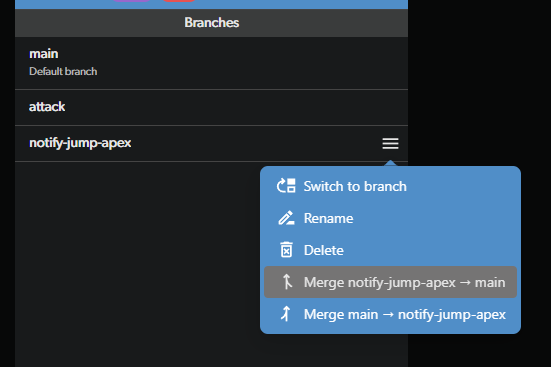 競合する変更がなかったため、これはスムーズに完了しました。しかし、`attack` ブランチを `main` ブランチにマージする際はそうはいきません:
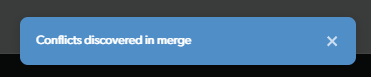 おっと!マージ競合が発生しました。これはバイナリファイル(`.uasset`)なので、人間が読める形式ではなく、特別なツールなしに手動で解決することはできません。幸いにも Unreal には専用のツールがあります!それを使ってみましょう。
## ステップ 2: マージ競合を解決する
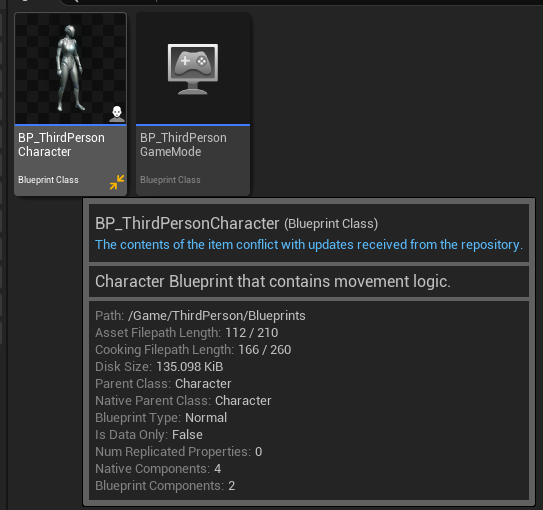
Unreal エディターを開き、`BP_ThirdPersonCharacter` ブループリントを開きます。アイコンに気付きましたか?これは、そのファイルに競合があることを示しています。
おっと!マージ競合が発生しました。これはバイナリファイル(`.uasset`)なので、人間が読める形式ではなく、特別なツールなしに手動で解決することはできません。幸いにも Unreal には専用のツールがあります!それを使ってみましょう。
## ステップ 2: マージ競合を解決する
Unreal エディターを開き、`BP_ThirdPersonCharacter` ブループリントを開きます。アイコンに気付きましたか?これは、そのファイルに競合があることを示しています。
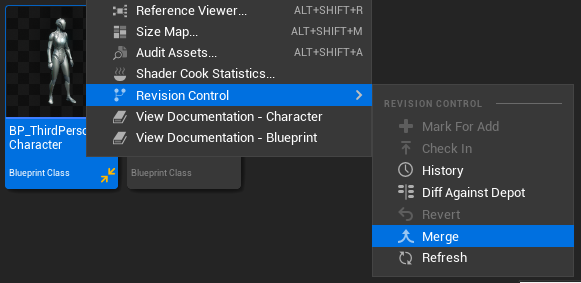
 ファイルを右クリックして `Revision Control -> Merge` に移動します。これでマージ解決ツールが開きます。
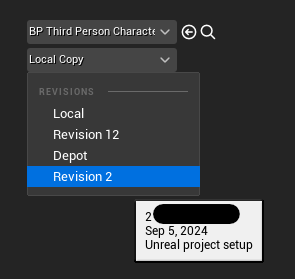
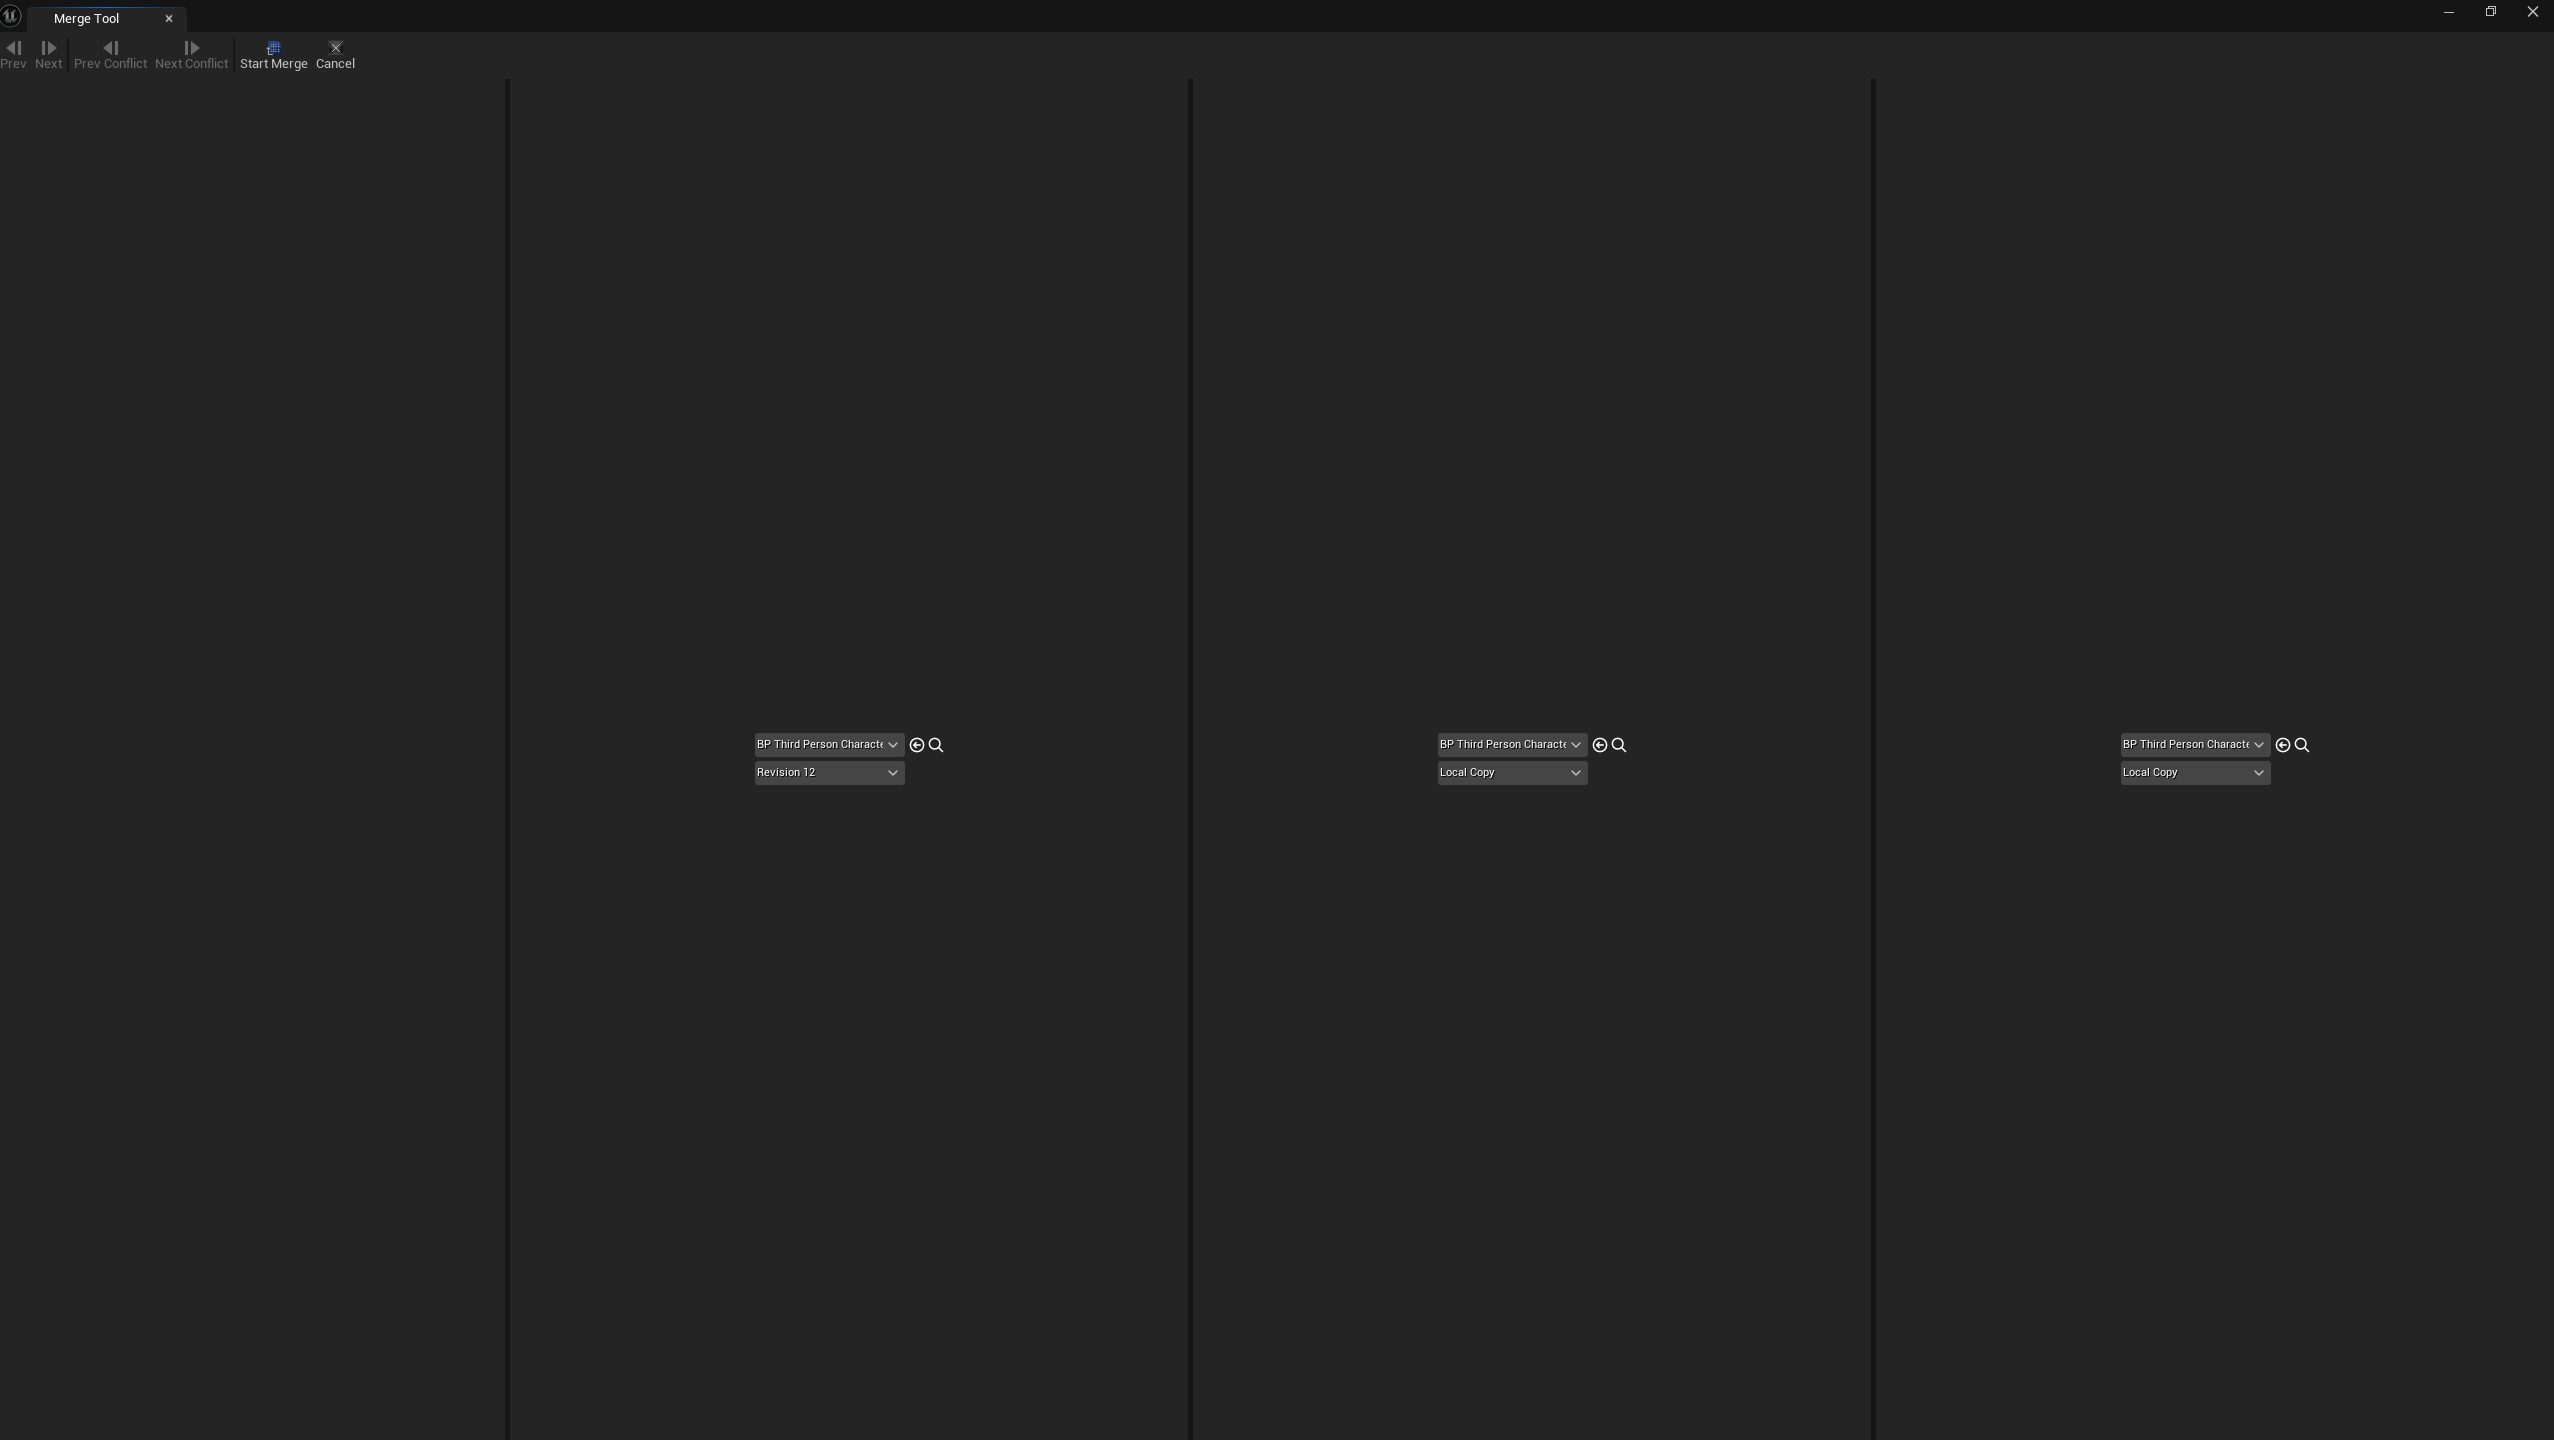 3 つの列は、ファイルのリモート版、ローカル版、ベース版を表します。リモート版は左側にあり、これは受信する変更です。
今回の場合、それは `attack` ブランチからの変更です。上のスクリーンショットで、左の列が `Revision 12` と表示されているのに気付きましたか?
あなたの左の列は違う番号かもしれません。私はこのガイドのスクリーンショットを撮る際にやり直したためです。あなたのは `4` になるはずです。Discord でぜひ教えてください!
真ん中の列はローカル版で、現在のブランチにあるものです。この例では、`main` ブランチの現在の状態で、`notify-jump-apex` ブランチからの変更を含んでいるはずです。
マージ競合をより適切に管理するには、真ん中の列にローカルの変更が表示されていることが重要です。これは Unreal のマージツールの問題のようです。
右の列はベース版で、2 つのブランチの共通の祖先であり、任意です。この場合、テンプレートの元のブループリントを含む `main` ブランチからの 2 番目のコミットです。
ベース版を表示するには、ドロップダウンを開き、その列に表示したい正しいコミットを選択します。コミットにマウスを合わせるとコミットメッセージが表示され、正しいものを特定できます。そのままにしておいても、残りの手順は同じように見えます。
3 つの列は、ファイルのリモート版、ローカル版、ベース版を表します。リモート版は左側にあり、これは受信する変更です。
今回の場合、それは `attack` ブランチからの変更です。上のスクリーンショットで、左の列が `Revision 12` と表示されているのに気付きましたか?
あなたの左の列は違う番号かもしれません。私はこのガイドのスクリーンショットを撮る際にやり直したためです。あなたのは `4` になるはずです。Discord でぜひ教えてください!
真ん中の列はローカル版で、現在のブランチにあるものです。この例では、`main` ブランチの現在の状態で、`notify-jump-apex` ブランチからの変更を含んでいるはずです。
マージ競合をより適切に管理するには、真ん中の列にローカルの変更が表示されていることが重要です。これは Unreal のマージツールの問題のようです。
右の列はベース版で、2 つのブランチの共通の祖先であり、任意です。この場合、テンプレートの元のブループリントを含む `main` ブランチからの 2 番目のコミットです。
ベース版を表示するには、ドロップダウンを開き、その列に表示したい正しいコミットを選択します。コミットにマウスを合わせるとコミットメッセージが表示され、正しいものを特定できます。そのままにしておいても、残りの手順は同じように見えます。
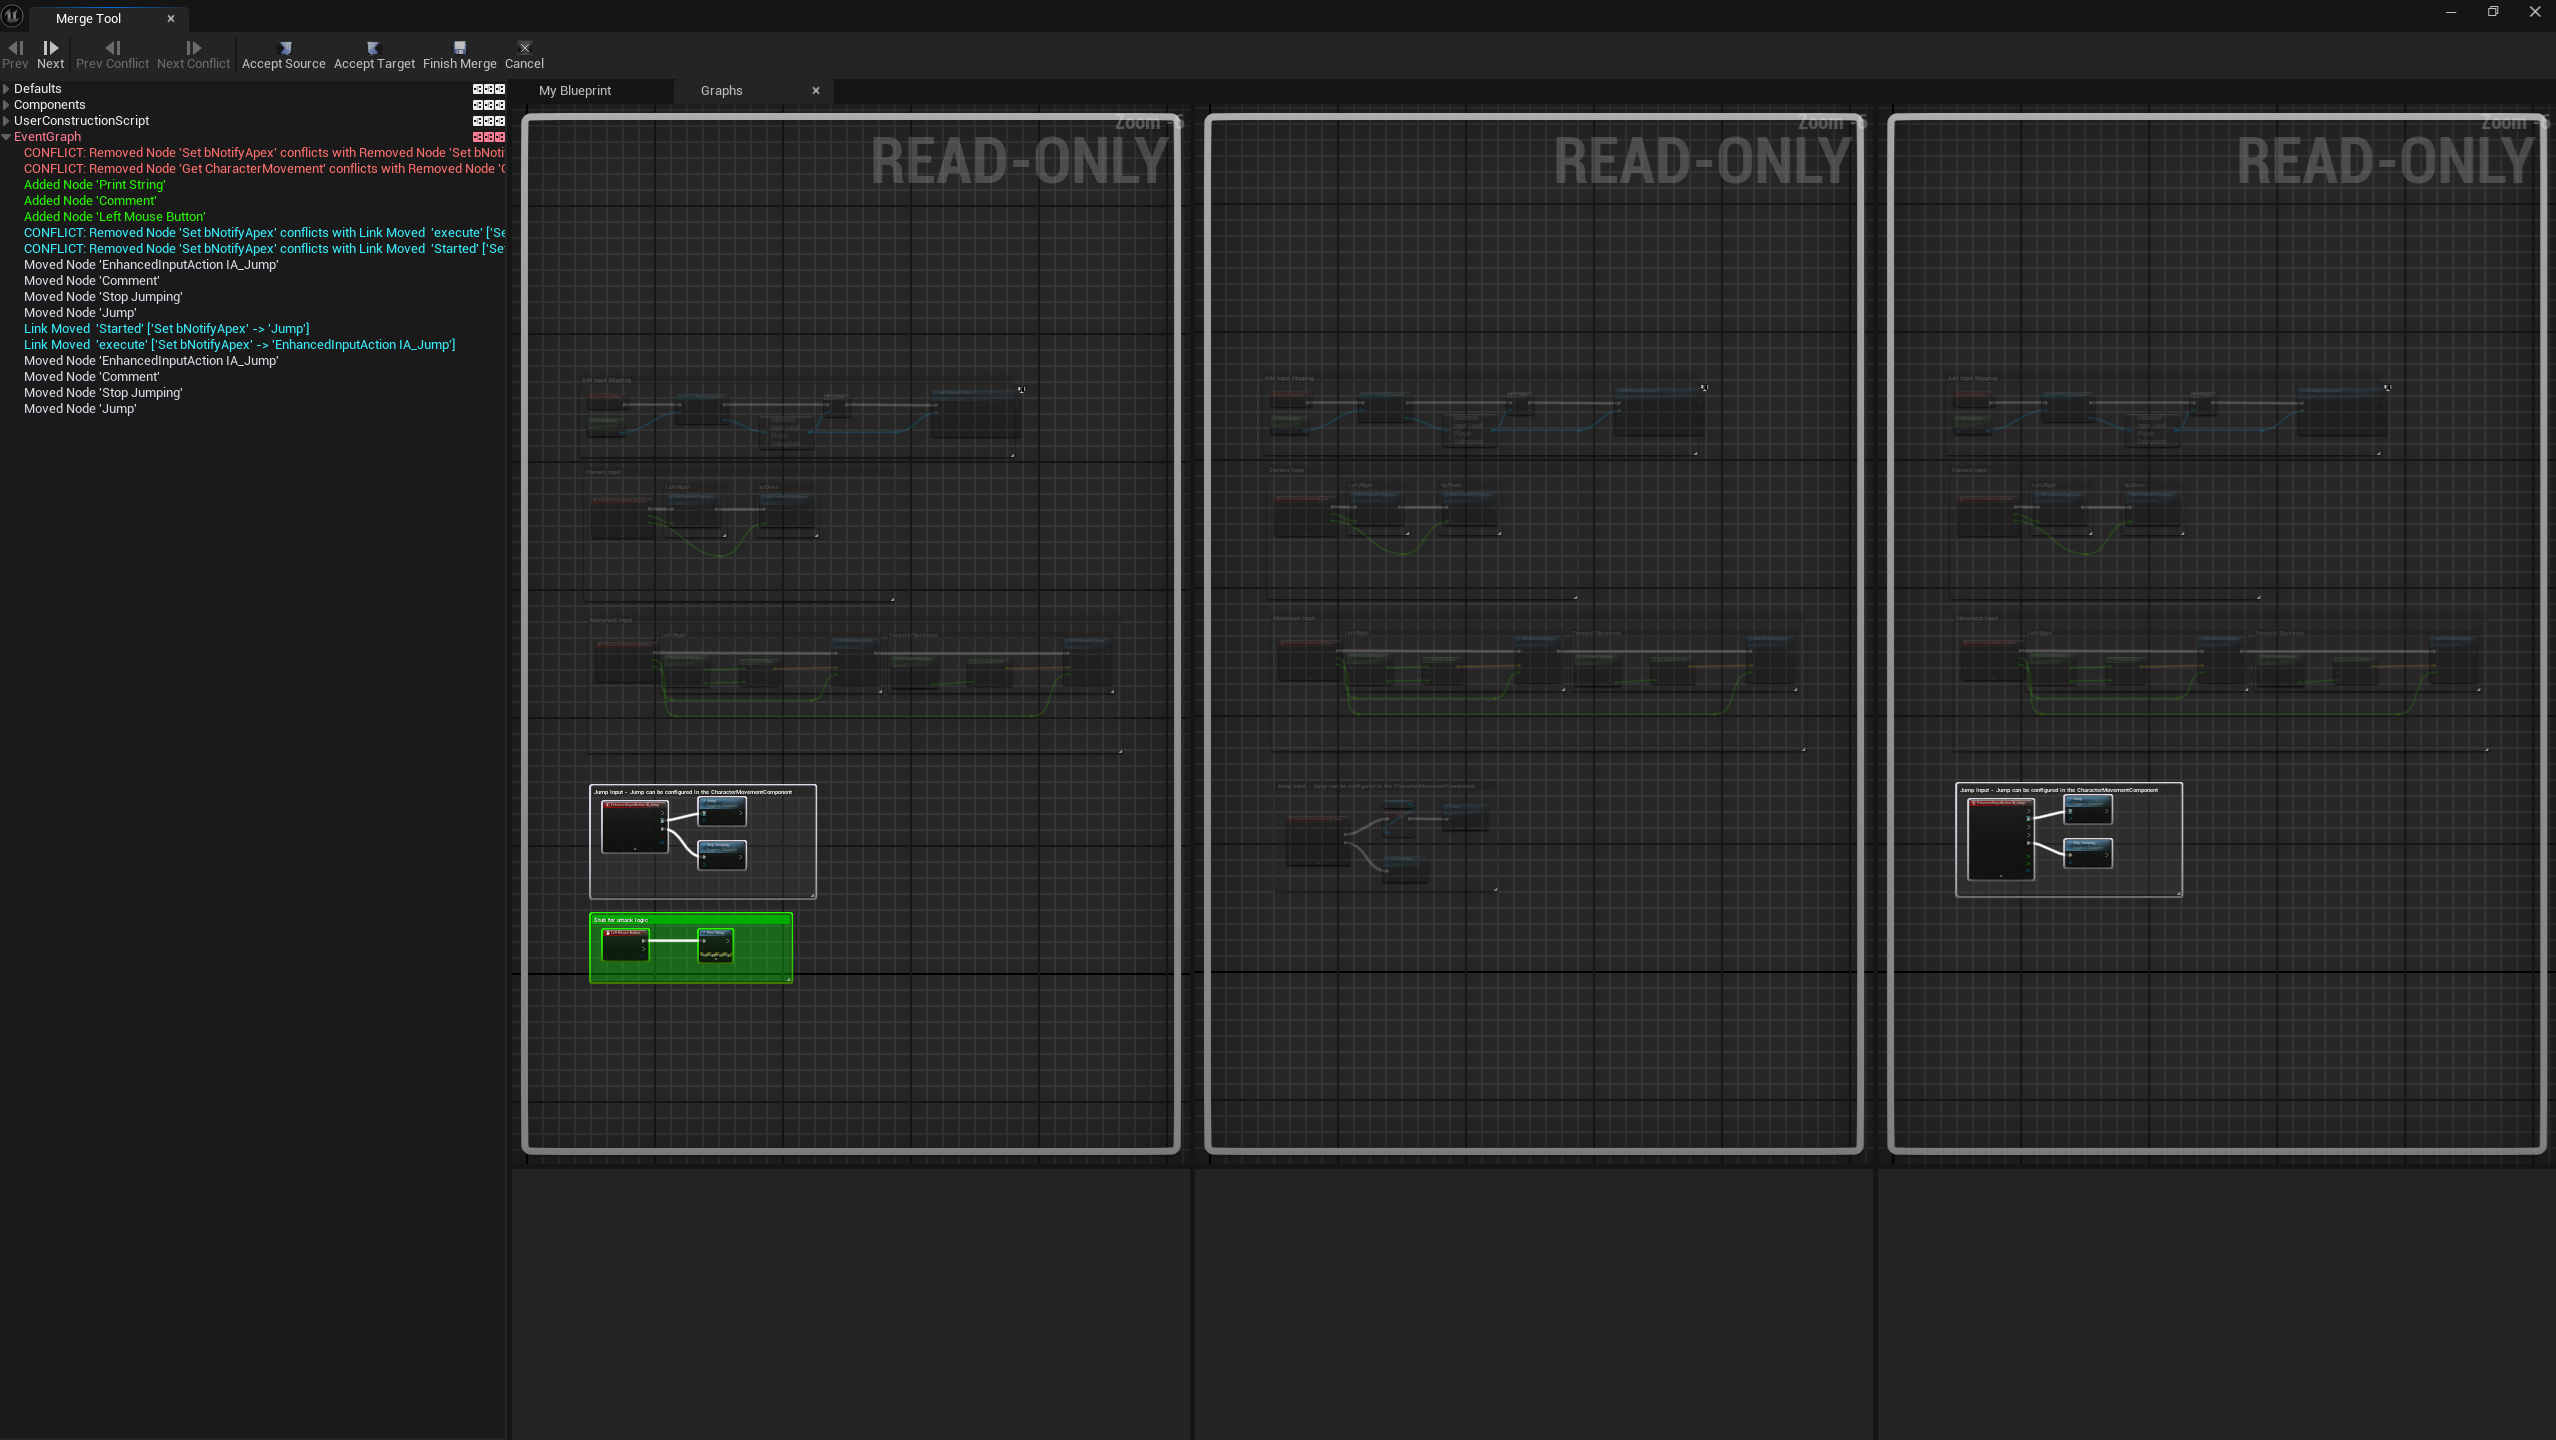
 `Start Merge` をクリックし、次に `Event Graph` をクリックします。通常のグラフ操作と同様、または `Next` と `Previous` ボタンを使って、変更を移動できます。
ブループリントがバックグラウンドで開いており、変更を加えると真ん中の列にも反映されることに注意してください。
上部には、重要な 3 つのボタンがあります: `Accept Source`、`Accept Target`、`Finish Merge`。`Accept Source` は左の列の変更を採用し、`Accept Target` は真ん中の列の変更を採用し、`Finish Merge` は変更を保存してウィンドウを閉じます。
今回のケースでは、どれも私たちが望むものではありません!両方のブランチの変更を組み合わせたいのです。そのためには、左の列の変更を、バックグラウンドで開いているブループリントに手動でコピーする必要があります。
通常通りにコピー & ペーストし、完了したら `Finish Merge` をクリックします。
Before:
`Start Merge` をクリックし、次に `Event Graph` をクリックします。通常のグラフ操作と同様、または `Next` と `Previous` ボタンを使って、変更を移動できます。
ブループリントがバックグラウンドで開いており、変更を加えると真ん中の列にも反映されることに注意してください。
上部には、重要な 3 つのボタンがあります: `Accept Source`、`Accept Target`、`Finish Merge`。`Accept Source` は左の列の変更を採用し、`Accept Target` は真ん中の列の変更を採用し、`Finish Merge` は変更を保存してウィンドウを閉じます。
今回のケースでは、どれも私たちが望むものではありません!両方のブランチの変更を組み合わせたいのです。そのためには、左の列の変更を、バックグラウンドで開いているブループリントに手動でコピーする必要があります。
通常通りにコピー & ペーストし、完了したら `Finish Merge` をクリックします。
Before:
 After:
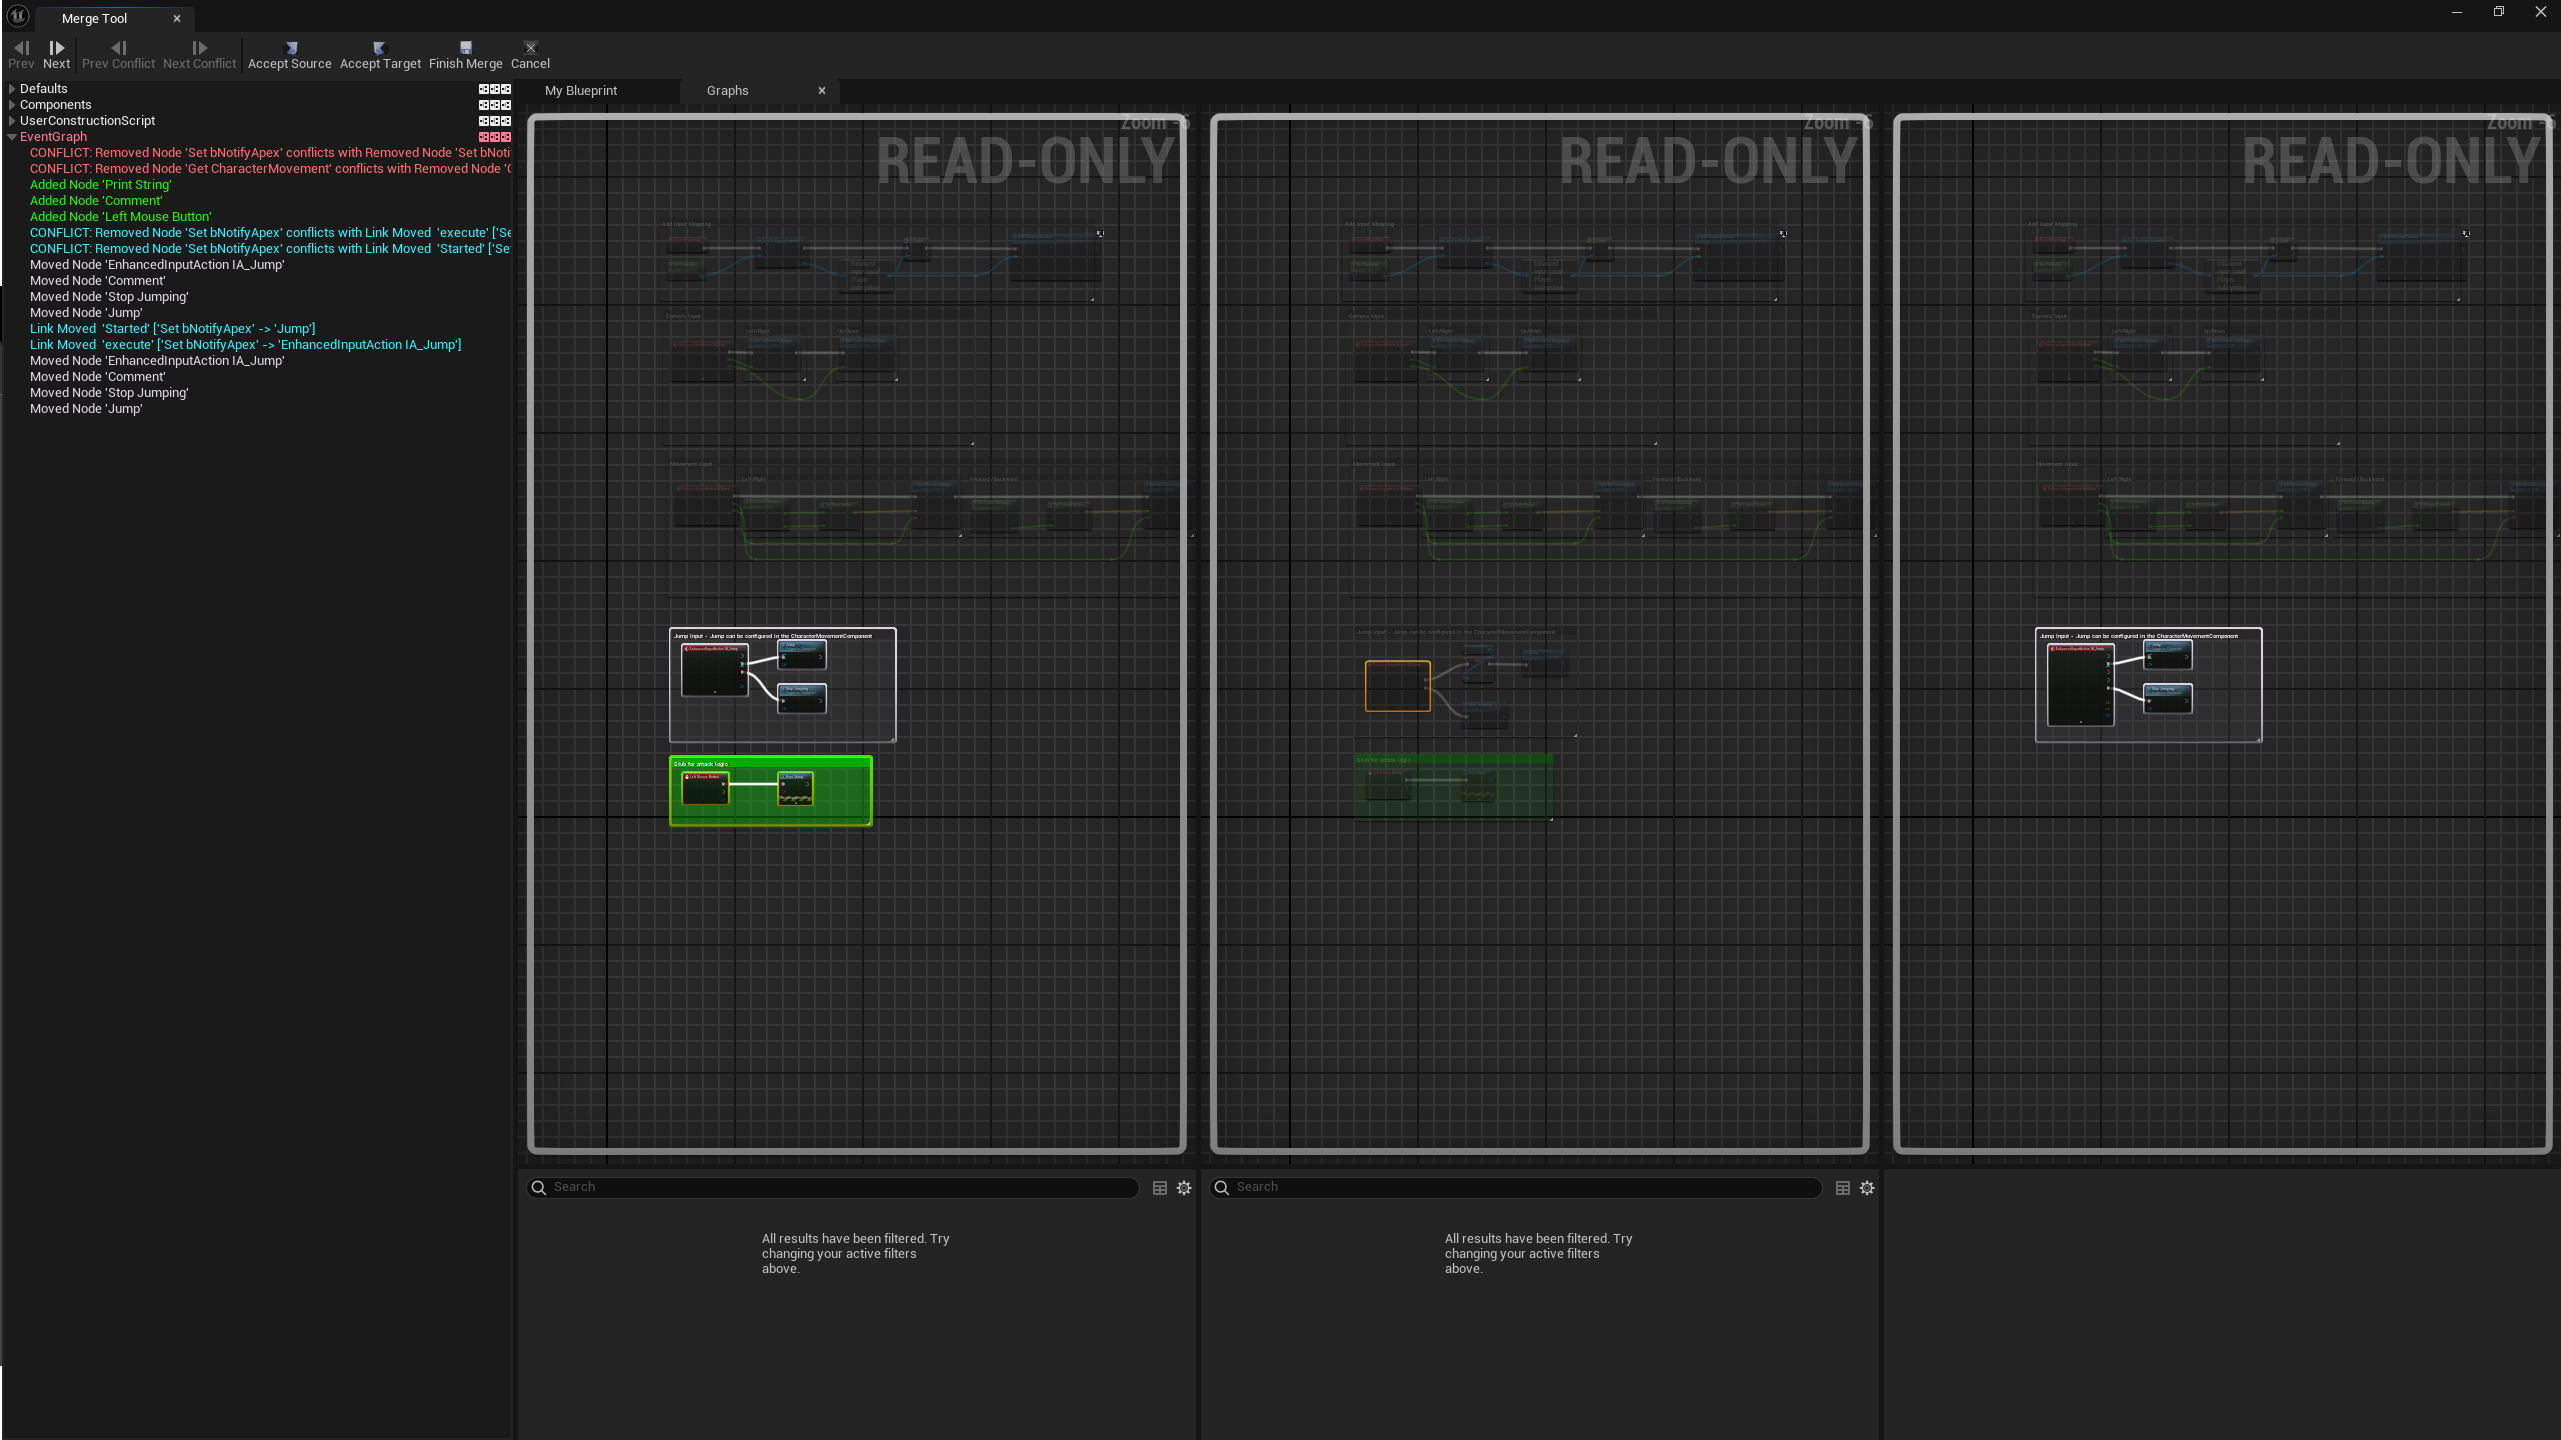 以上です!Unreal のマージツールを使ってマージ競合を解決できました。ブループリントを再コンパイルすれば準備完了です。